

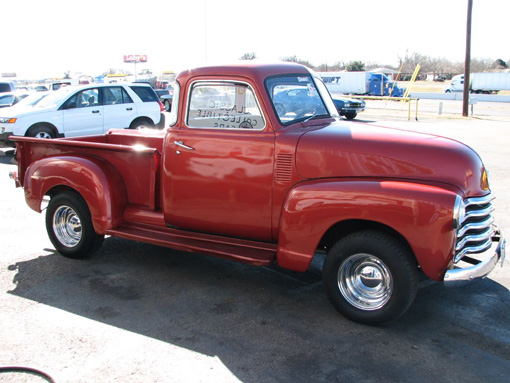
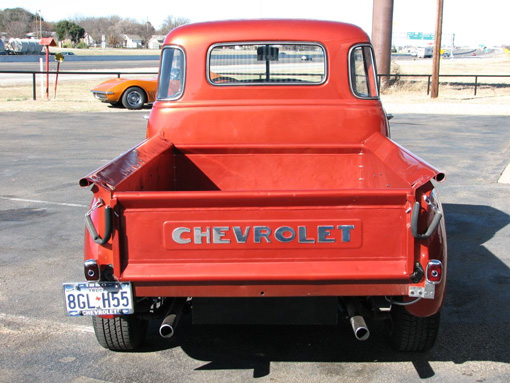
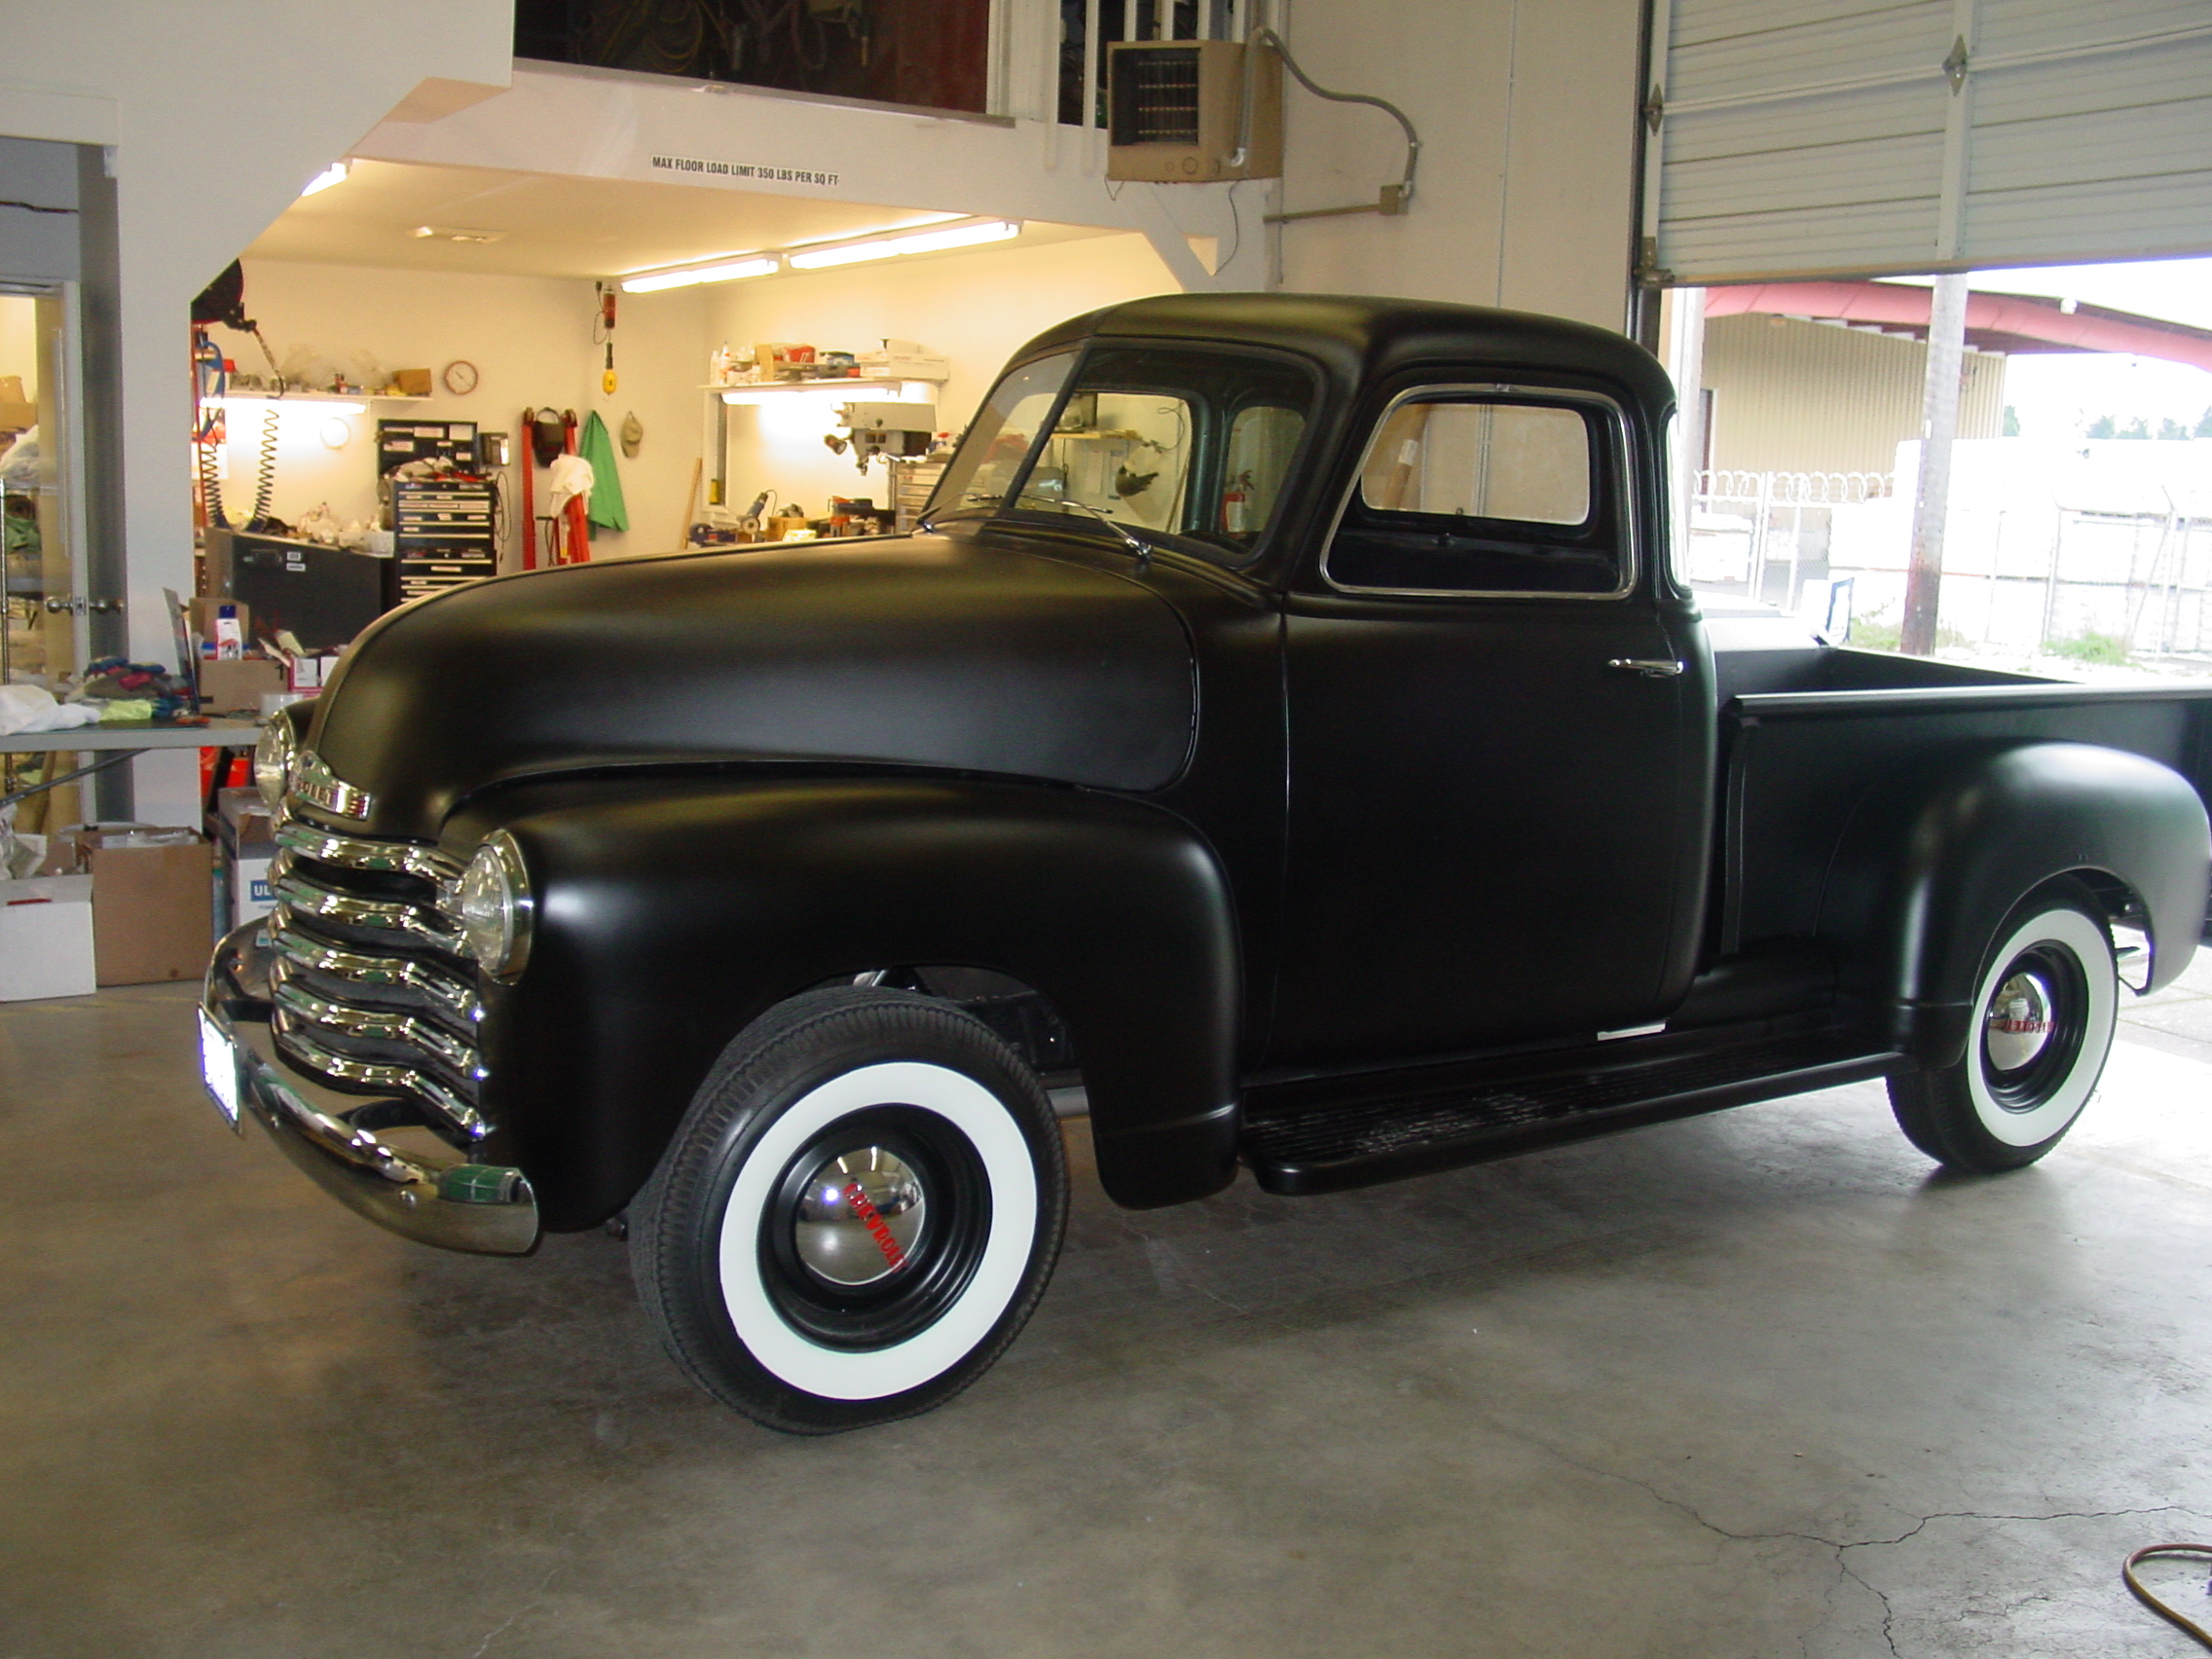
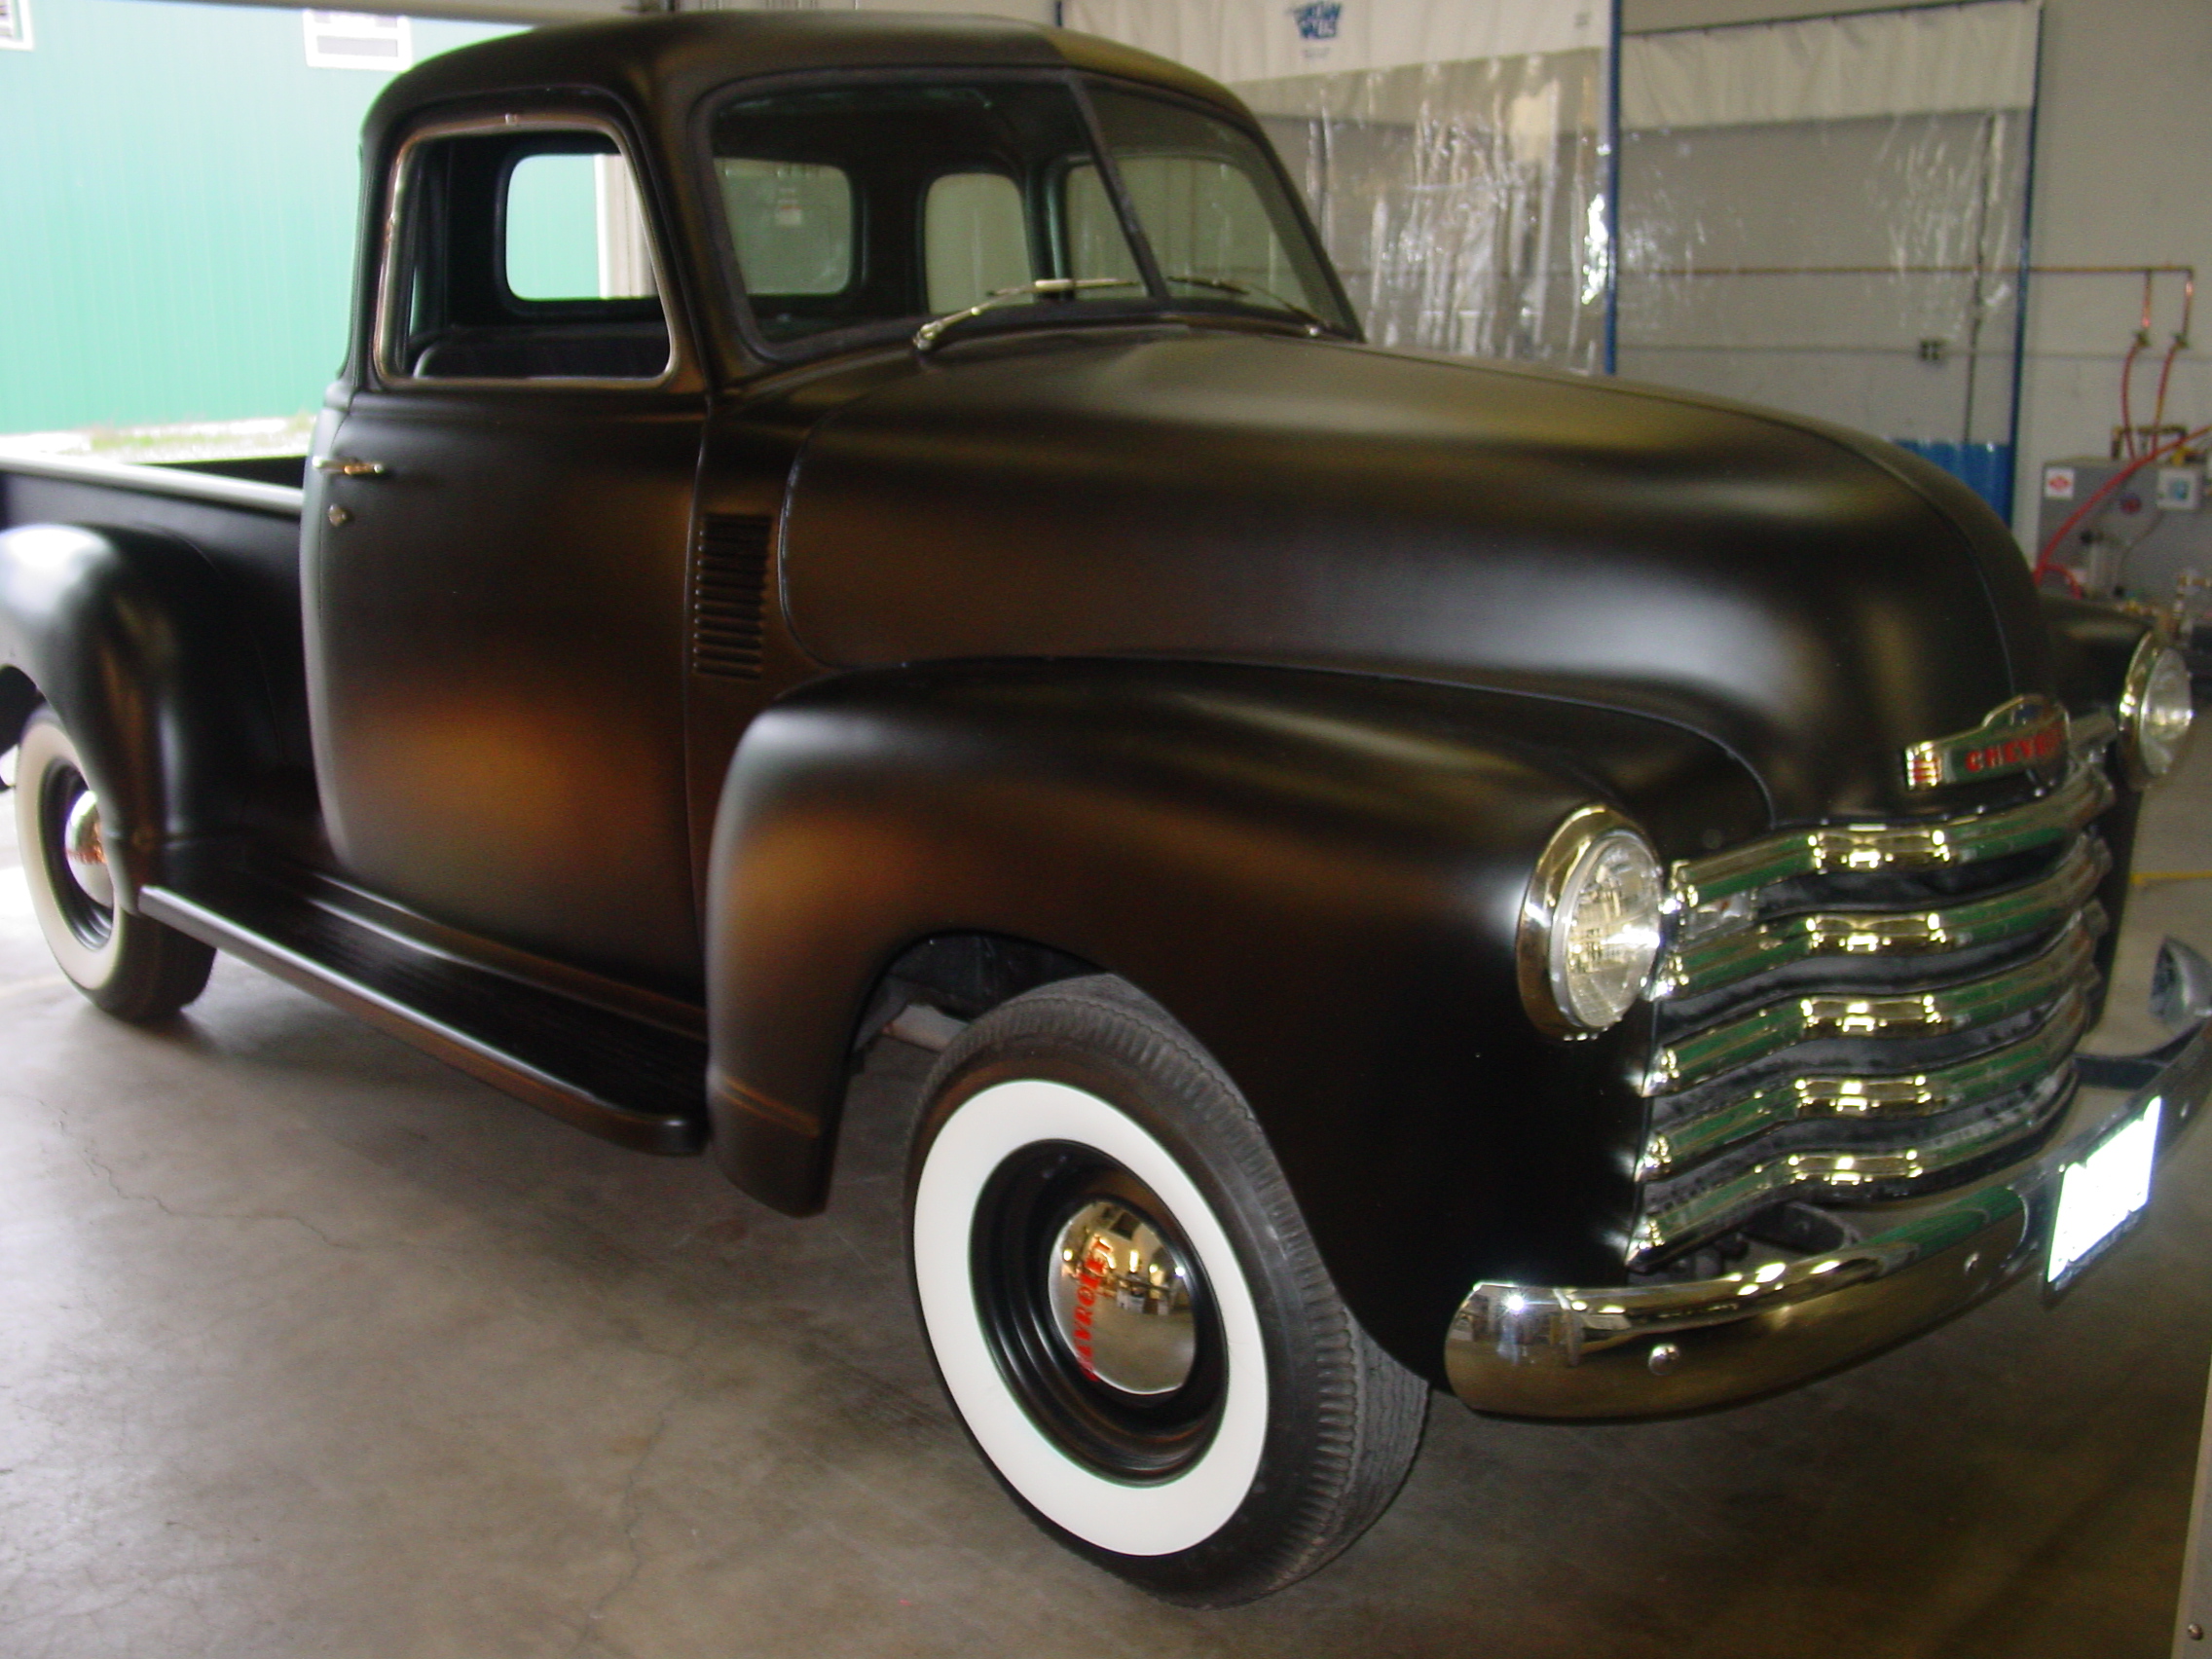
Our 1949 Chevy Truck project
is now completed! Shown here
as she looked the day before
shipping!
 I also have acquired a 1949 Truck Operator's Manual, for that little extra
touch!
I also have acquired a 1949 Truck Operator's Manual, for that little extra
touch!
 |
 |
 |
|||||||||||||||
|
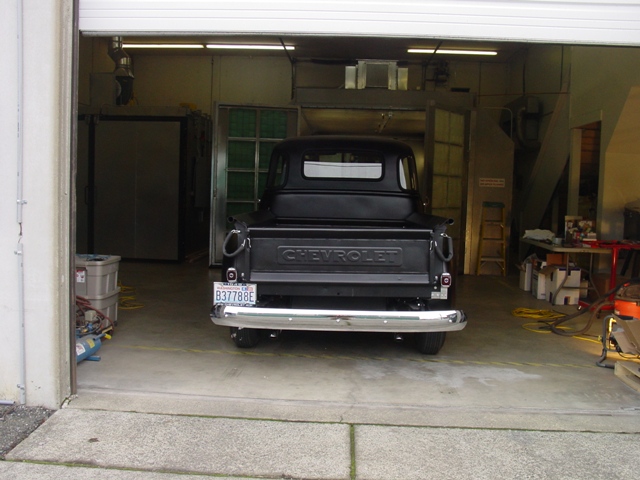
The plan was to drive the Truck to
the port of Tacoma for shipping to over to Japan. But due to the heavy Snow & Icy roads most of this week, we ended up having to trailer it down to the port. (for safety) Here she is all loaded and ready for the trip. Which went very well, so other than a new coating of road spray, the truck arrived at the port without any trouble. She is has now started her journey to the port of Yokohama, then ending up at her new home in Tokyo! |
|||||||||||||||||
 |
 |
 |
|||||||||||||||
|
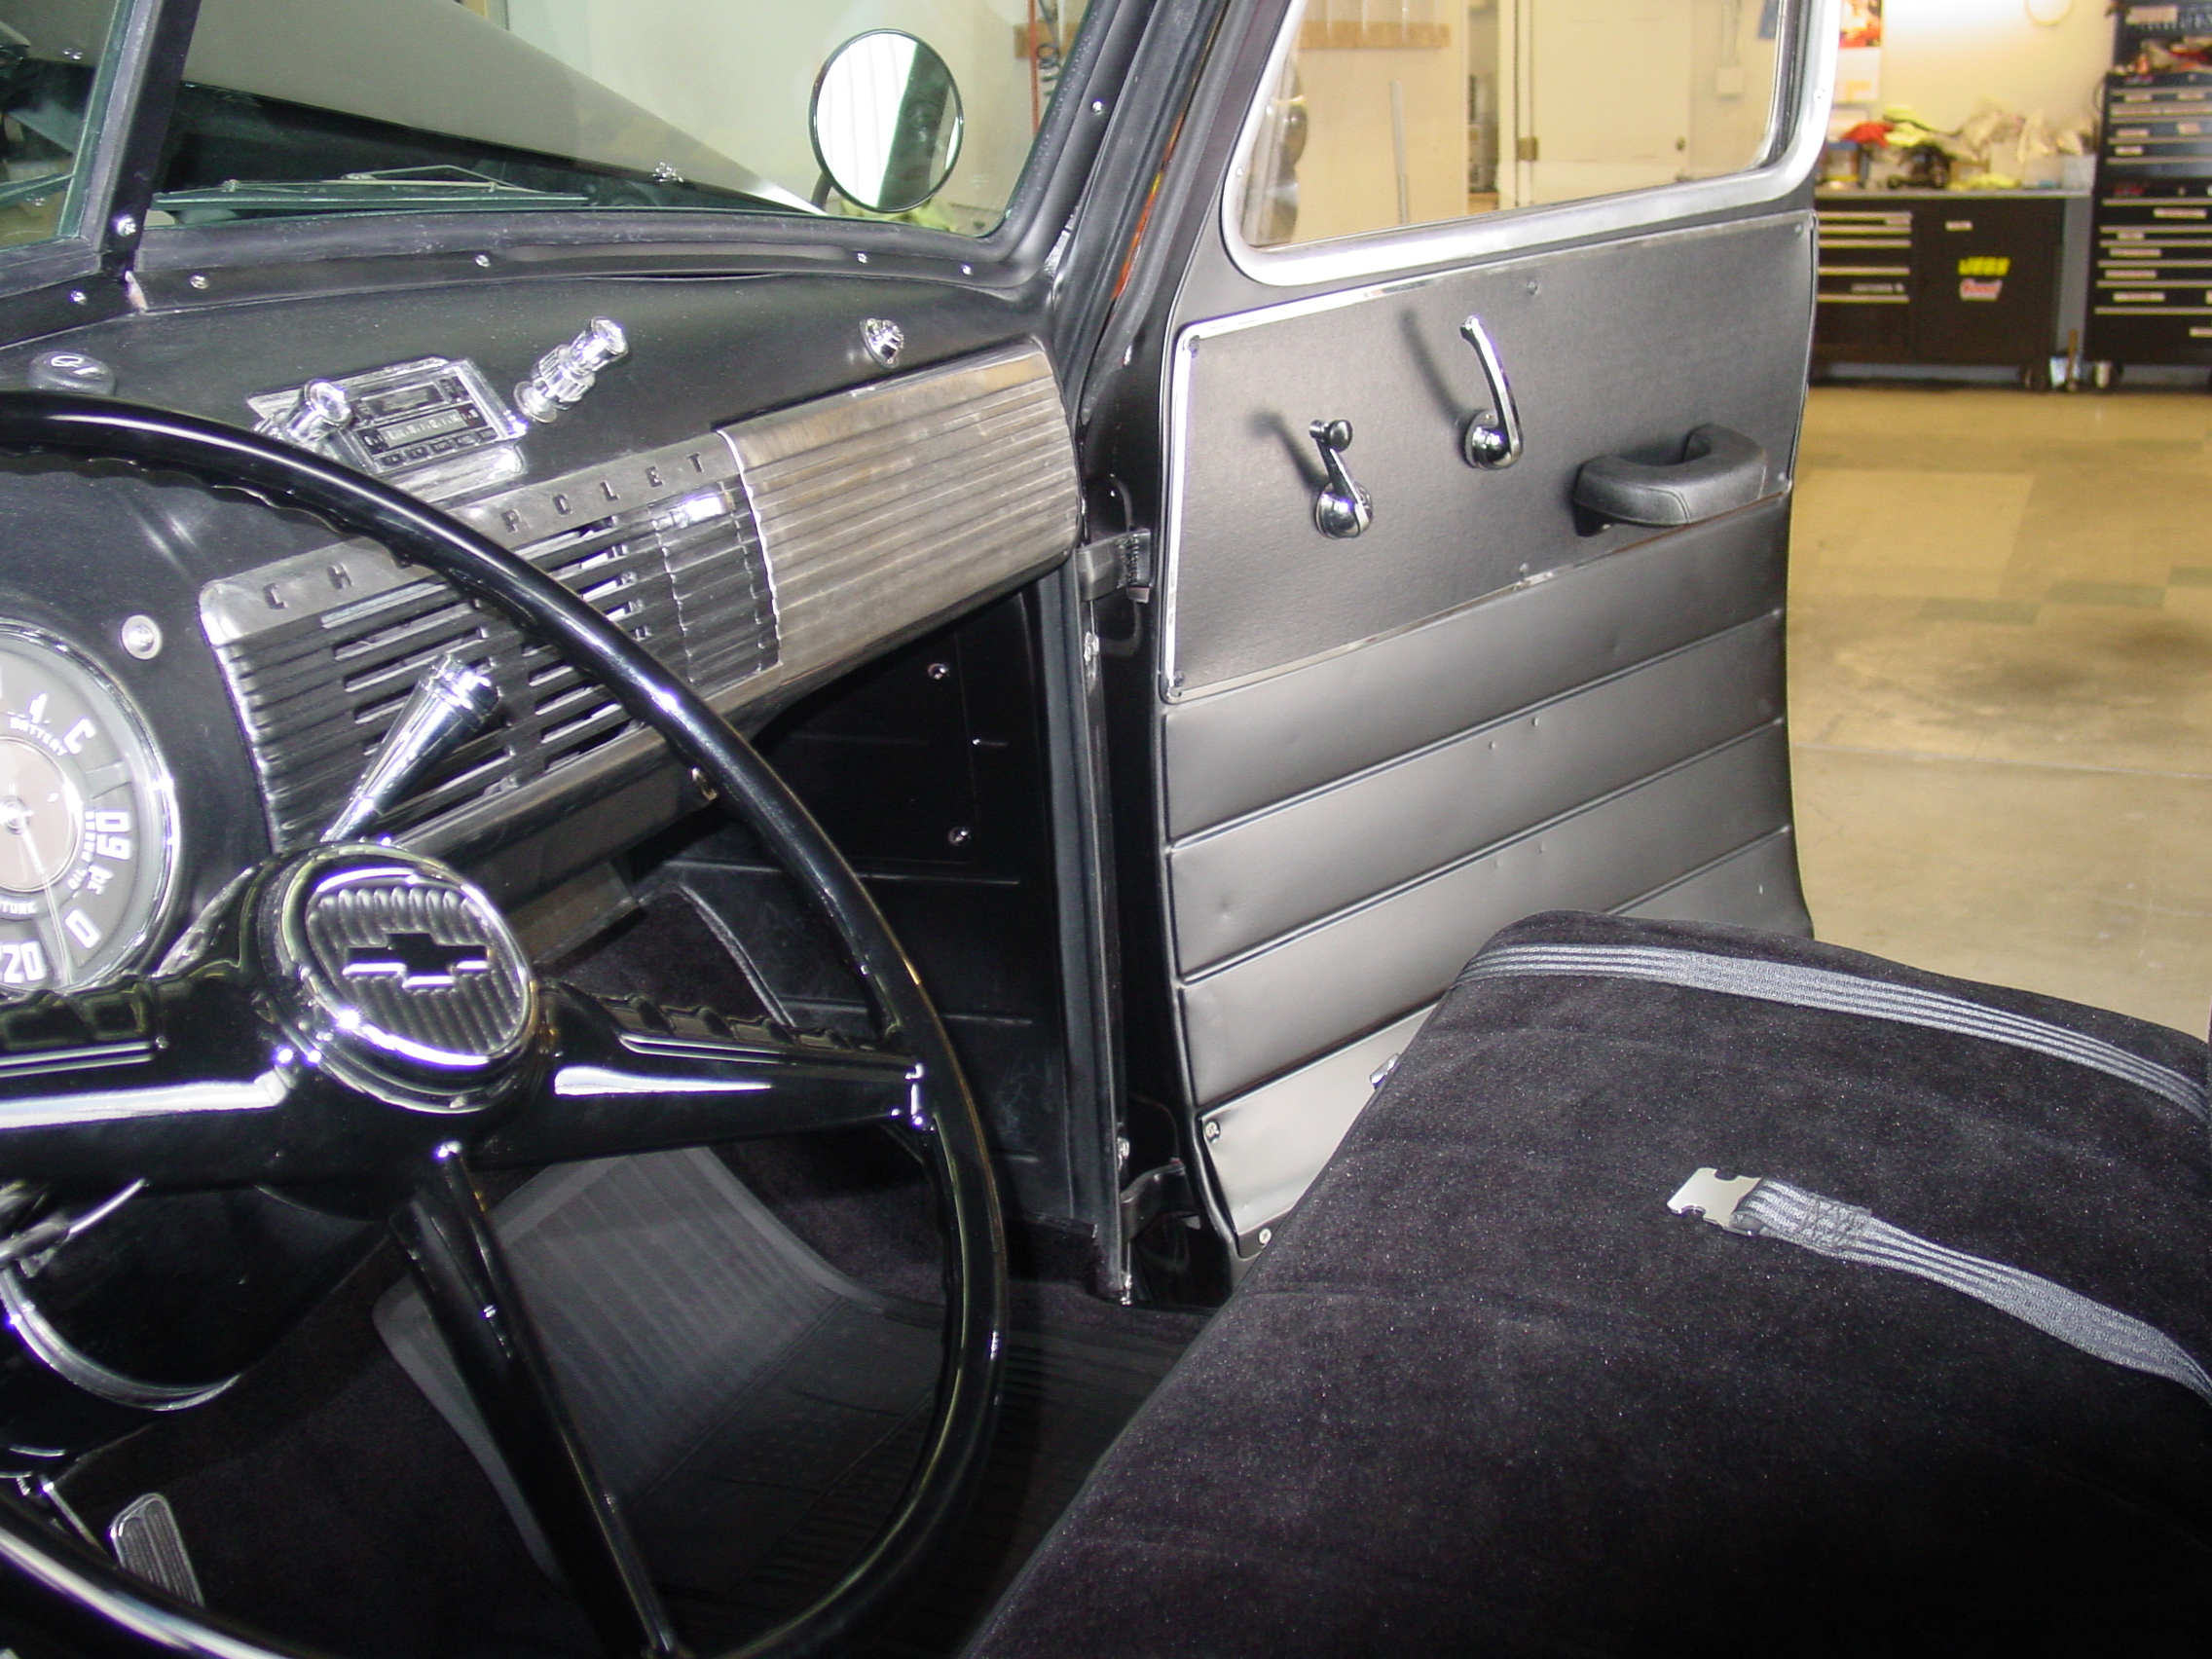
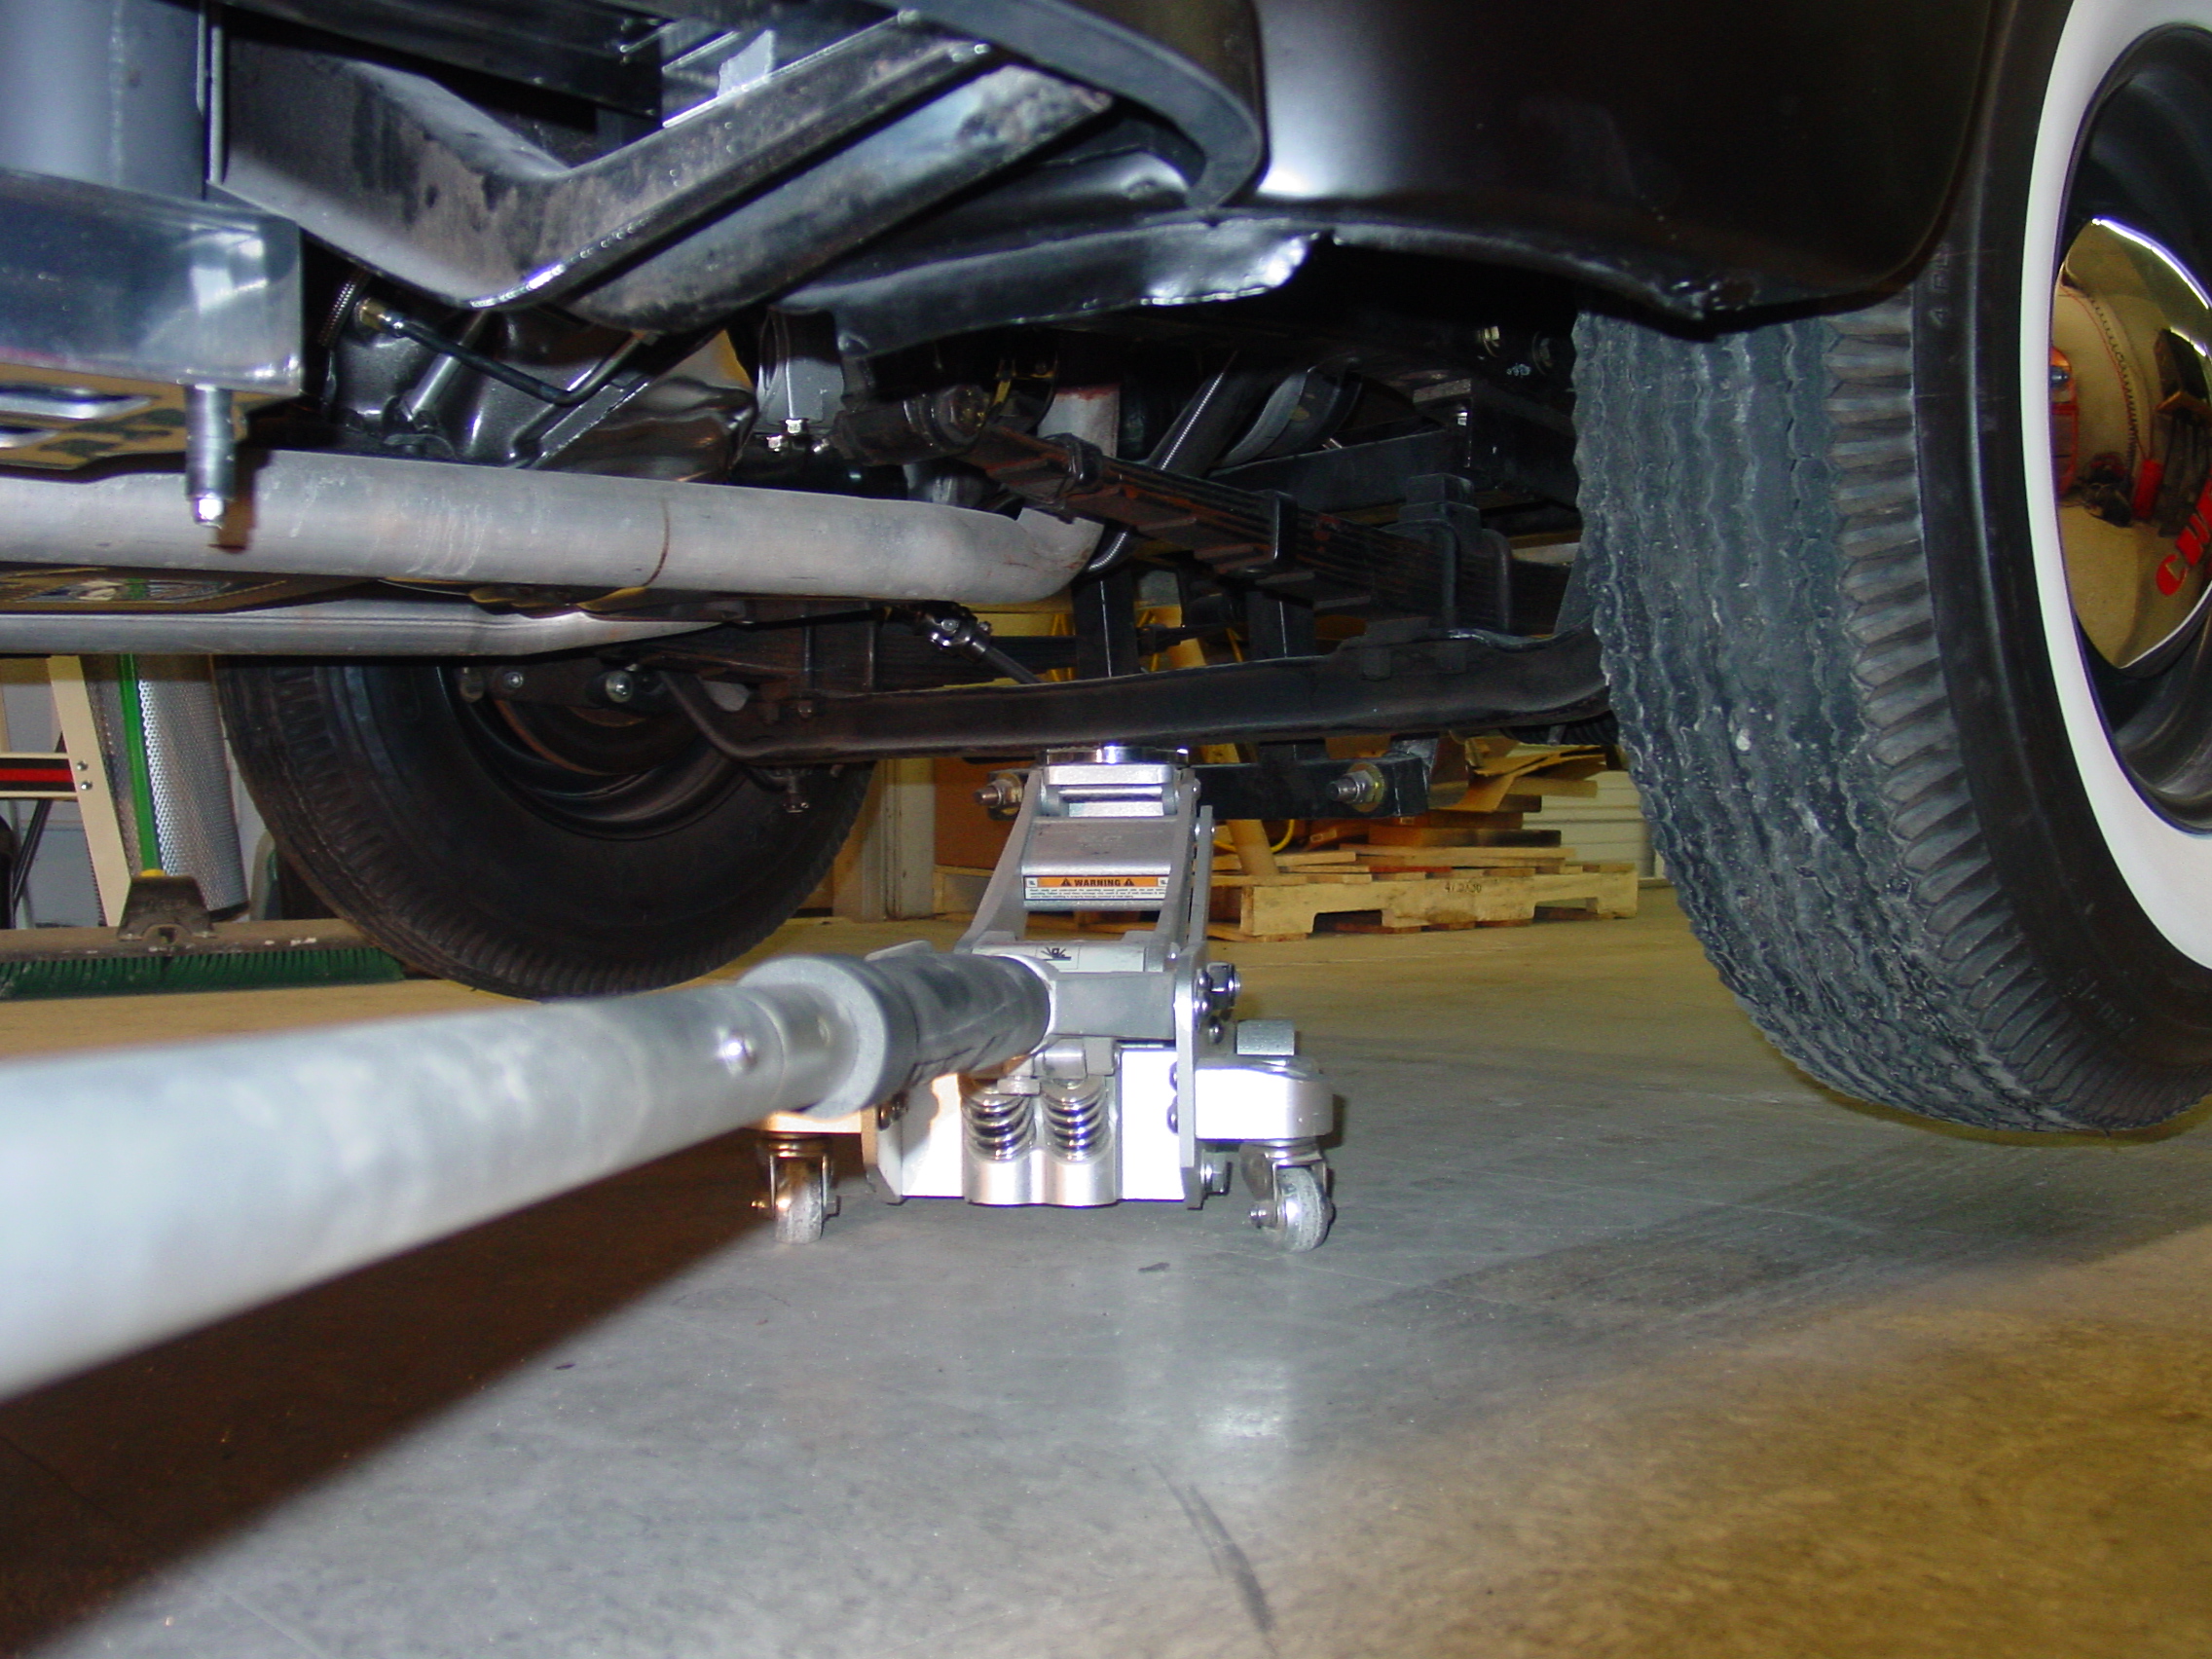
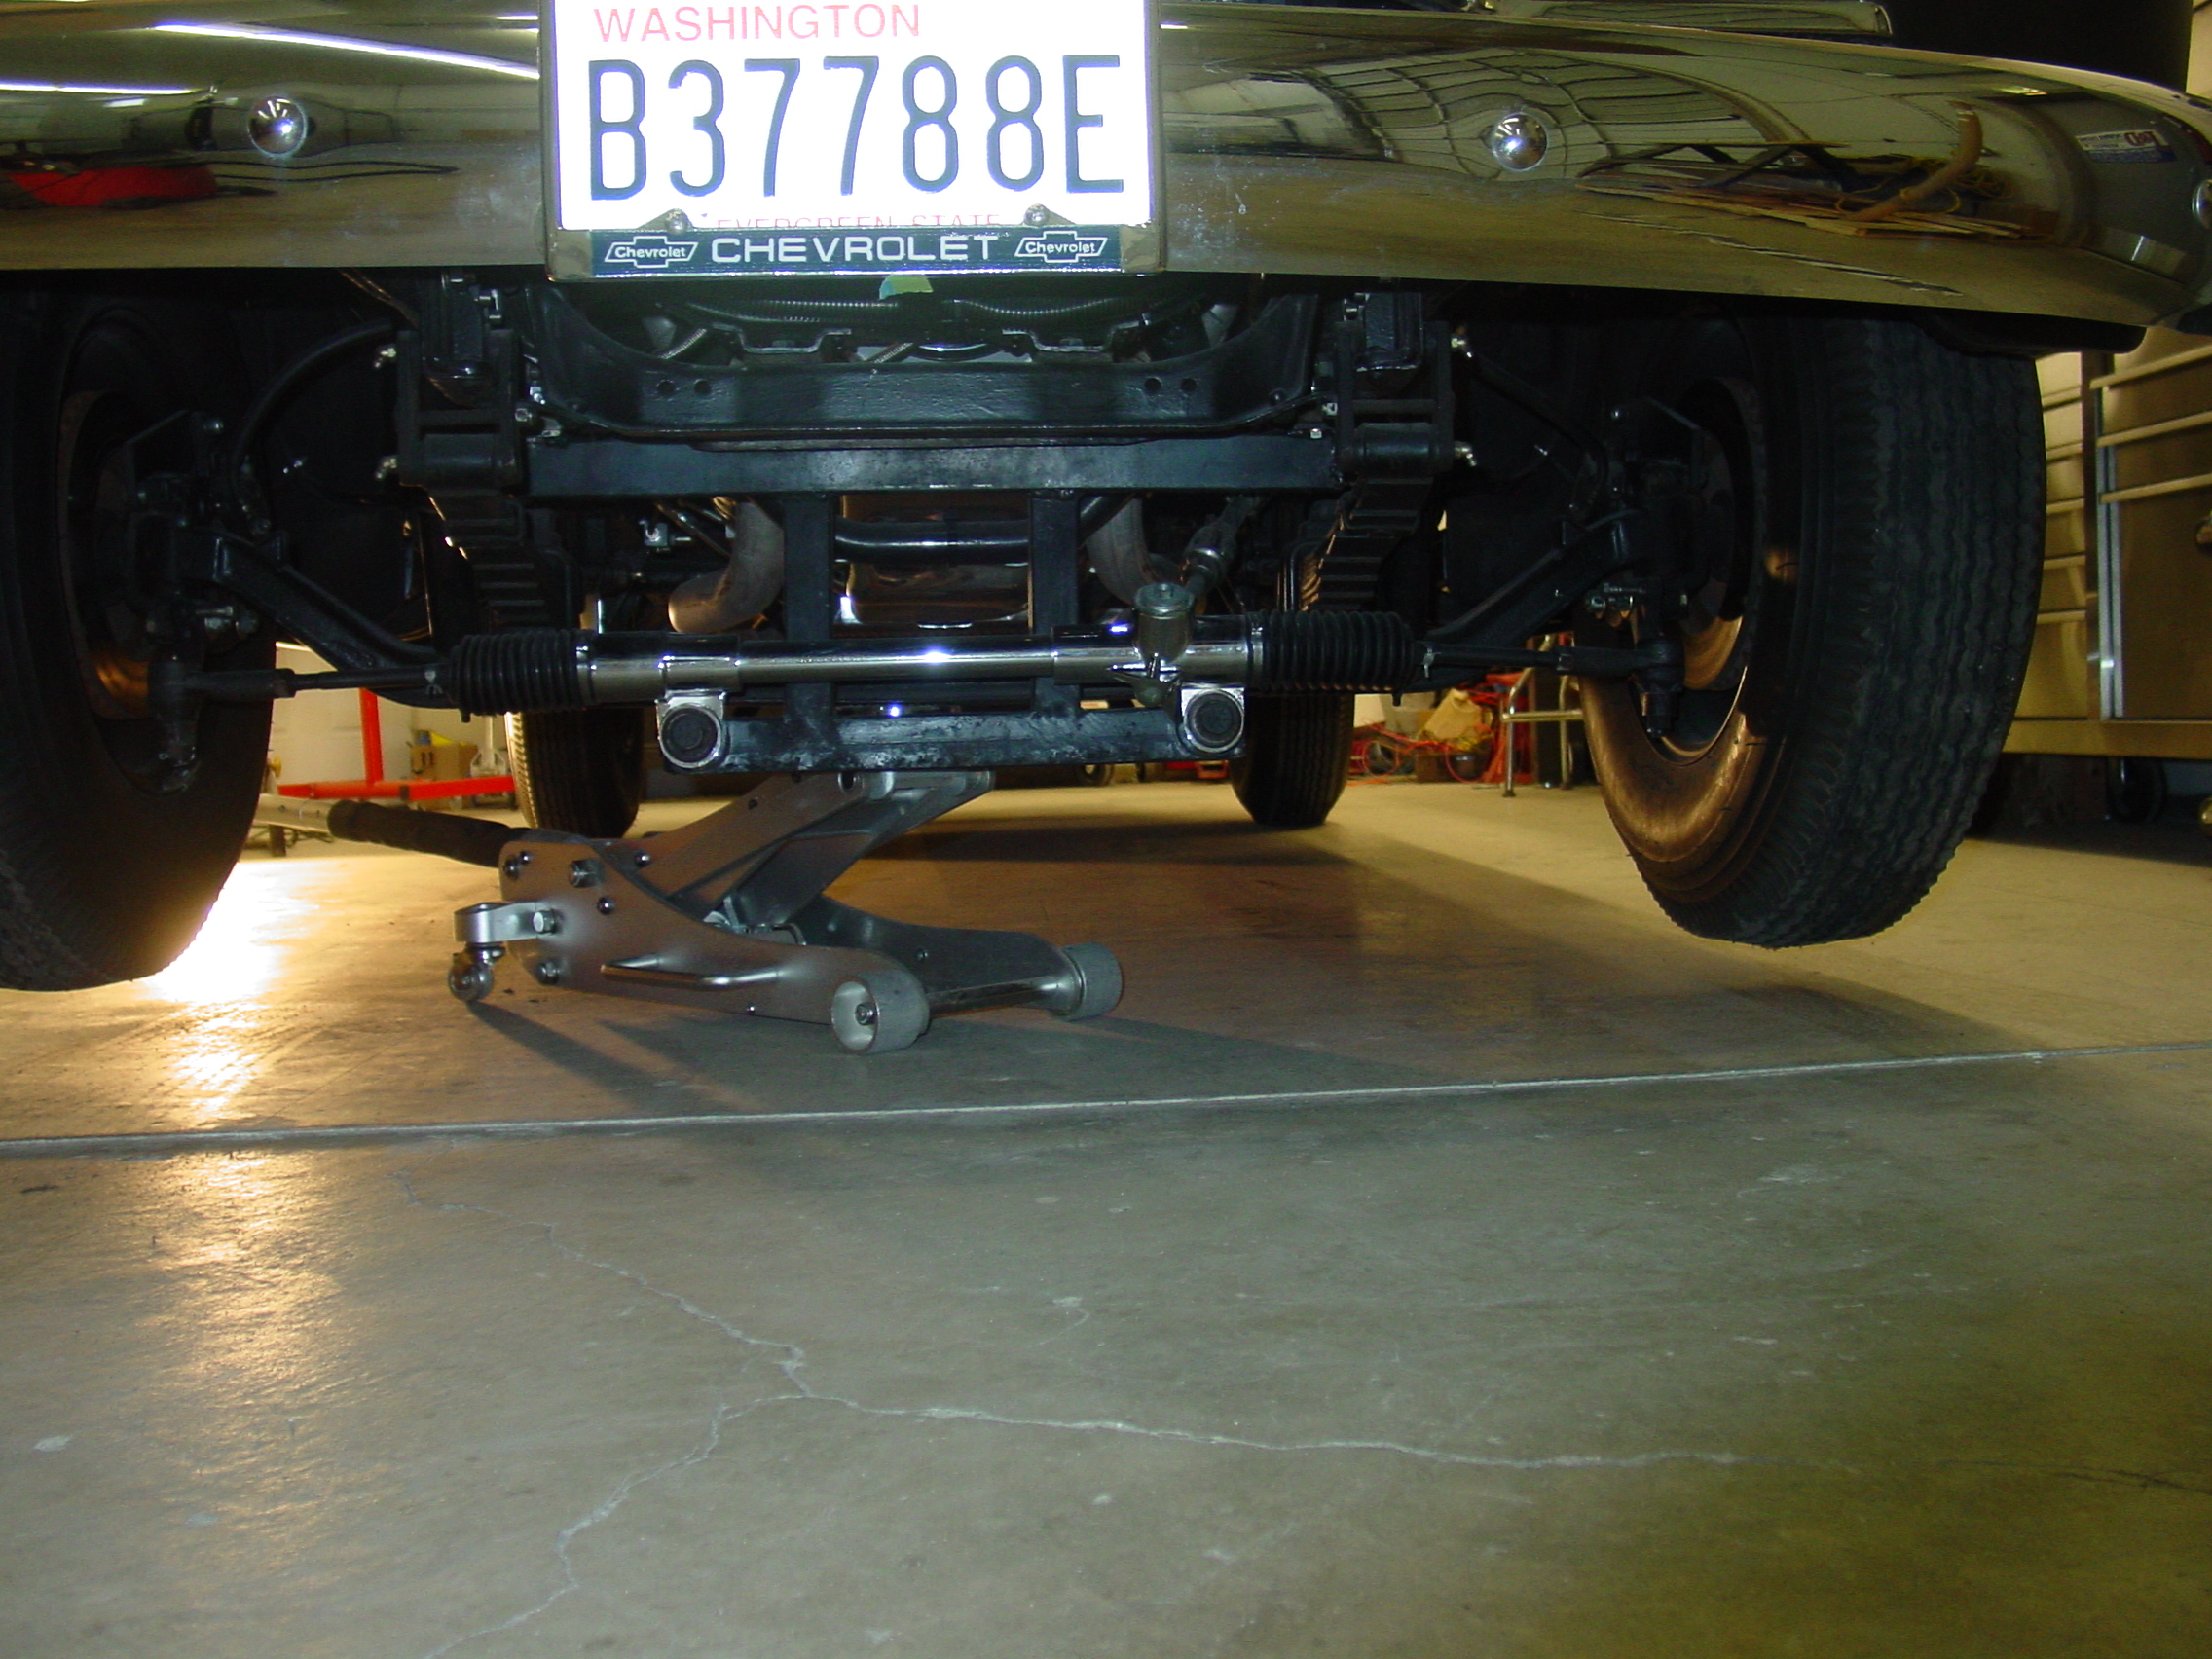
Here in the left picture is shot
of the new carpets and mats all installed and ready for the road. The center & right pictures are shots of the proper jacking point the "front axel" for lifting up the front of the truck. Also note: That the jack must be set from behind the front wheels, as the rack-n-pinion steering support bracket blocks access to the axel. The steering support bracket in a "NO Jack" area. As it can not support the truck's weight, and if used it will bend the frame when the truck is lifted via the support bracket. |
|||||||||||||||||
 |
 |
 |
|||||||||||||||
|
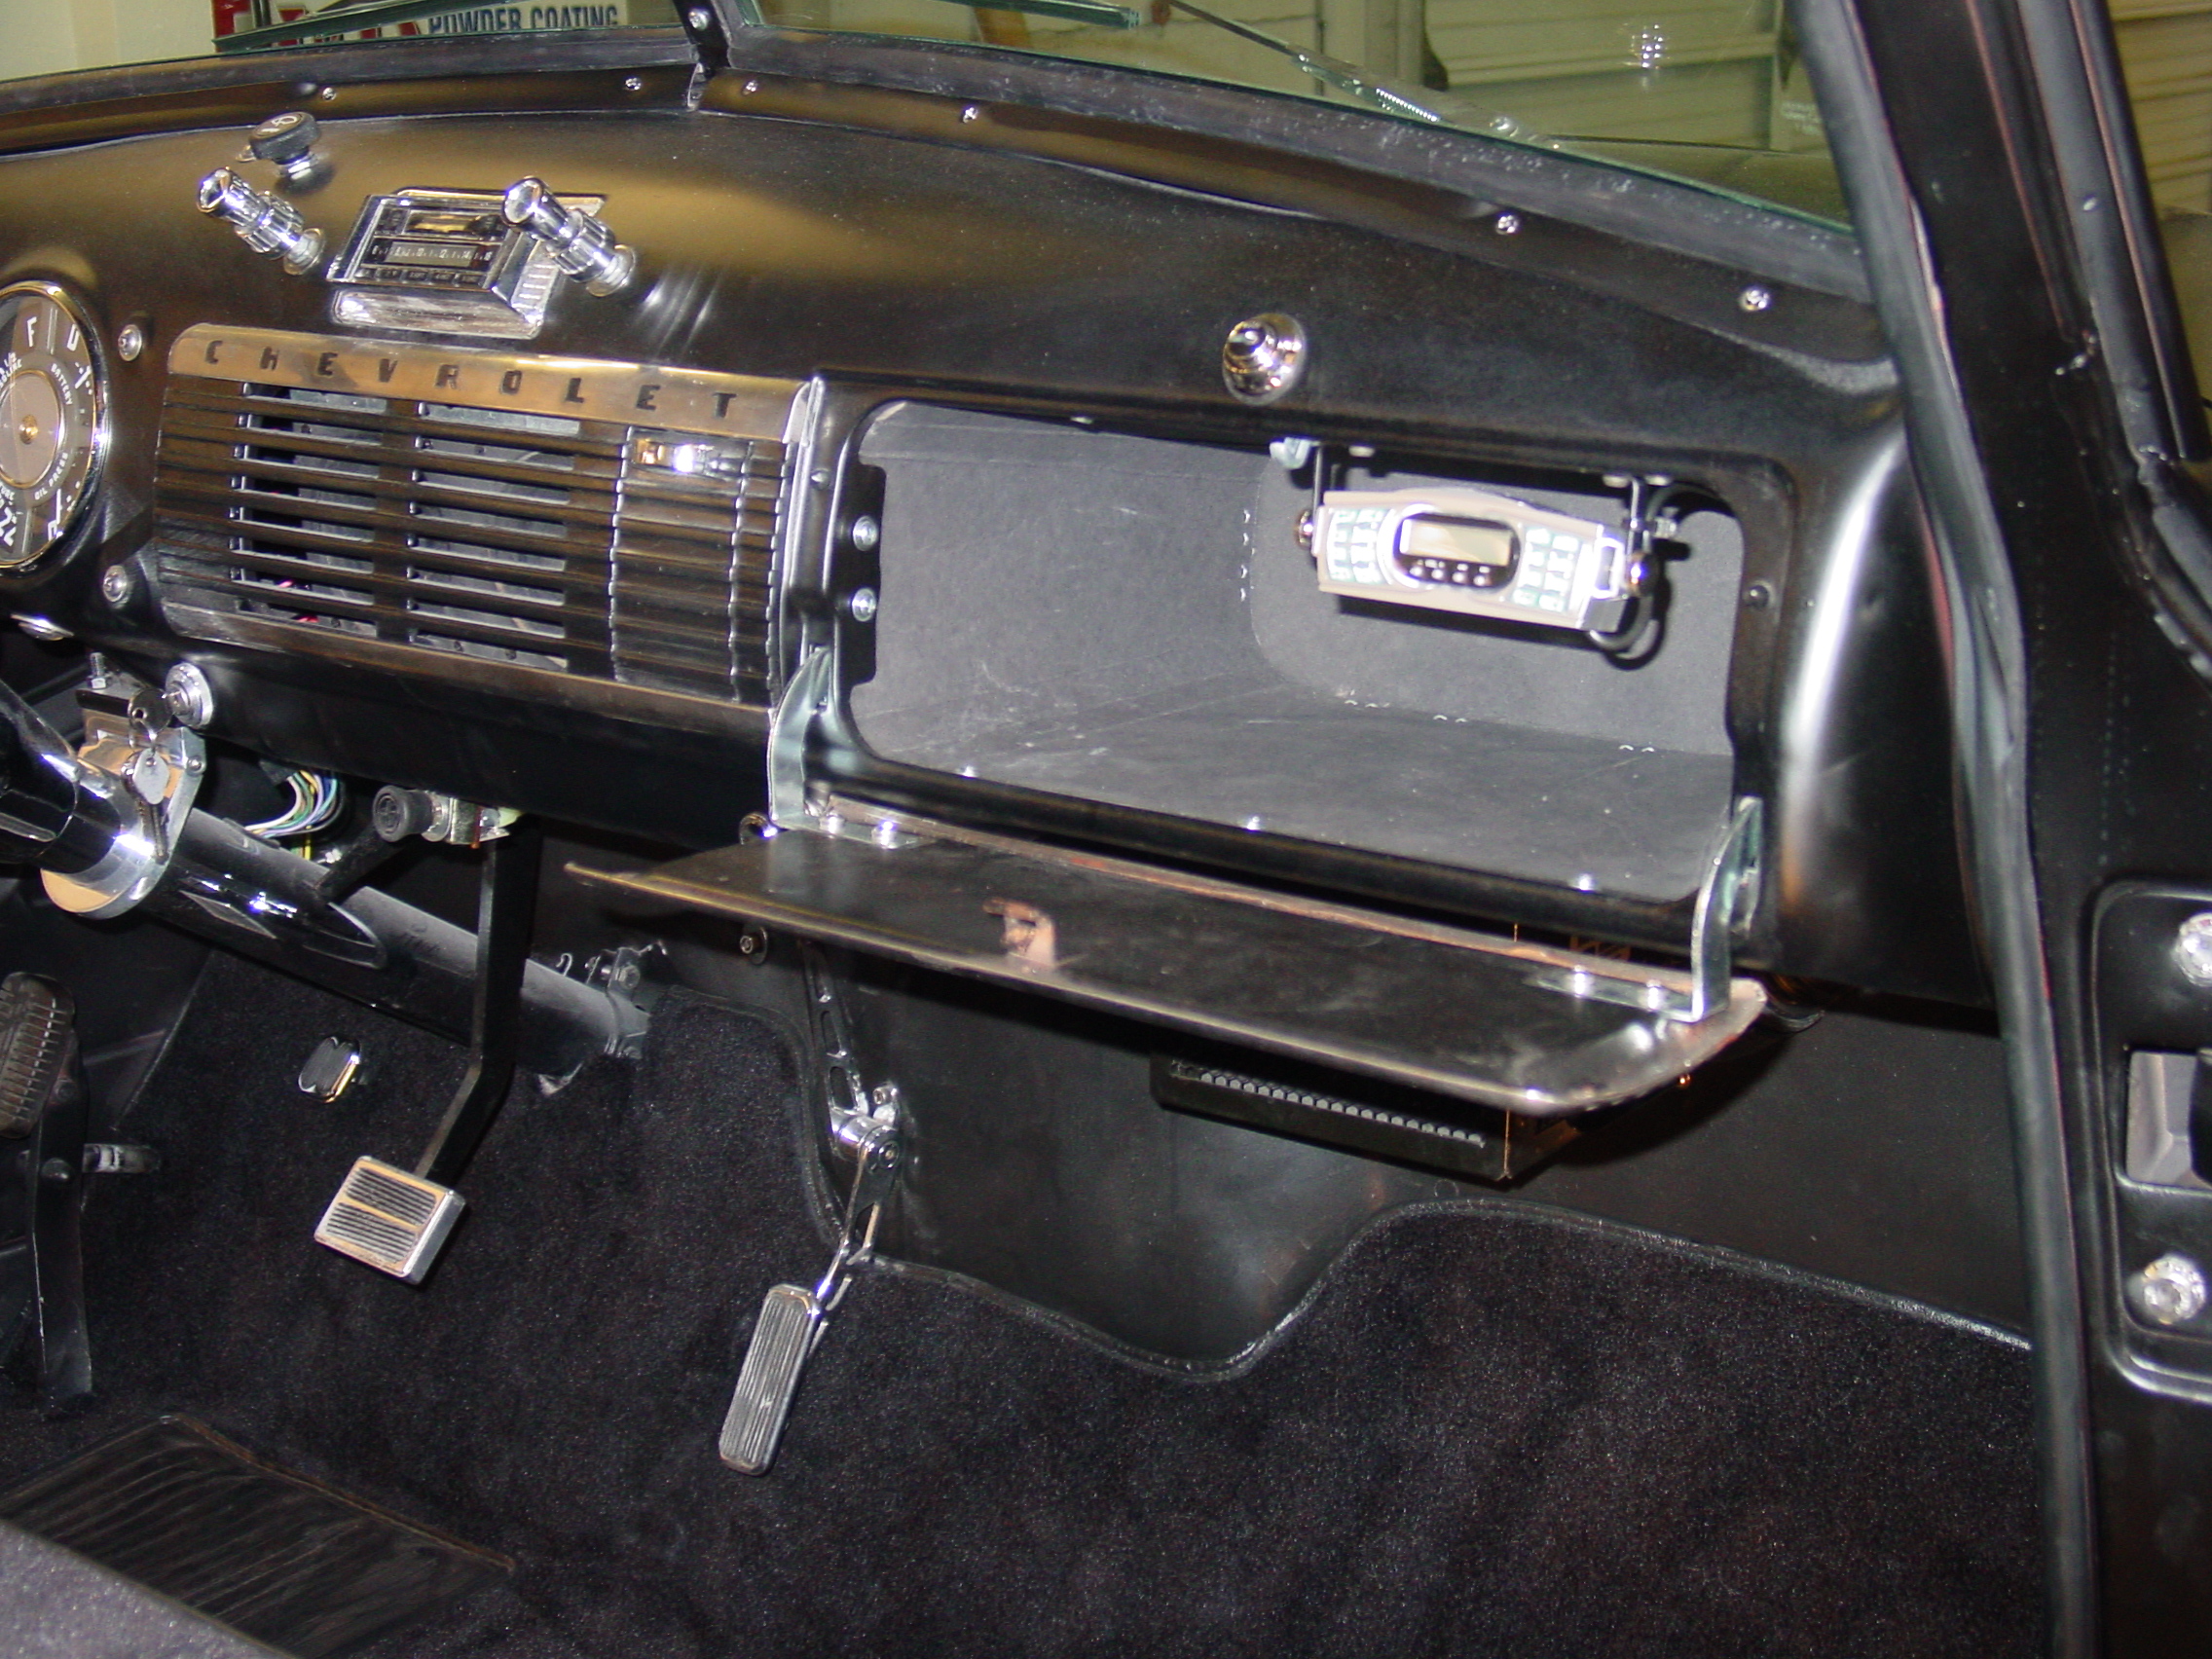
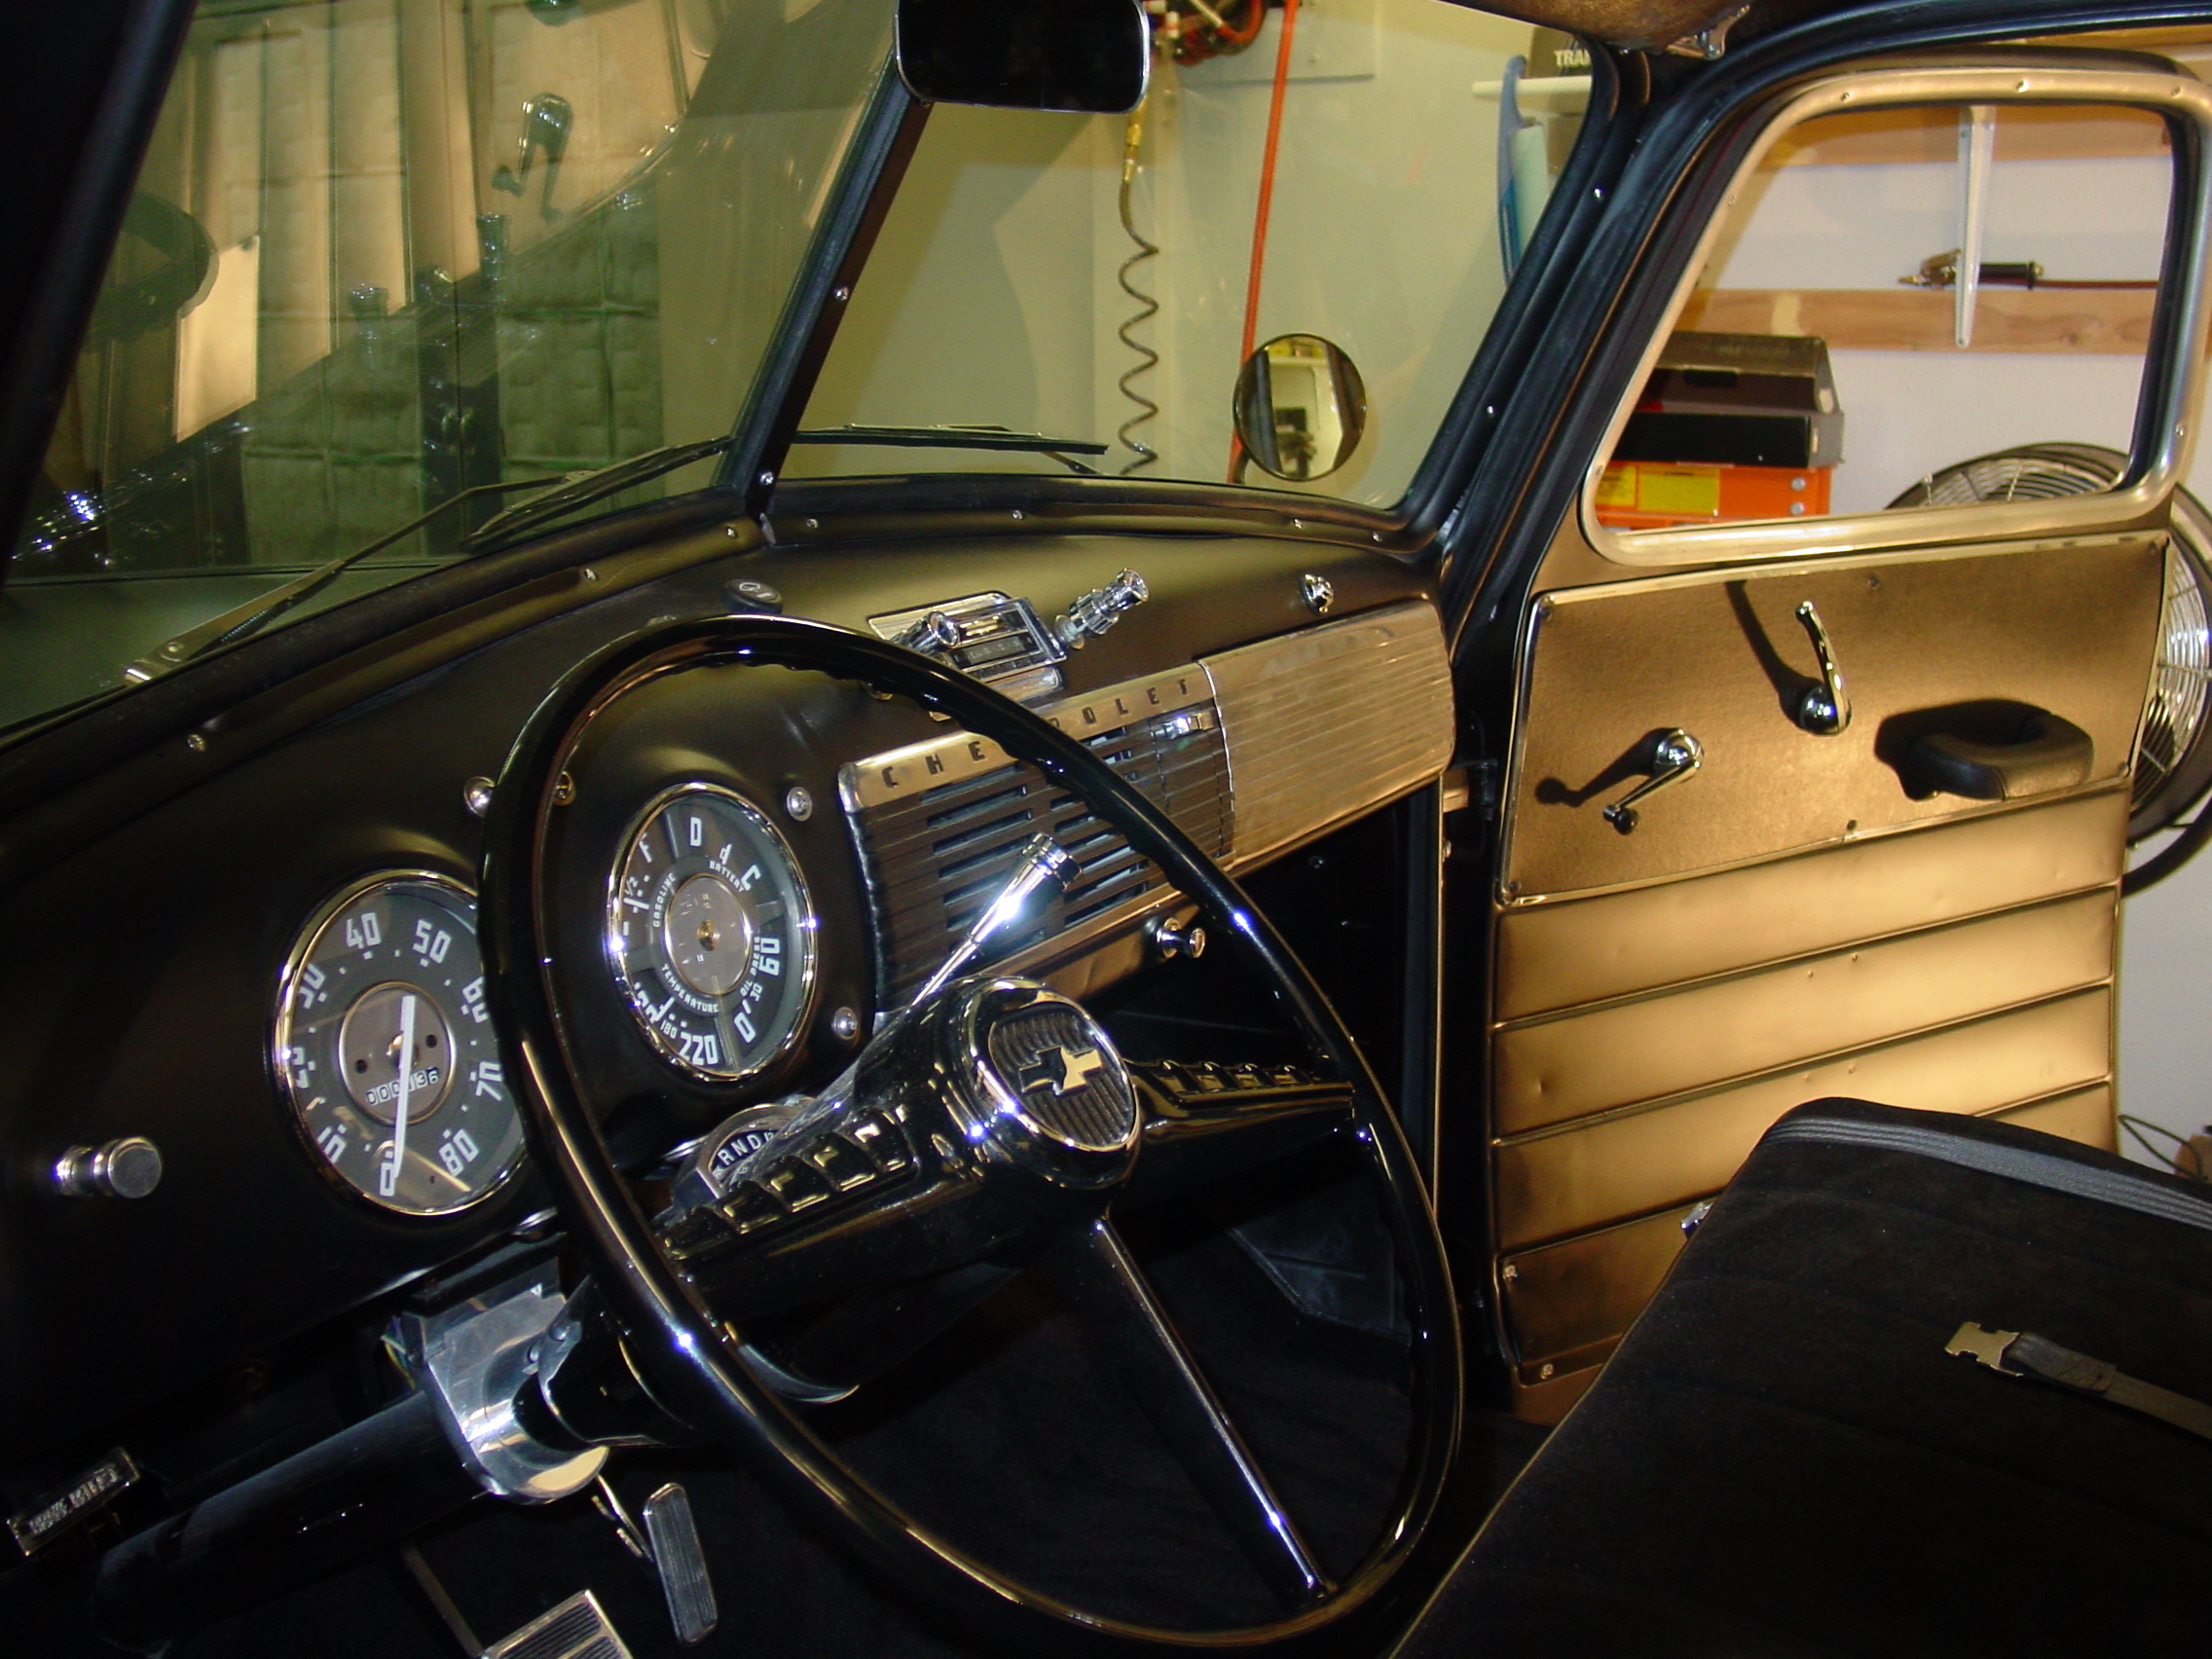
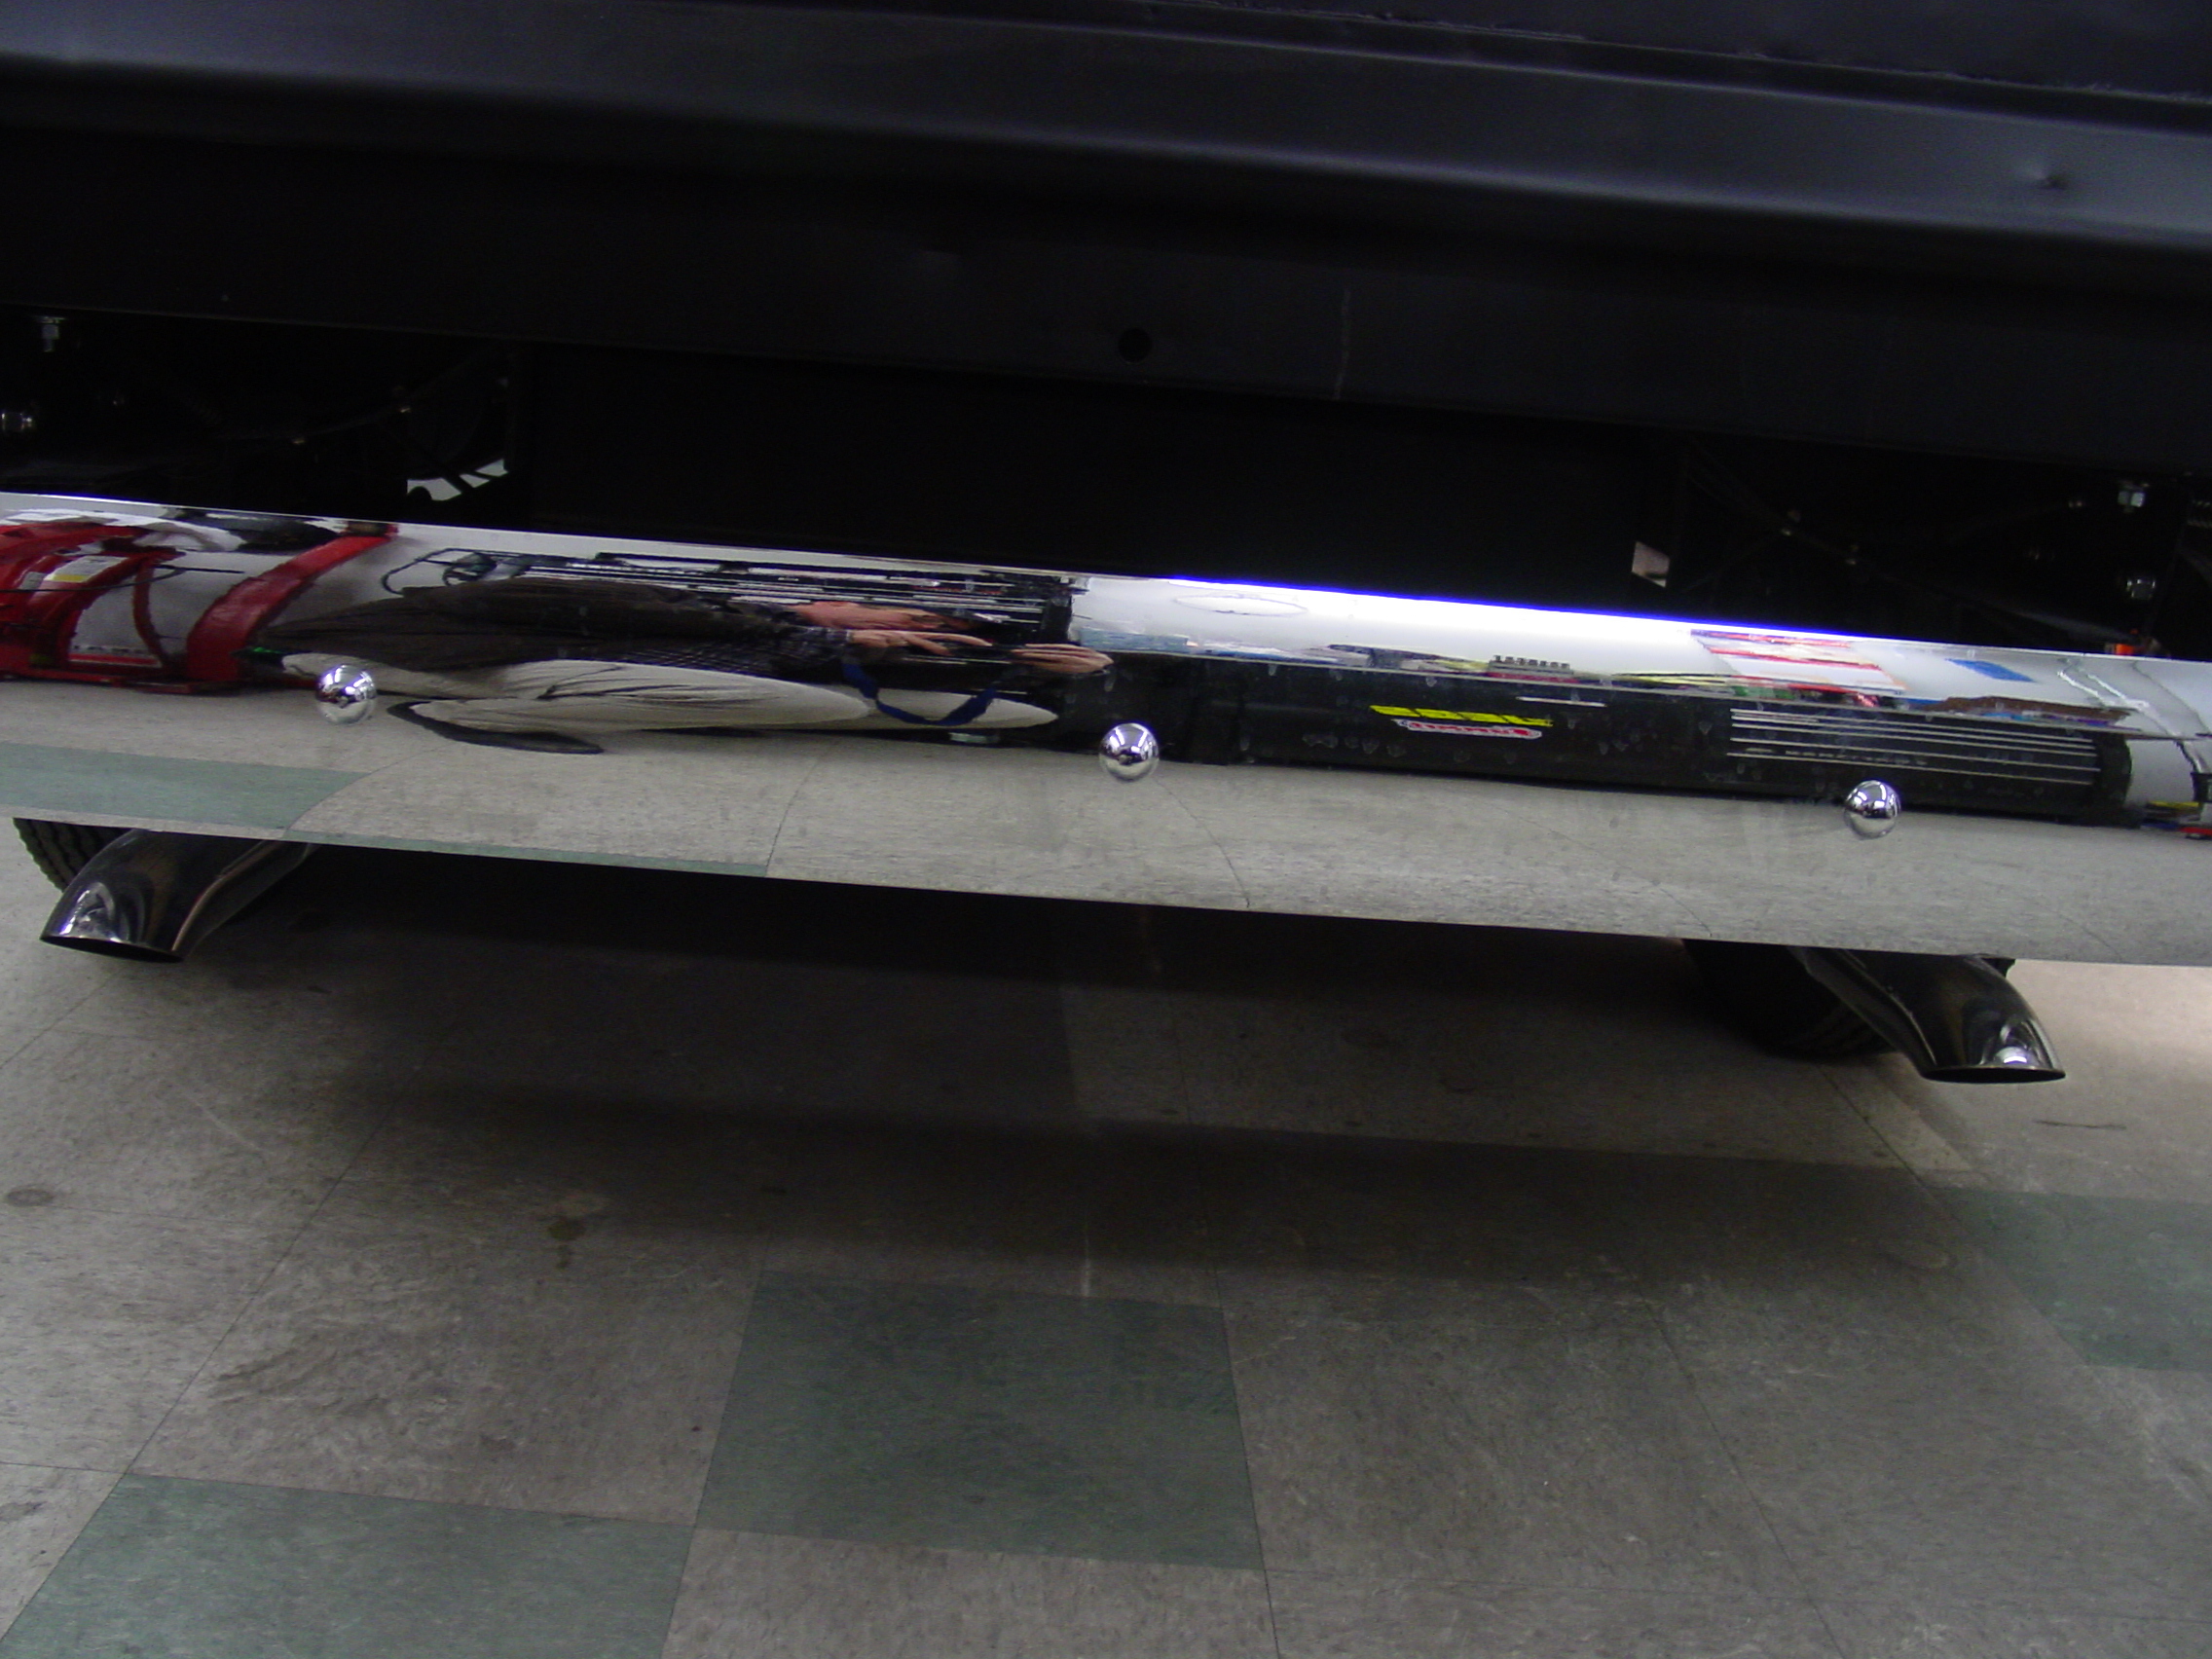
Here in the left picture is the
remote control head for the Stereo / IPod player. Which is all hidden when
the glove box is closed. Center picture is an interior shot, she is all ready to roll! Right side, a closer look at the rear and the Old School Exhaust tips. And yes she has a real nice exhaust note... |
|||||||||||||||||
 |
 |
 |
|||||||||||||||
|
Both the classic OEM style Side &
Rear view mirrors and center strip are all installed, as can be seen here in
these three shots. The Hidden Audio system for IPod connection, and then the Cab Carpet, is all that is left to be installed. Of course some fine tuning is required for this and that, but were are very close to project completion now. |
|||||||||||||||||
 |
 |
 |
|||||||||||||||
|
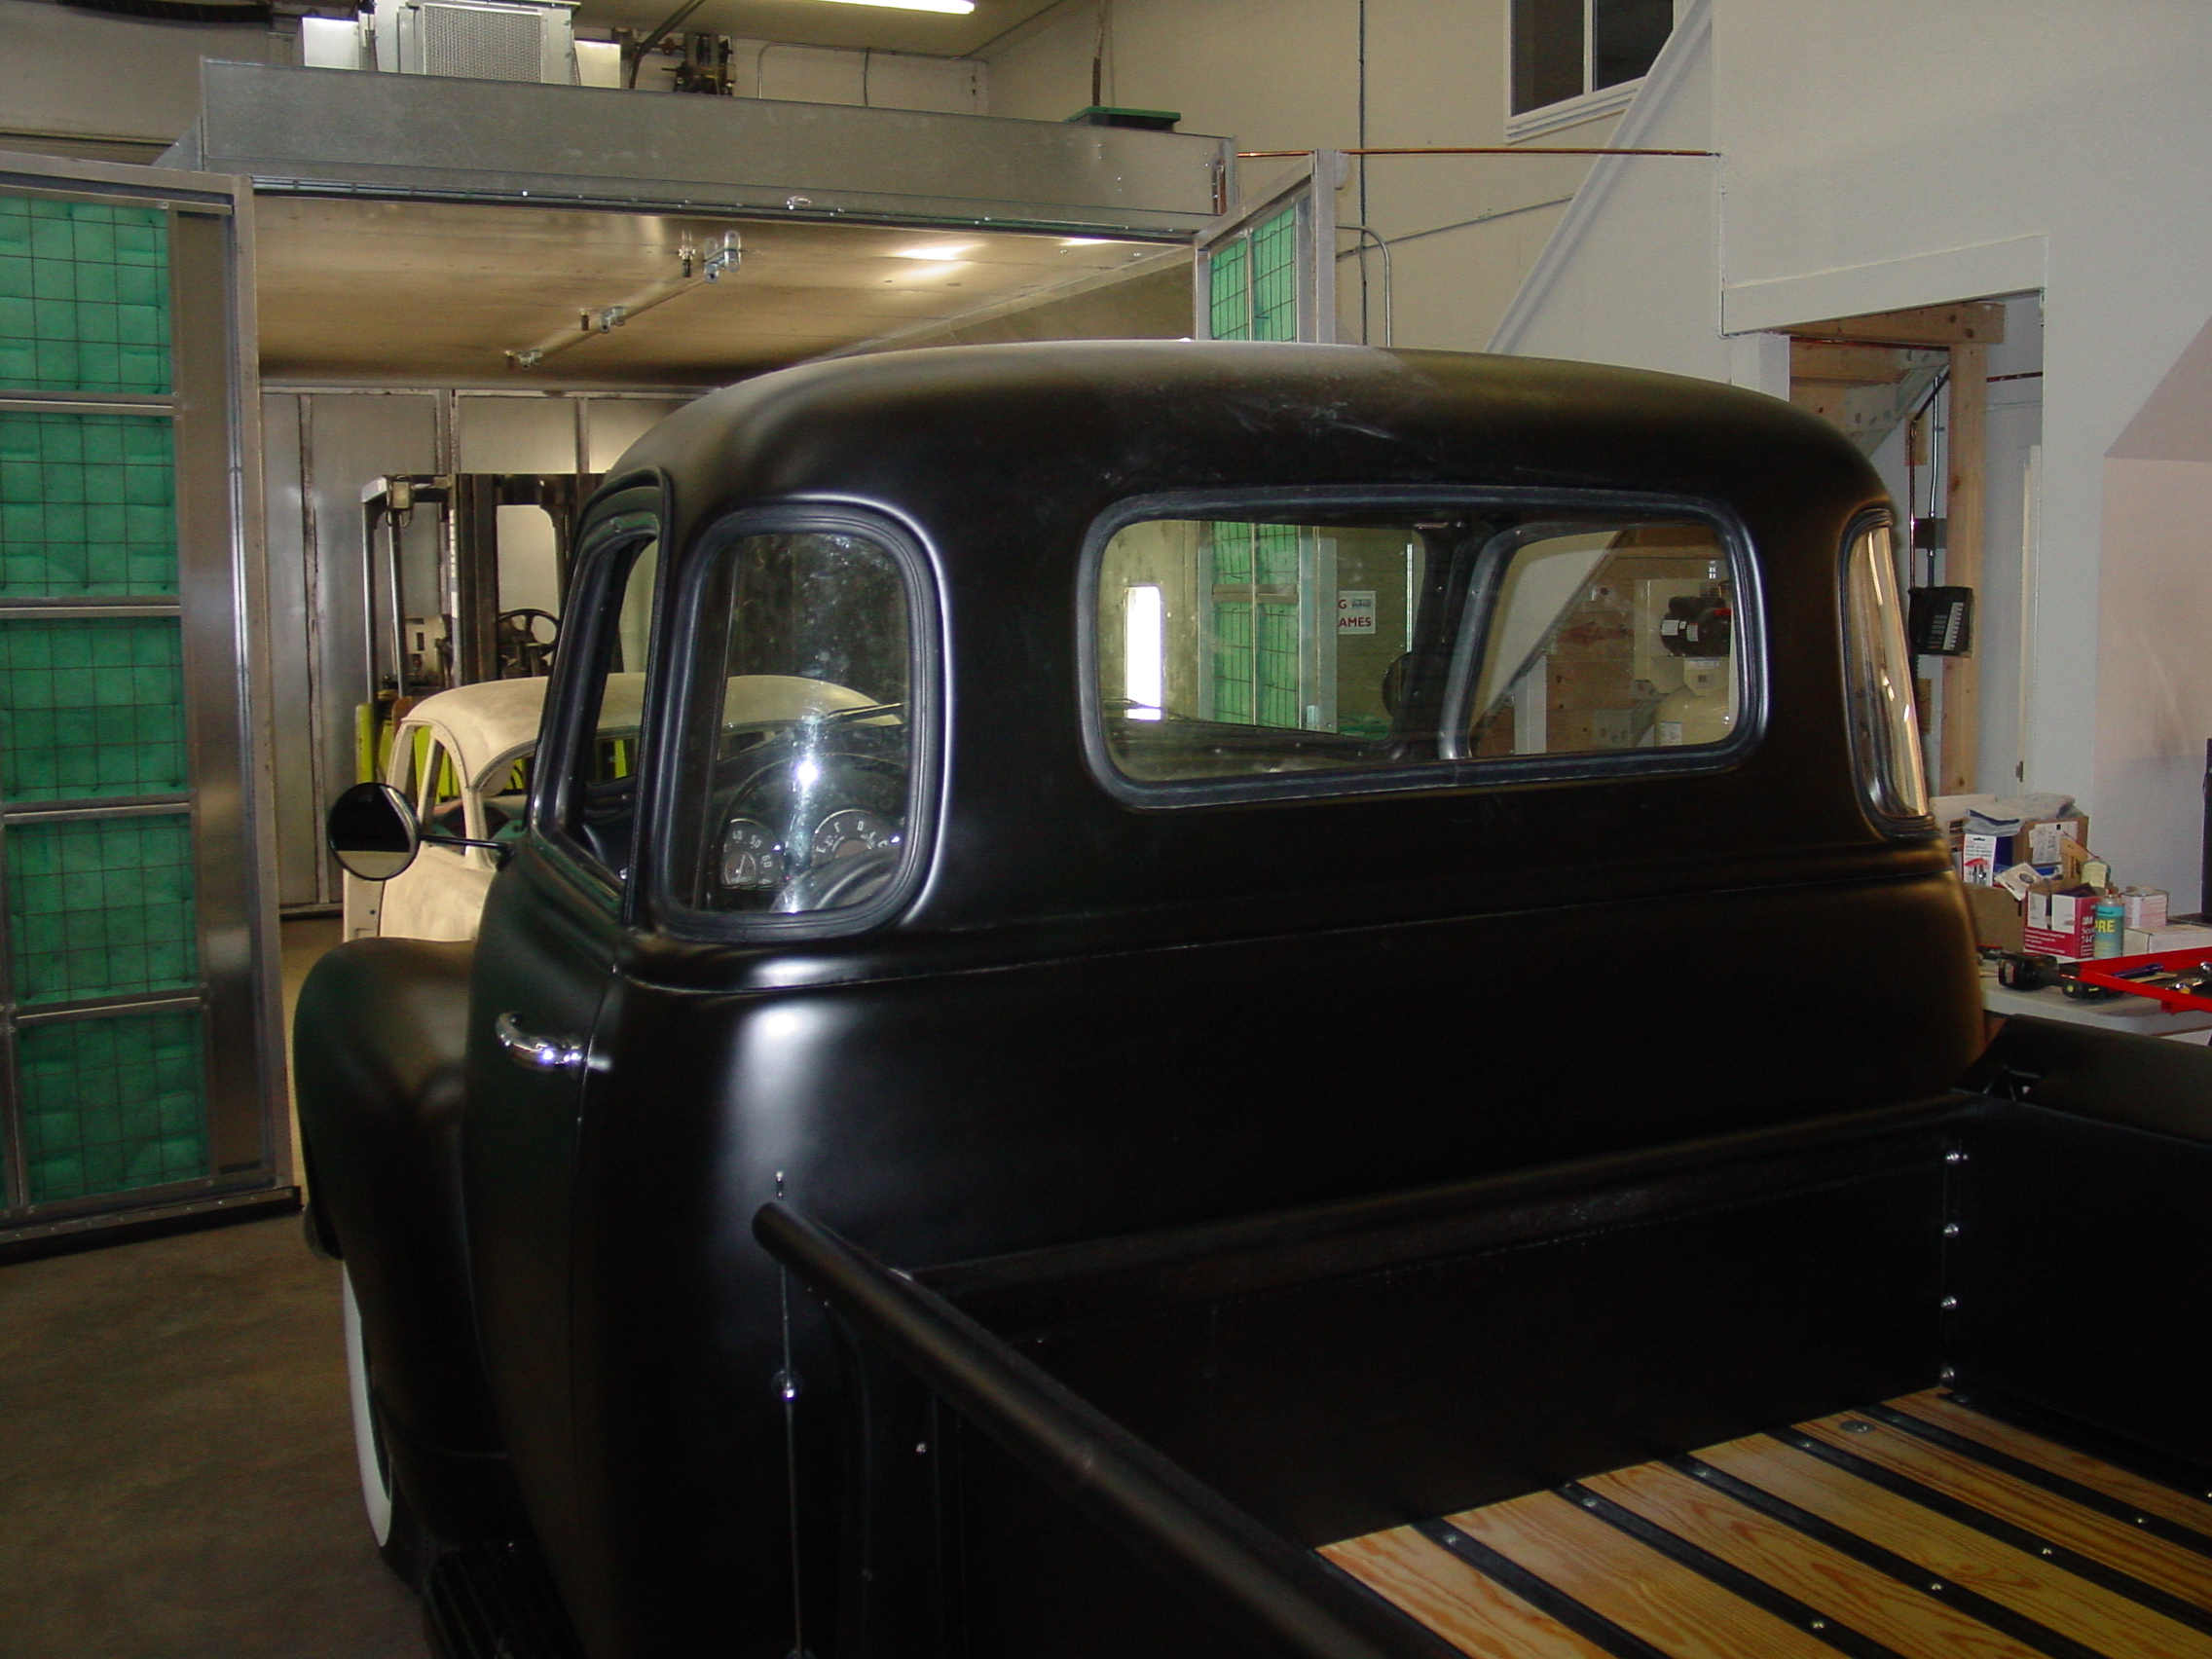
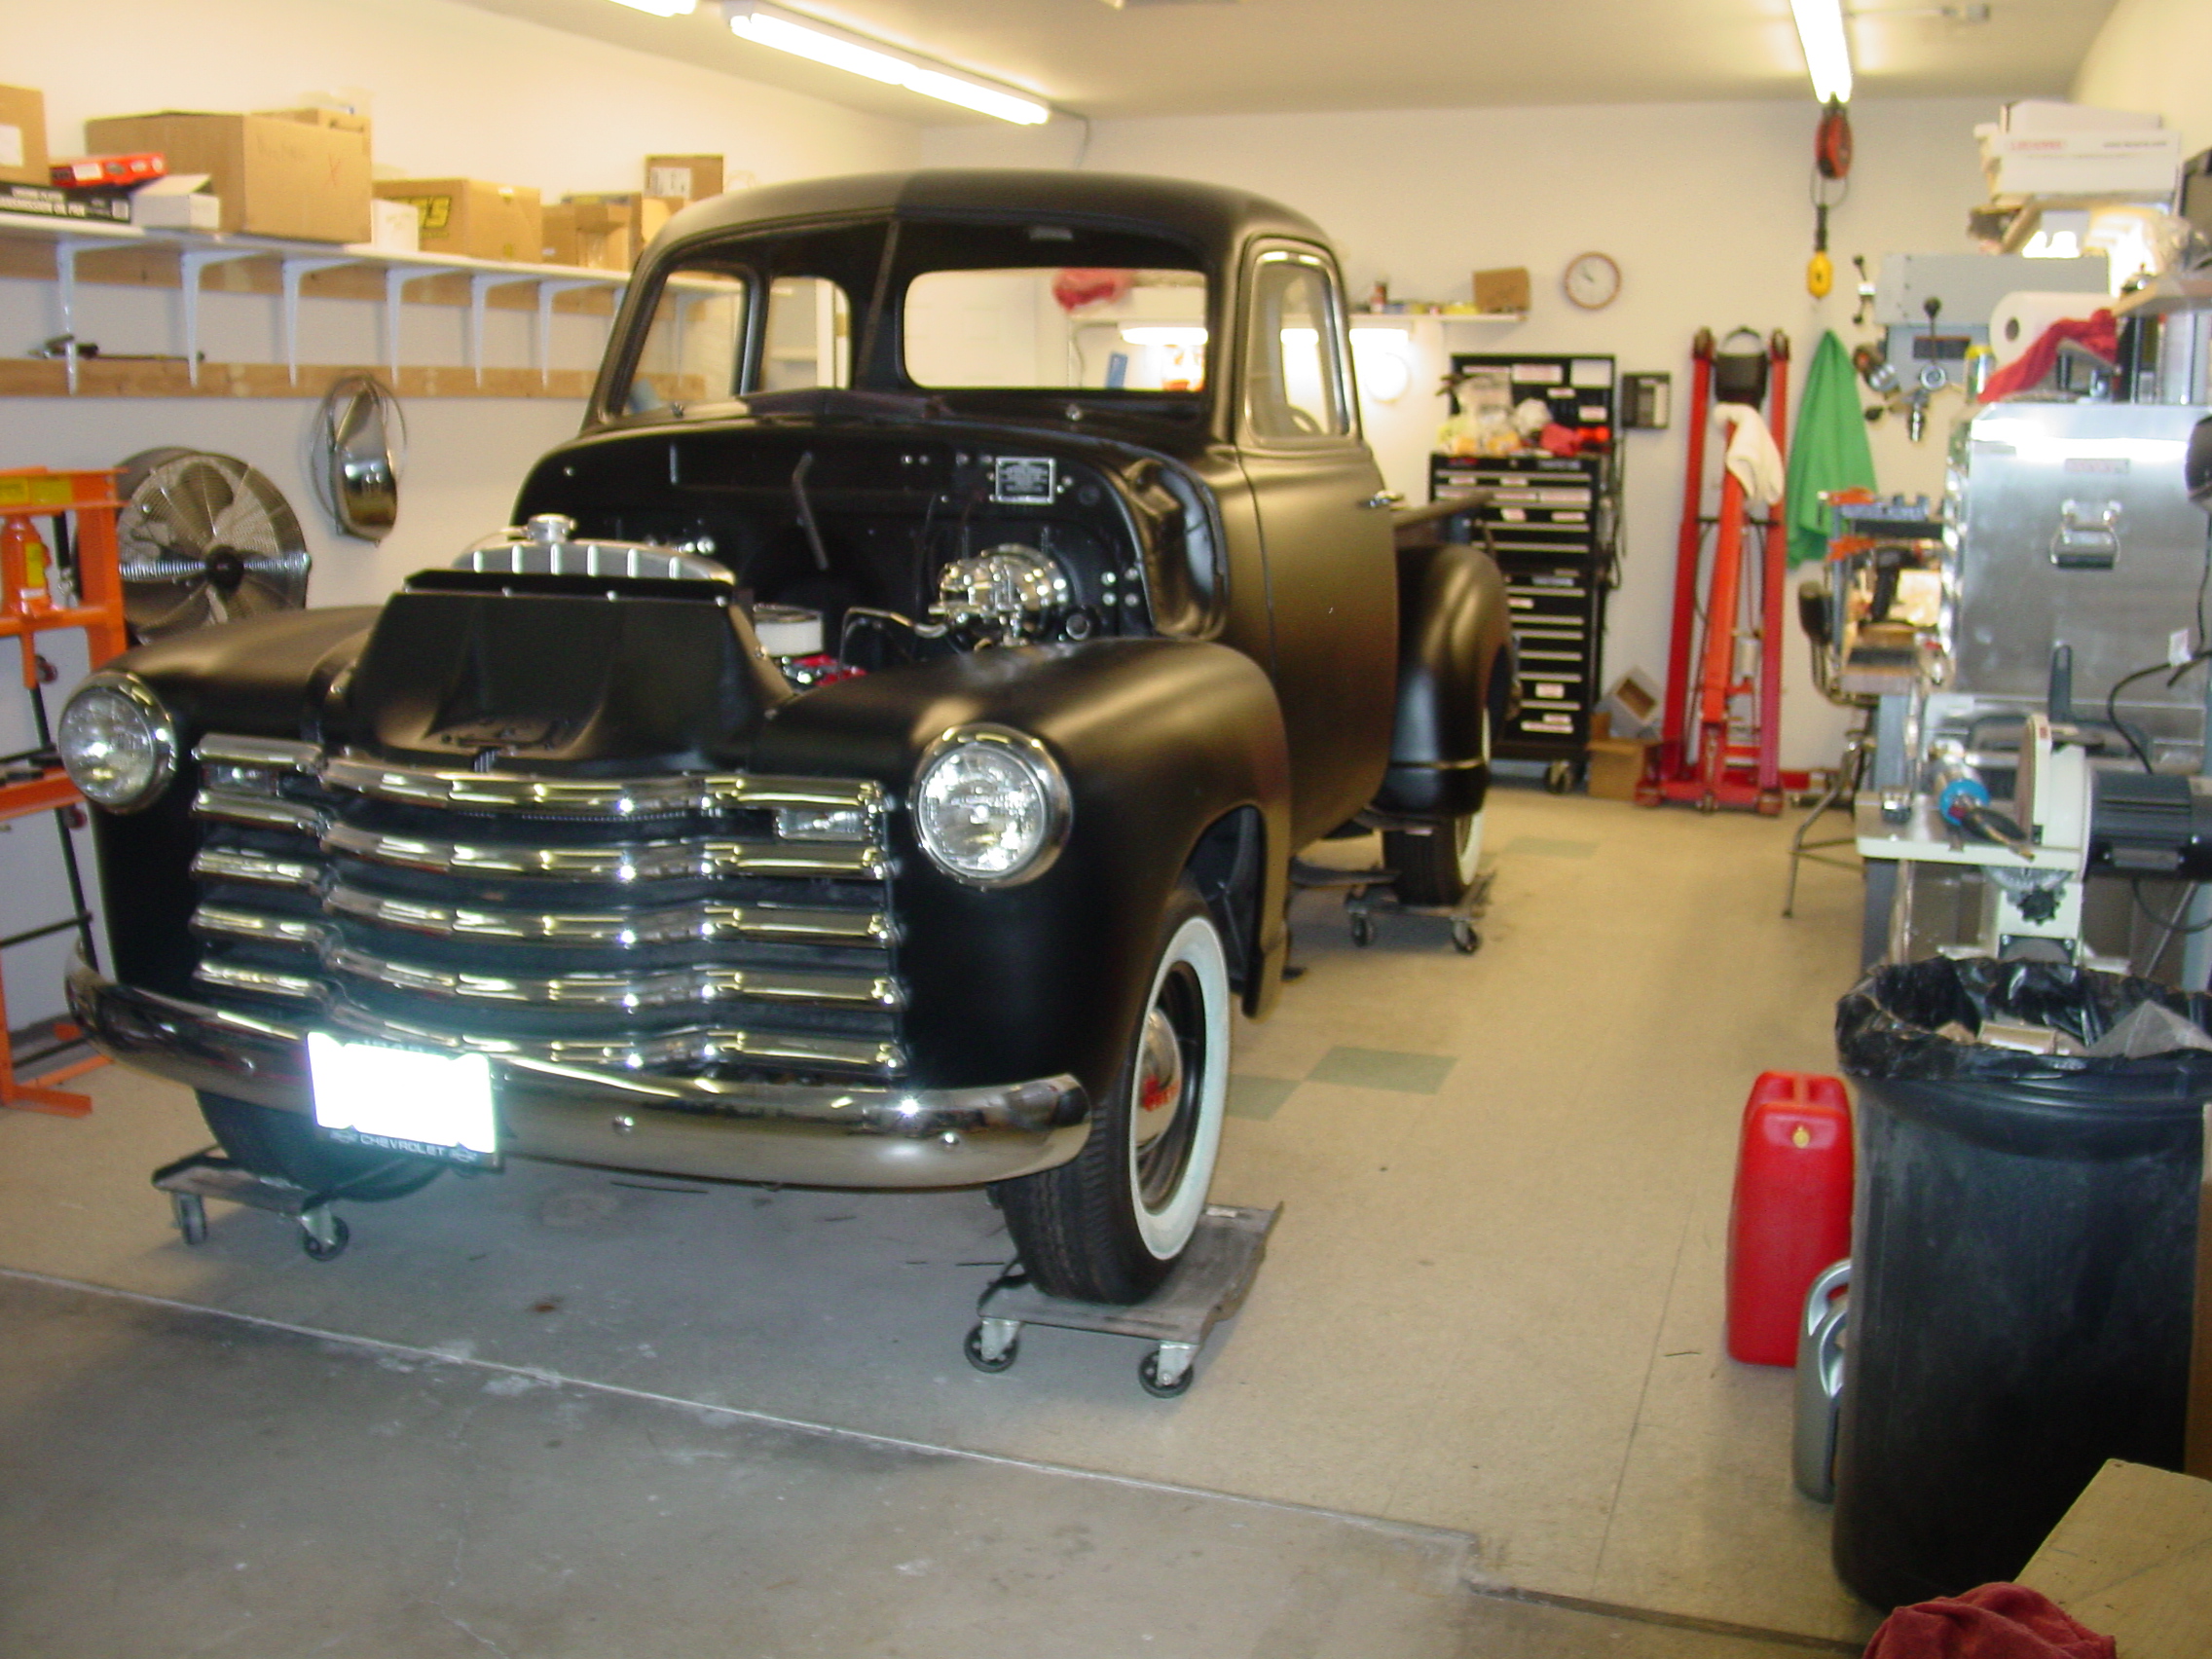
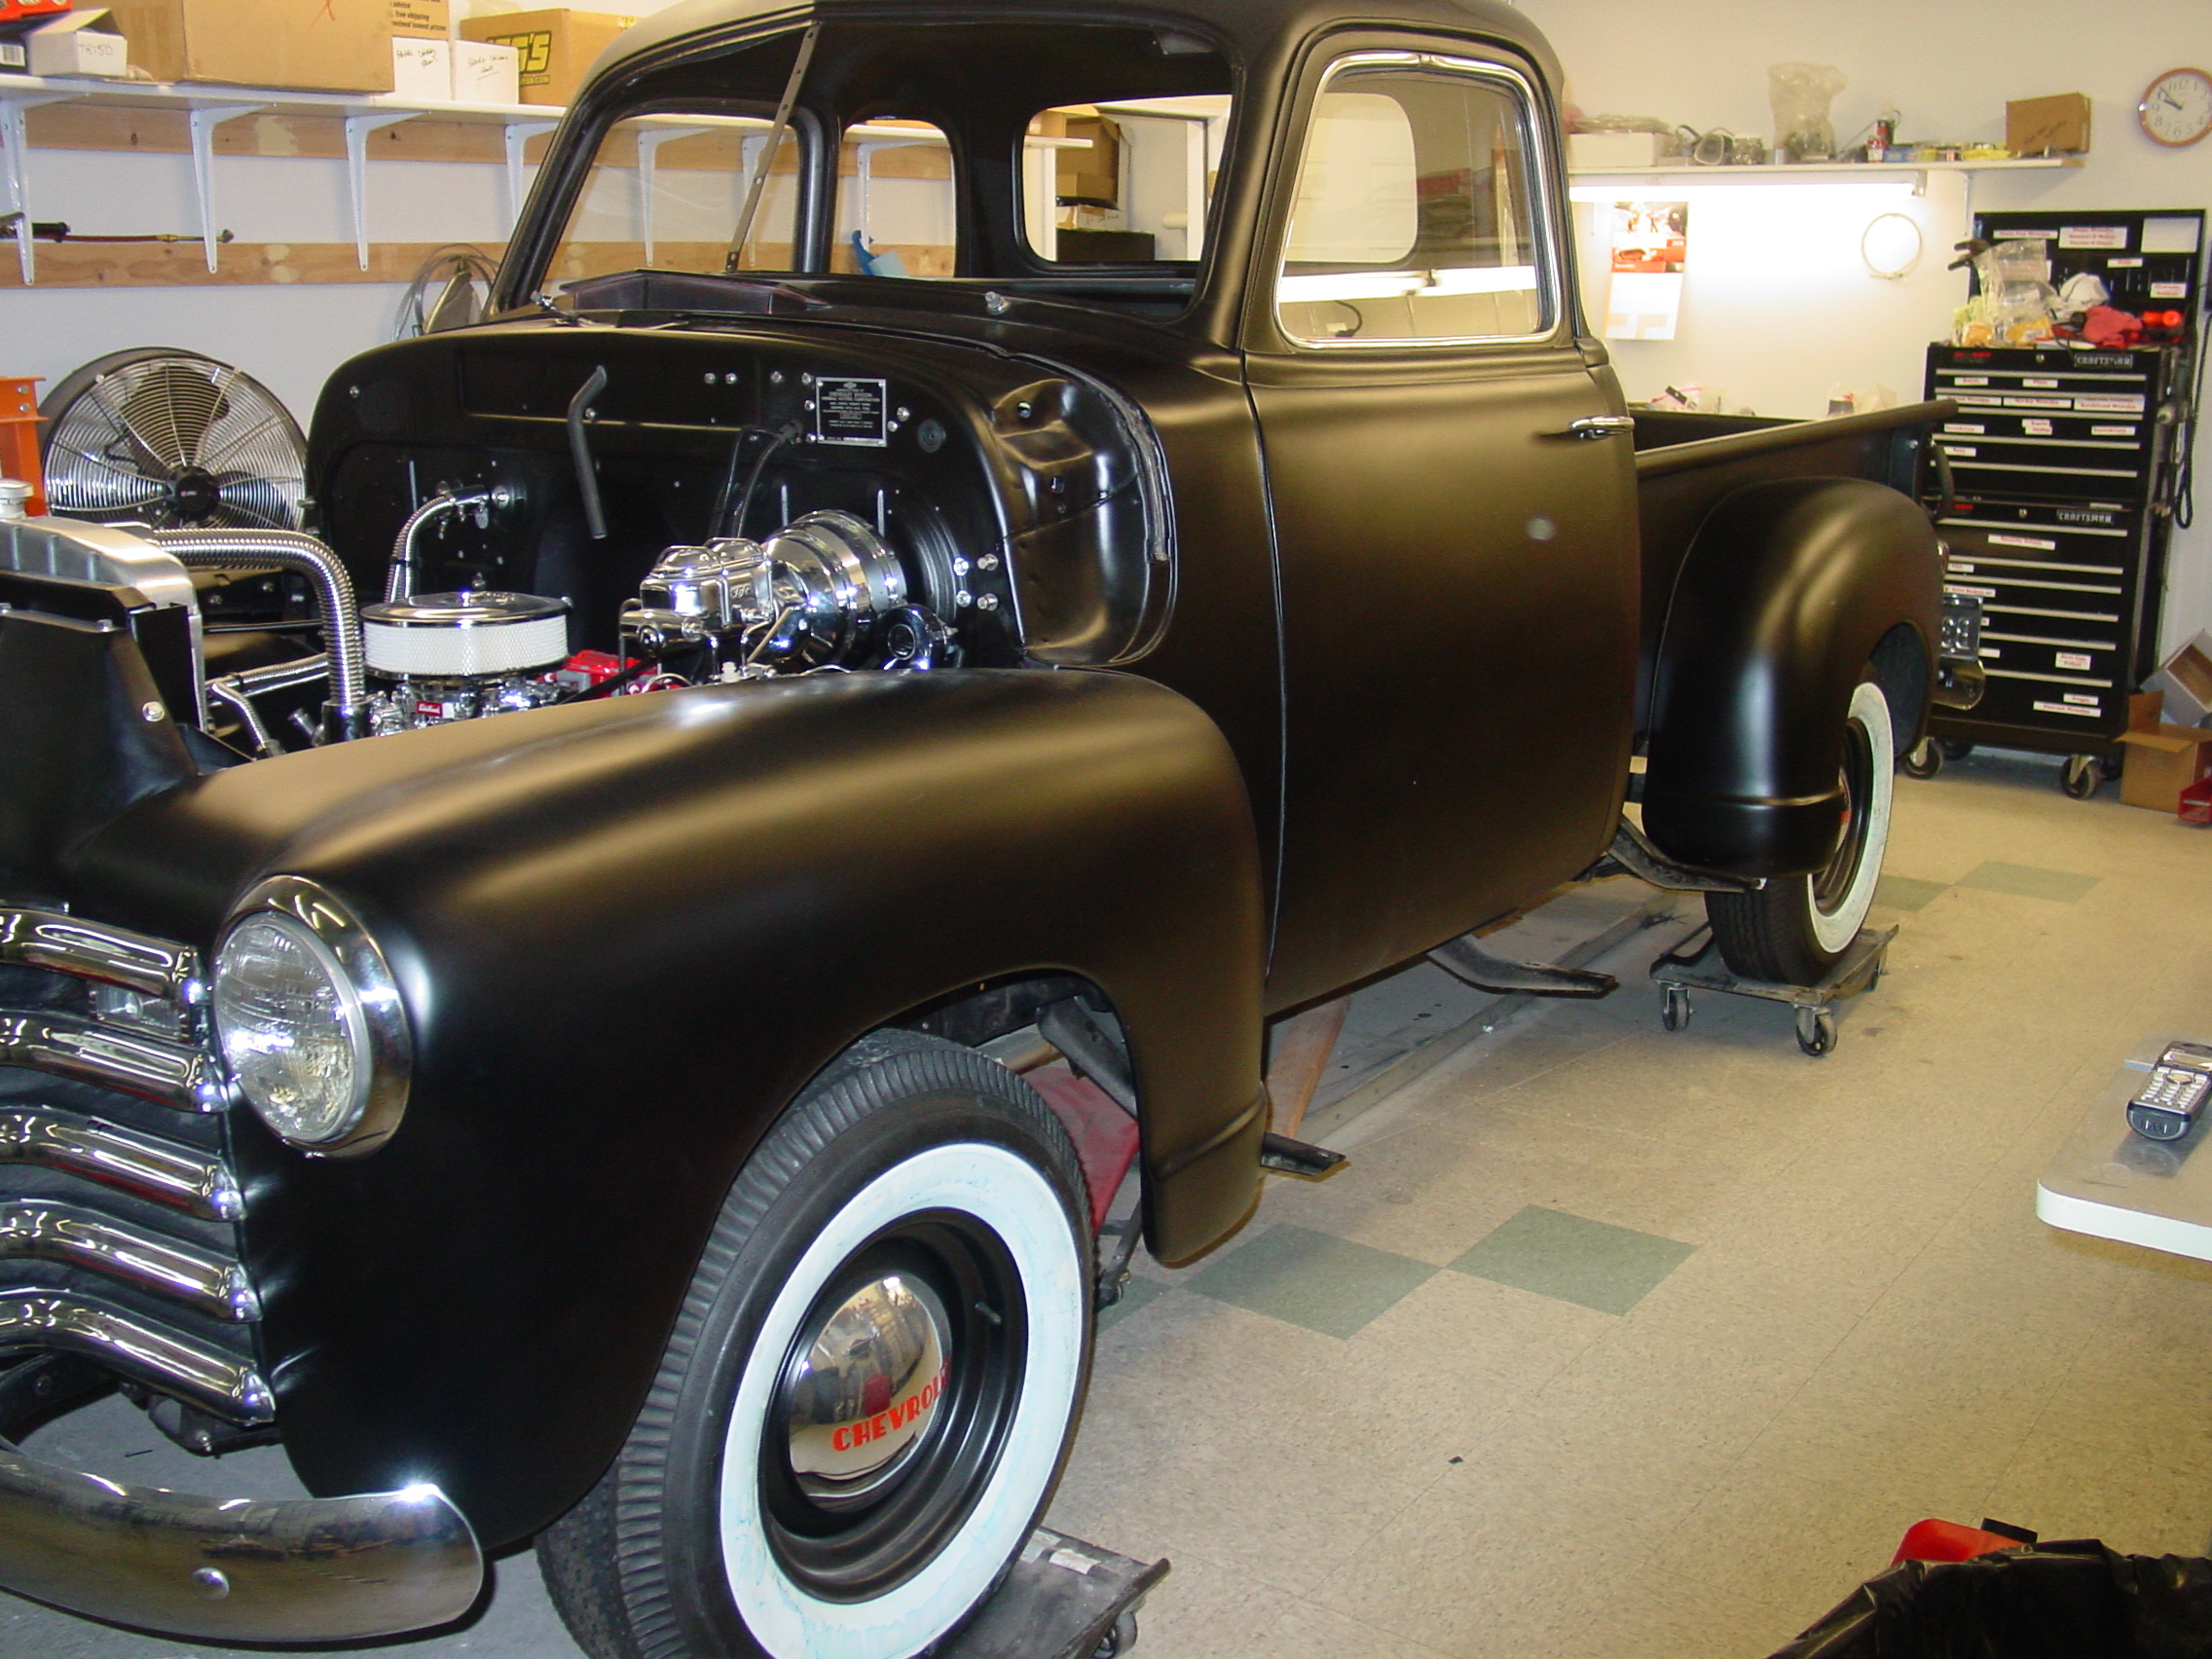
The Truck is almost all Complete
now. I
still have a quite a few tweaks, and adjustments to make. Including the Speedometer calibration, and I must replace the "Brand new" but Failed Alternator, as soon as the new one arrives. Also still need to install the Windshield Center Chrome strip, and the cab carpet. But we are now 98% completed at this point! She Drives real nice, with lots of power, but still easy to handle. Except for the turning radius of course, its not the smallest one. But this is how they come from Chevy. |
|||||||||||||||||
 |
 |
 |
|||||||||||||||
|
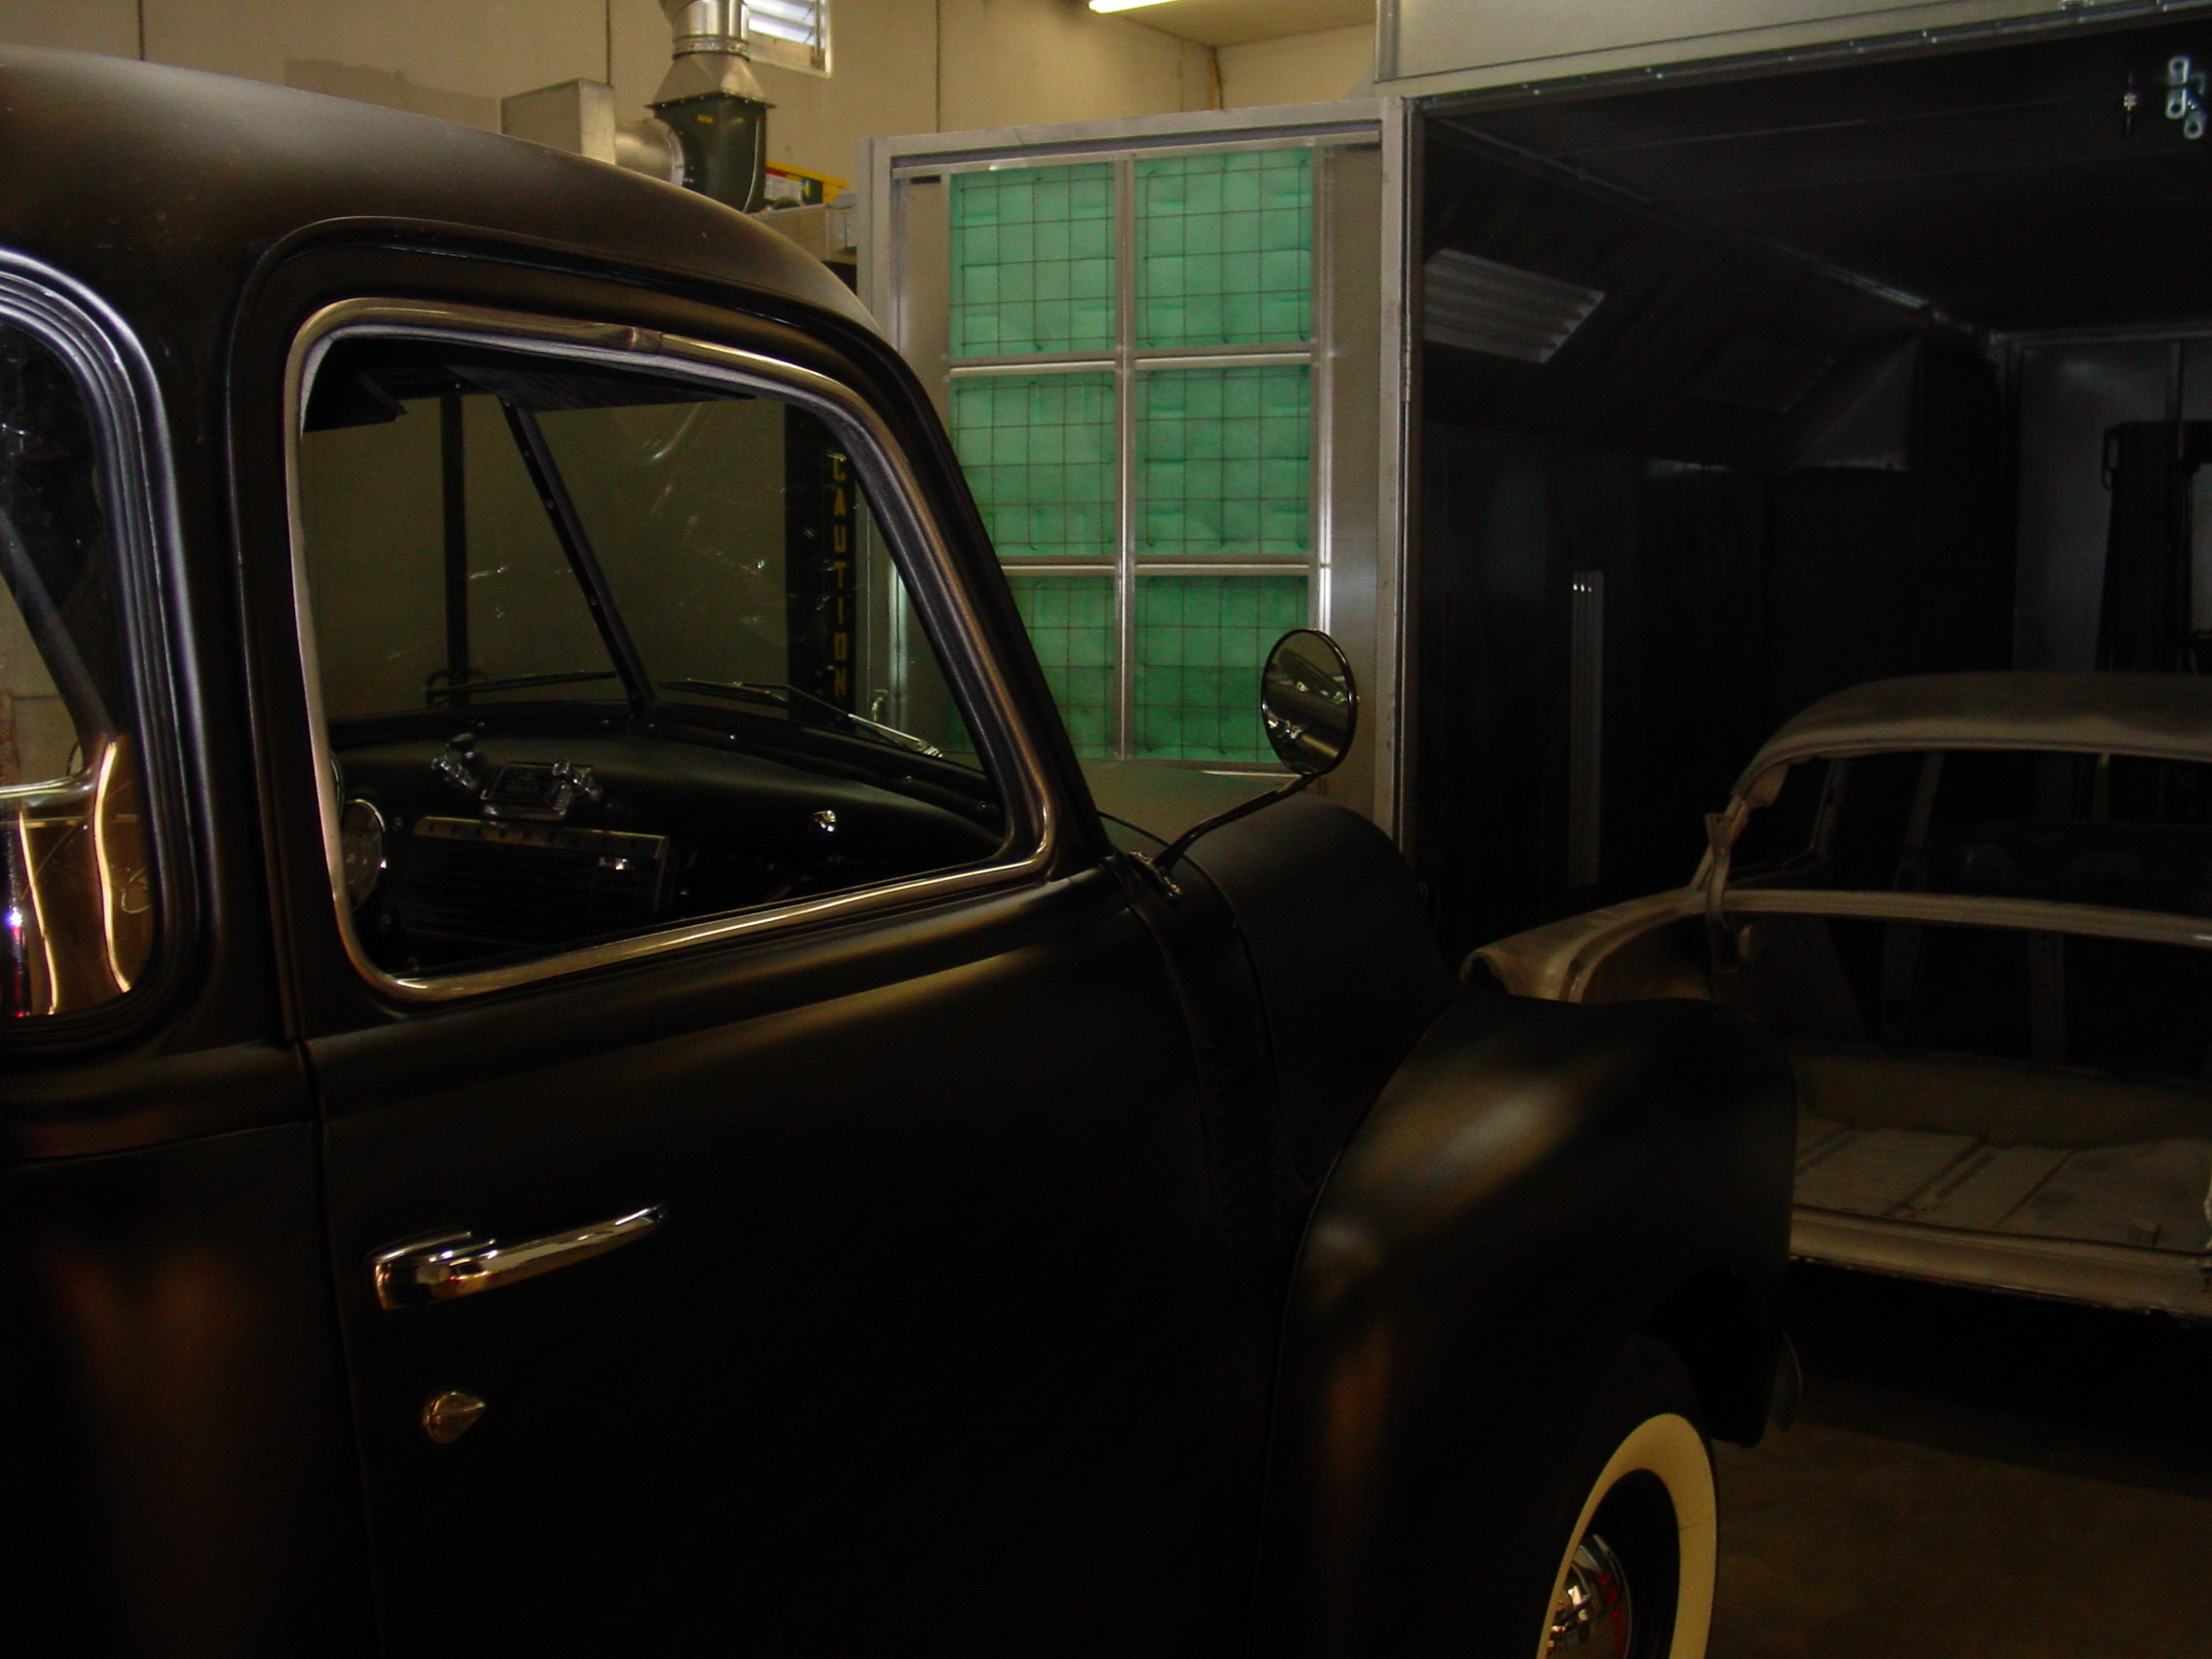
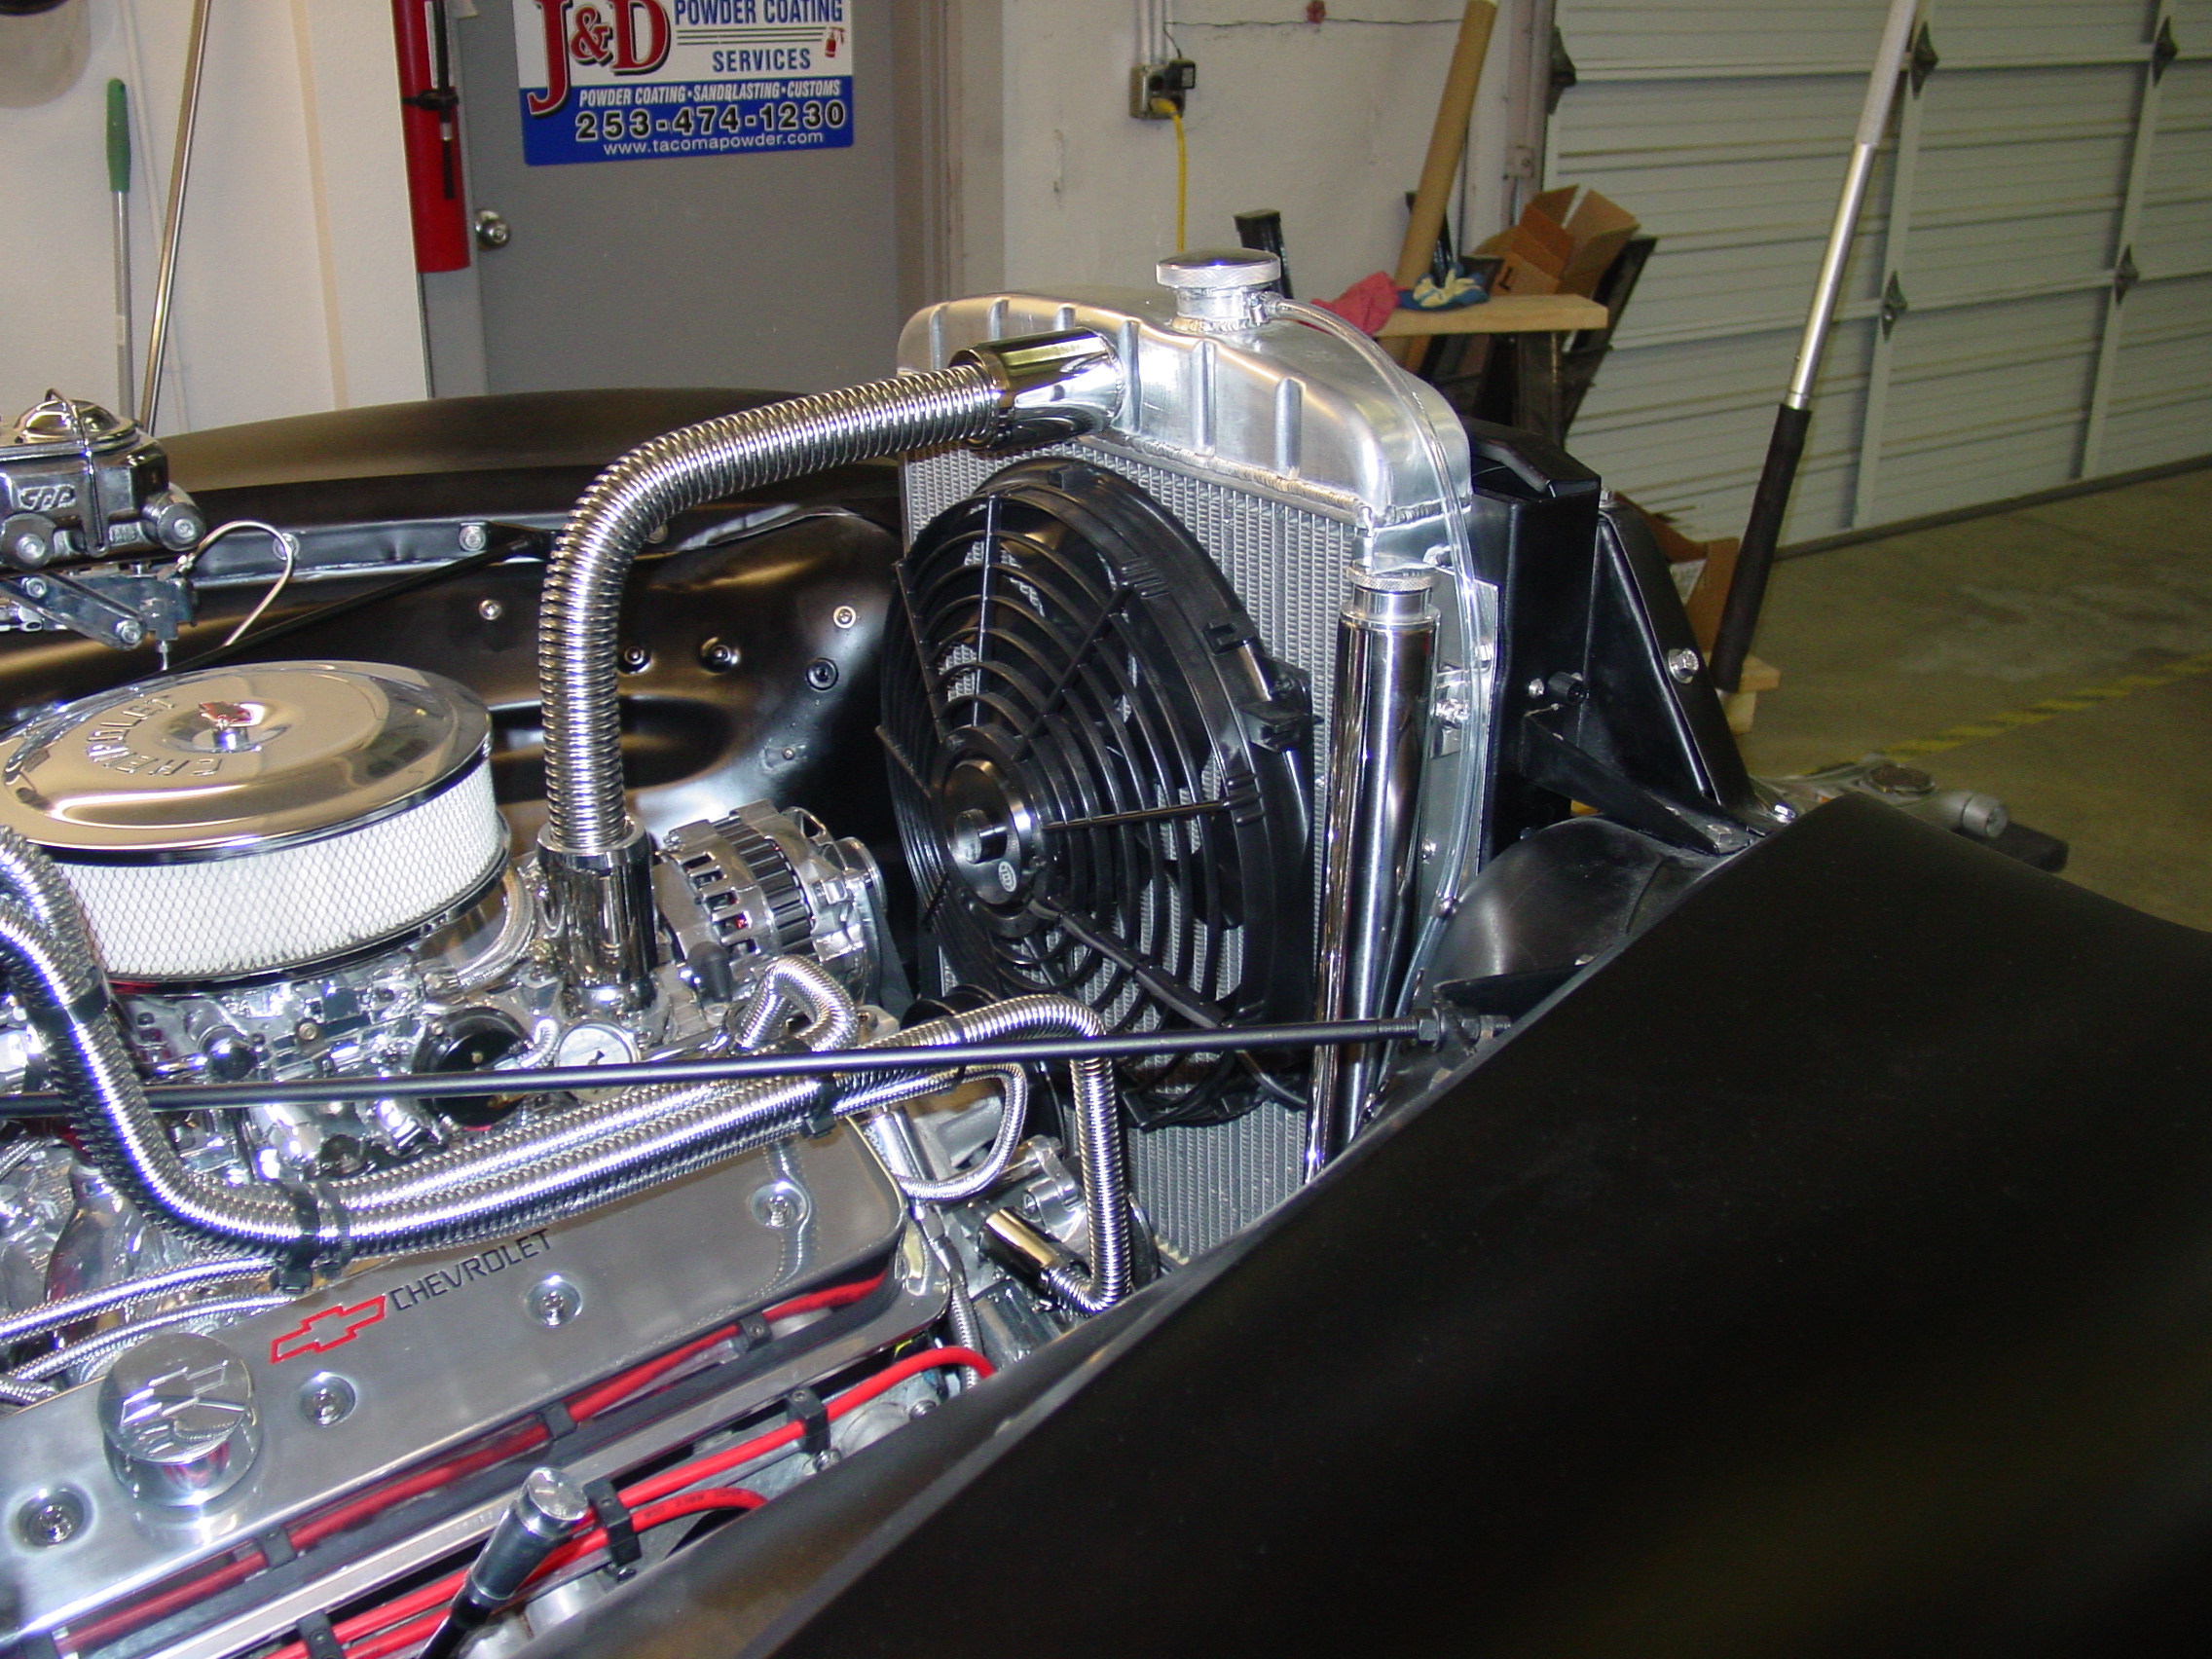
The cab doors are again in place,
both with new latches, (OEM style) which I don't really care for at all,
as they are a rather poor design overall. (if I had more time I would modify
and install some type of custom latches, maybe bear claw type) Also note in the right hand picture is the new radiator overflow tank, which just arrived yesterday and is now installed. |
|||||||||||||||||
 |
 |
 |
|||||||||||||||
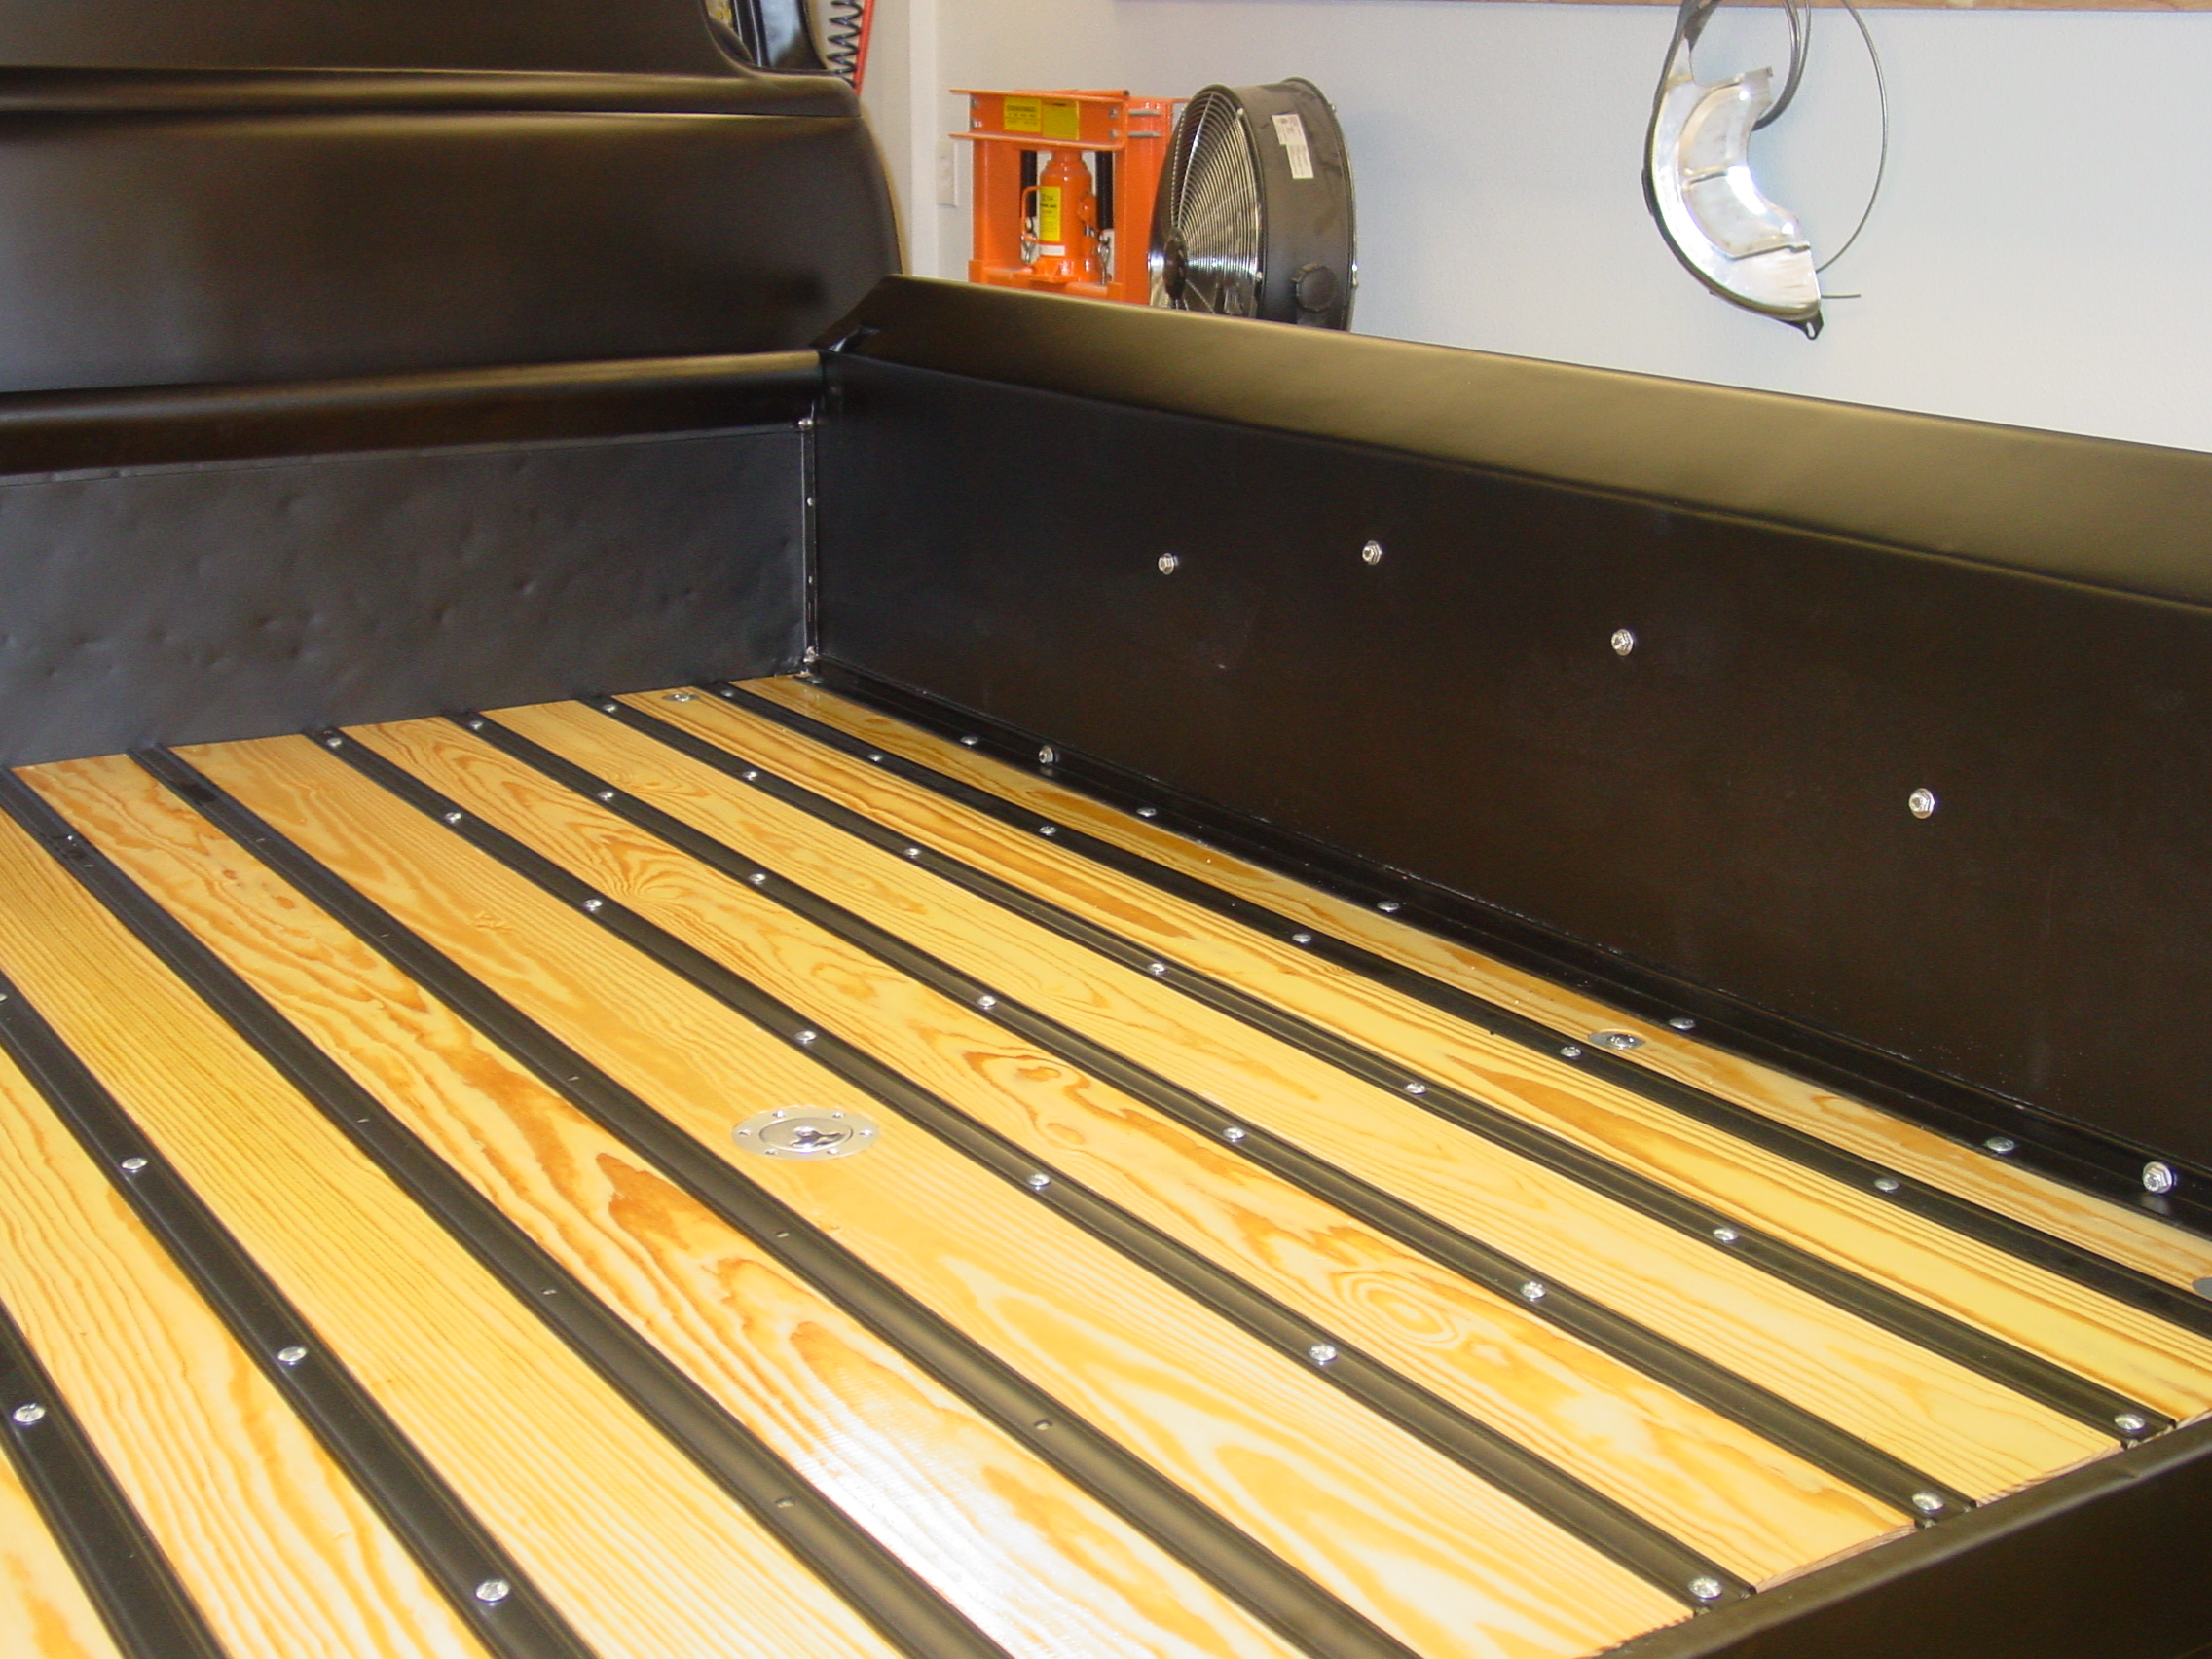
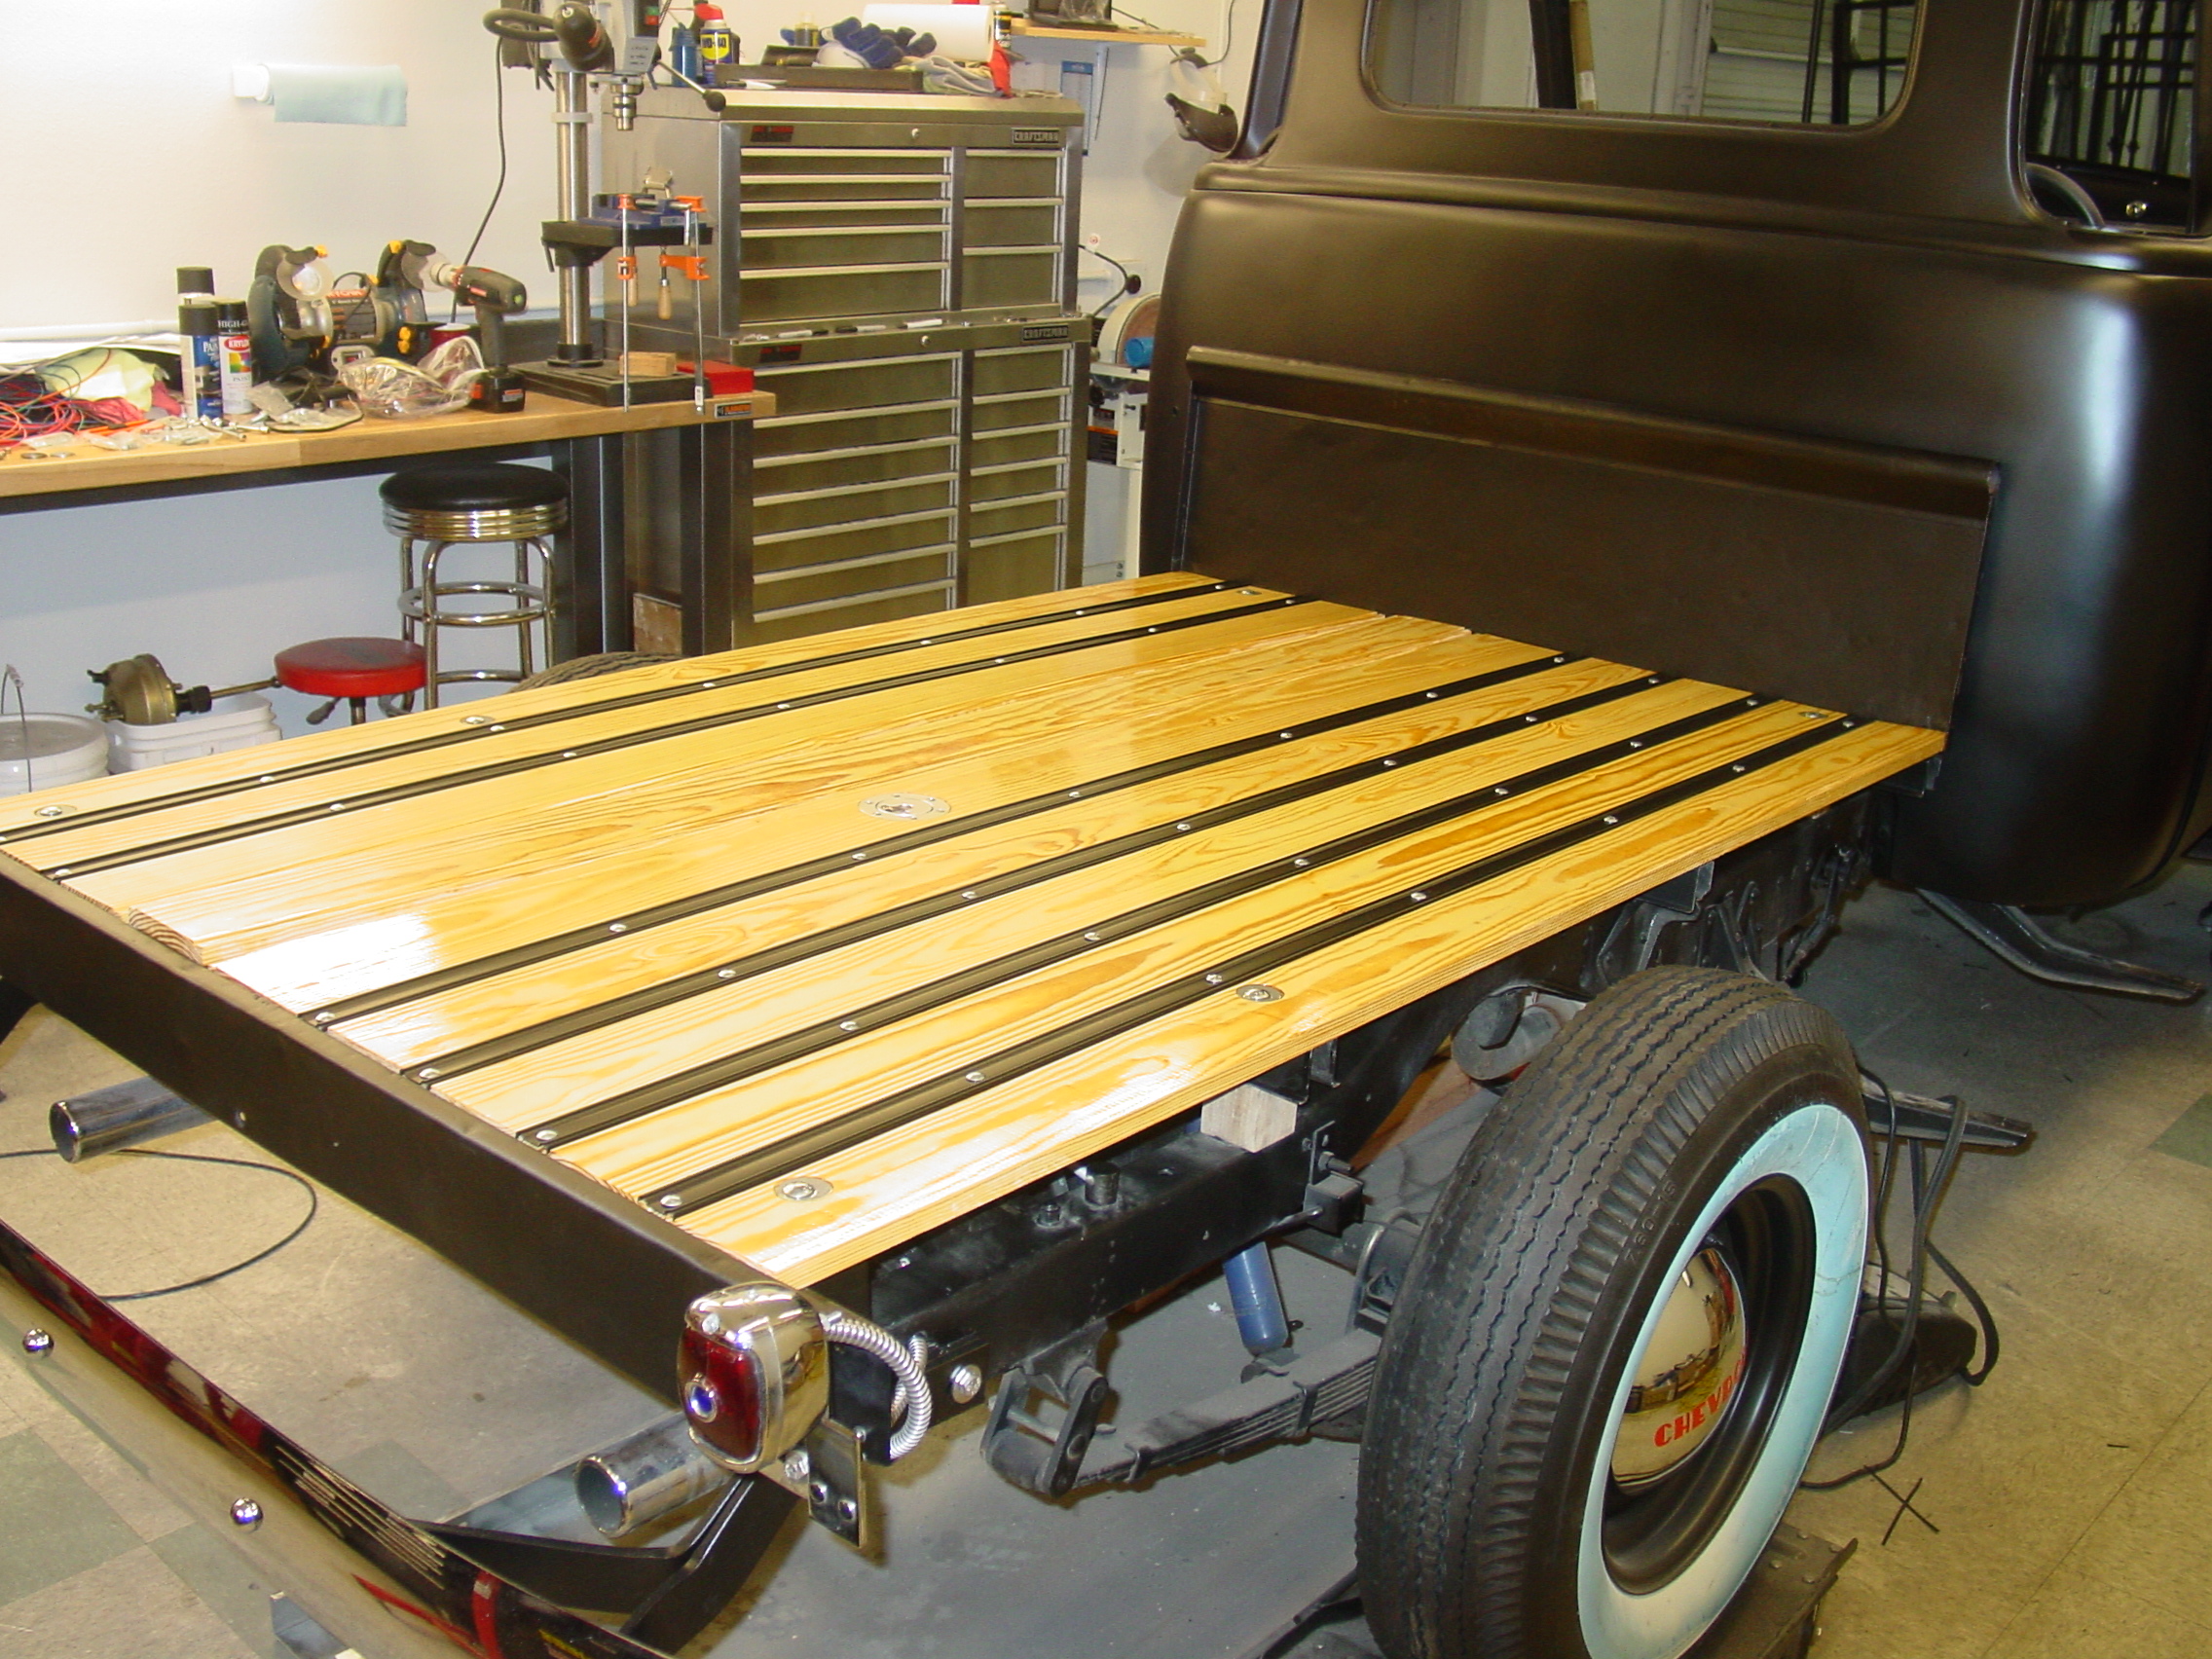
|
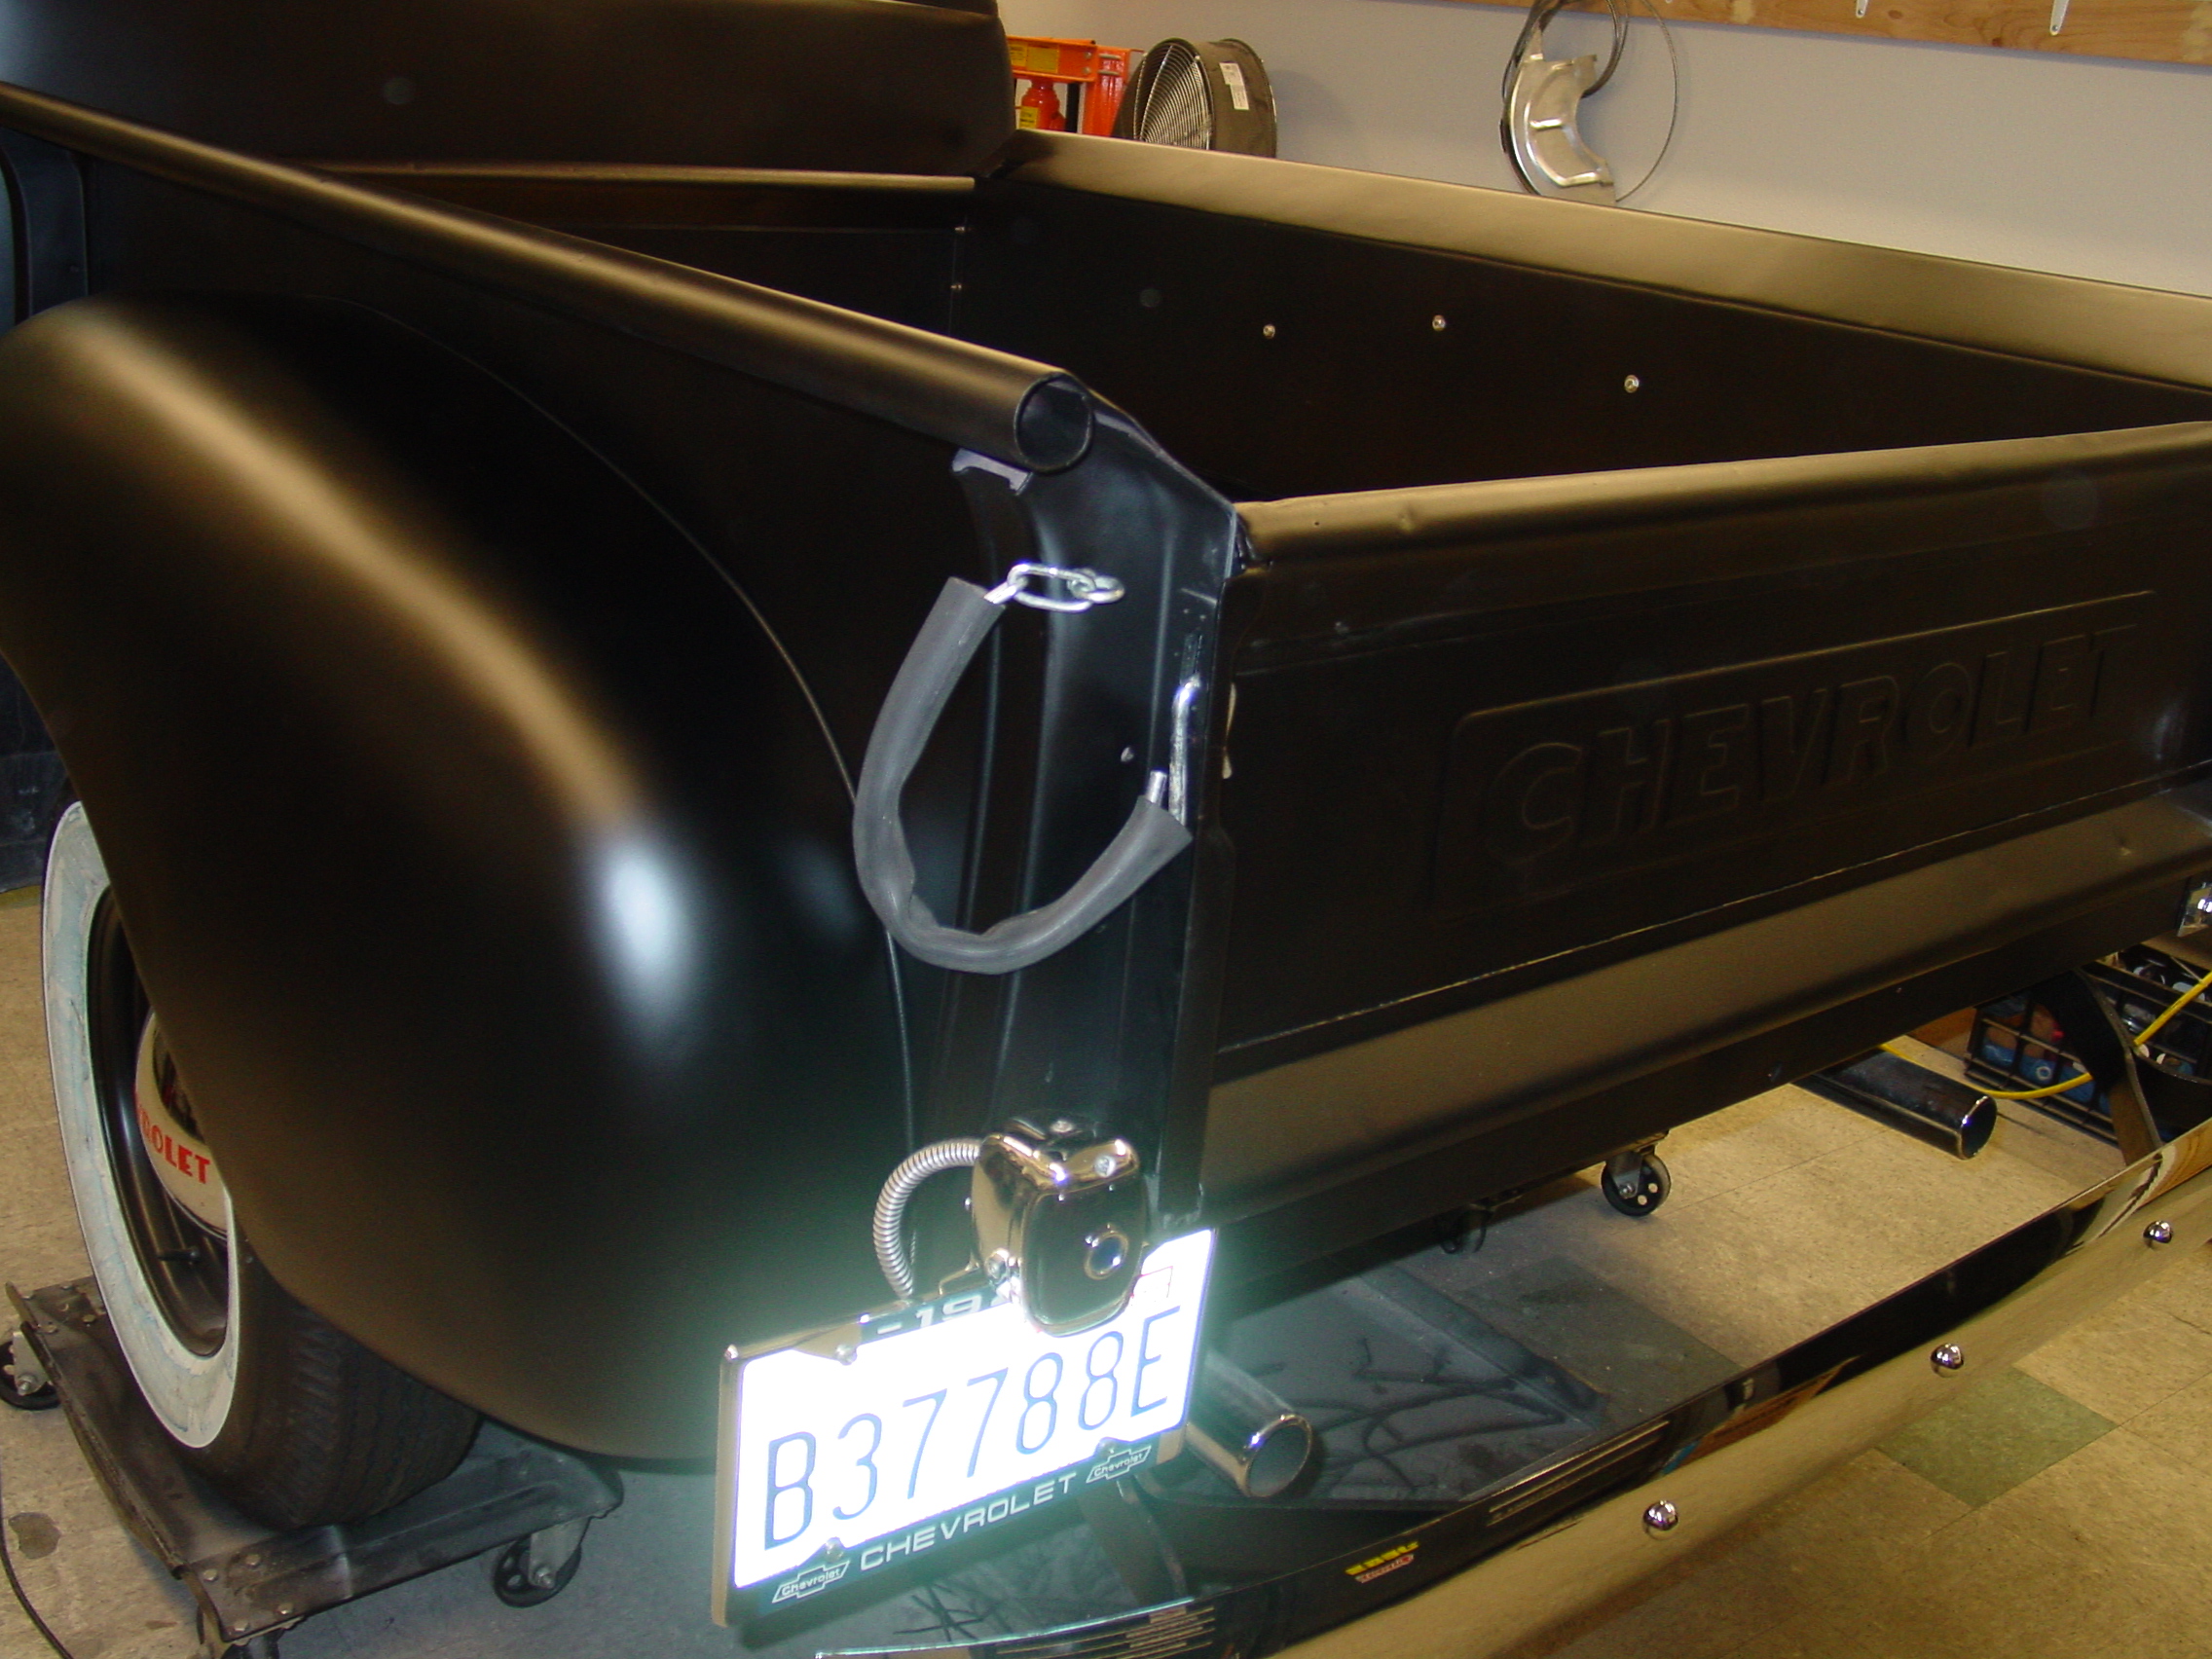
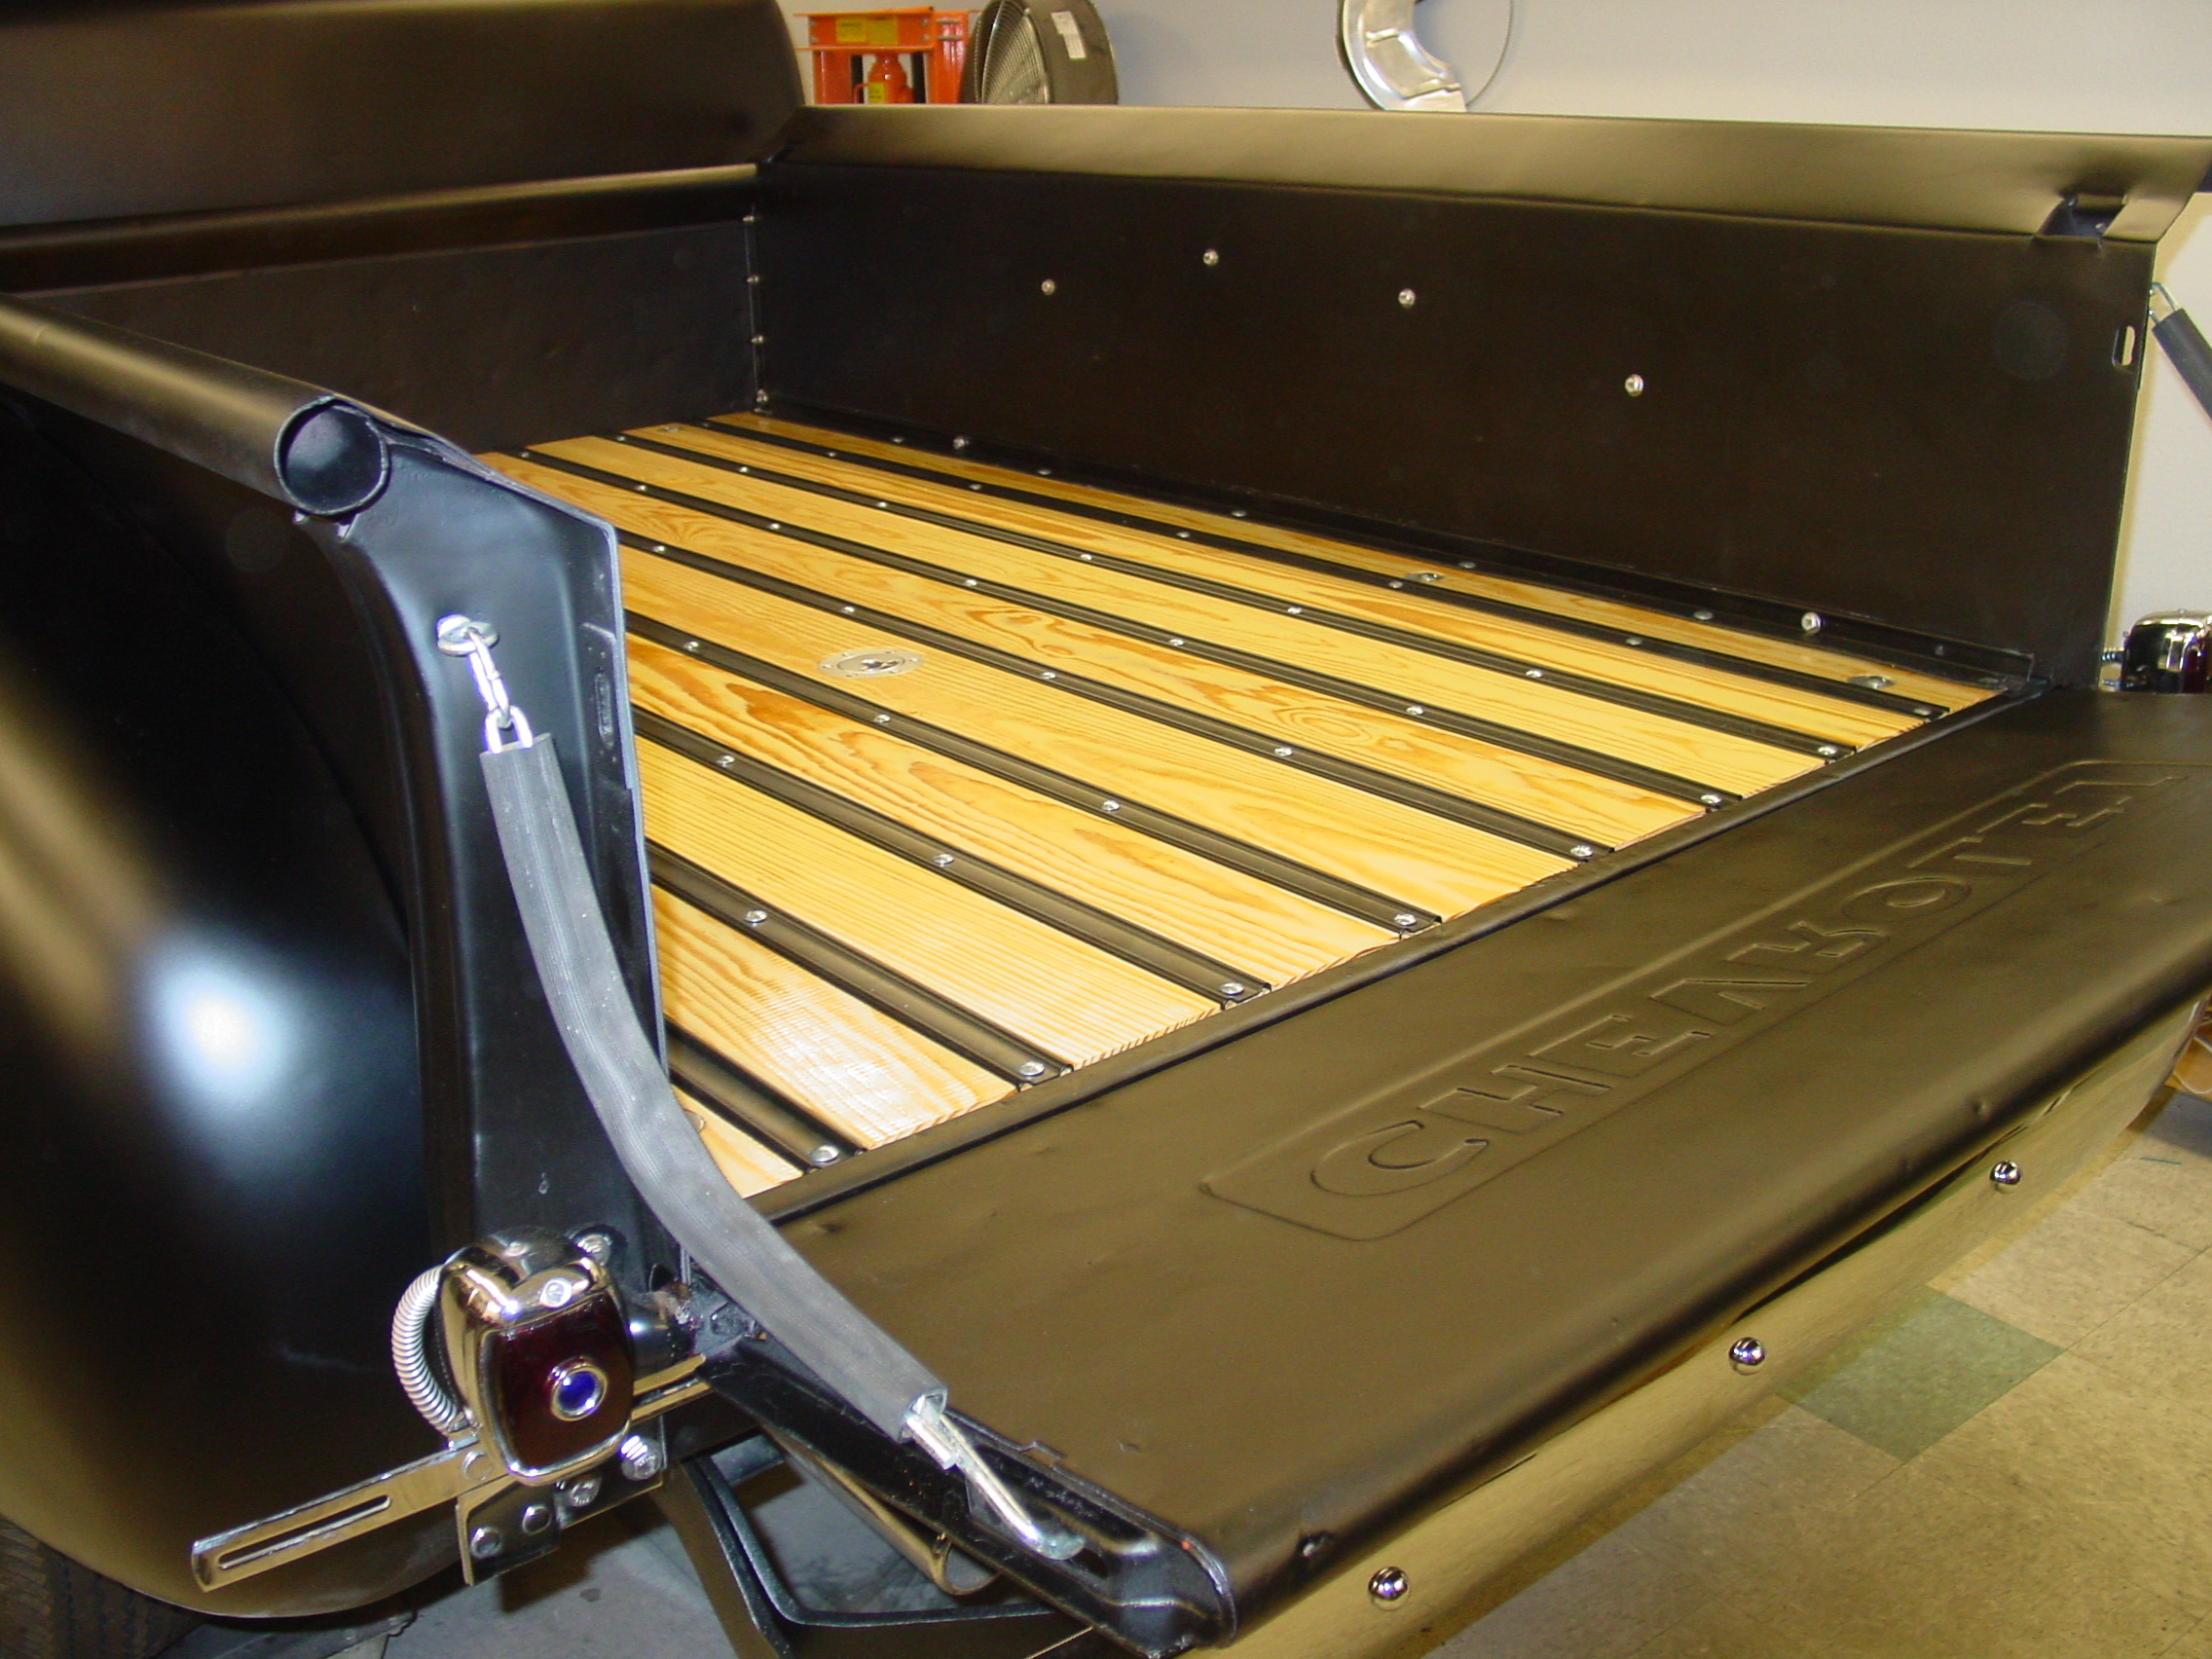
The Truck Bed and Tailgate are now
all completed. The Bed wood and strips are all in place now that the New
Fuel sender is in, and now works as advertised. She is getting road ready
- now with Washington
State plates & Tags installed! Installation of the Running Boards are the next item on the list! |
|||||||||||||||||
 |
 |
 |
|||||||||||||||
|
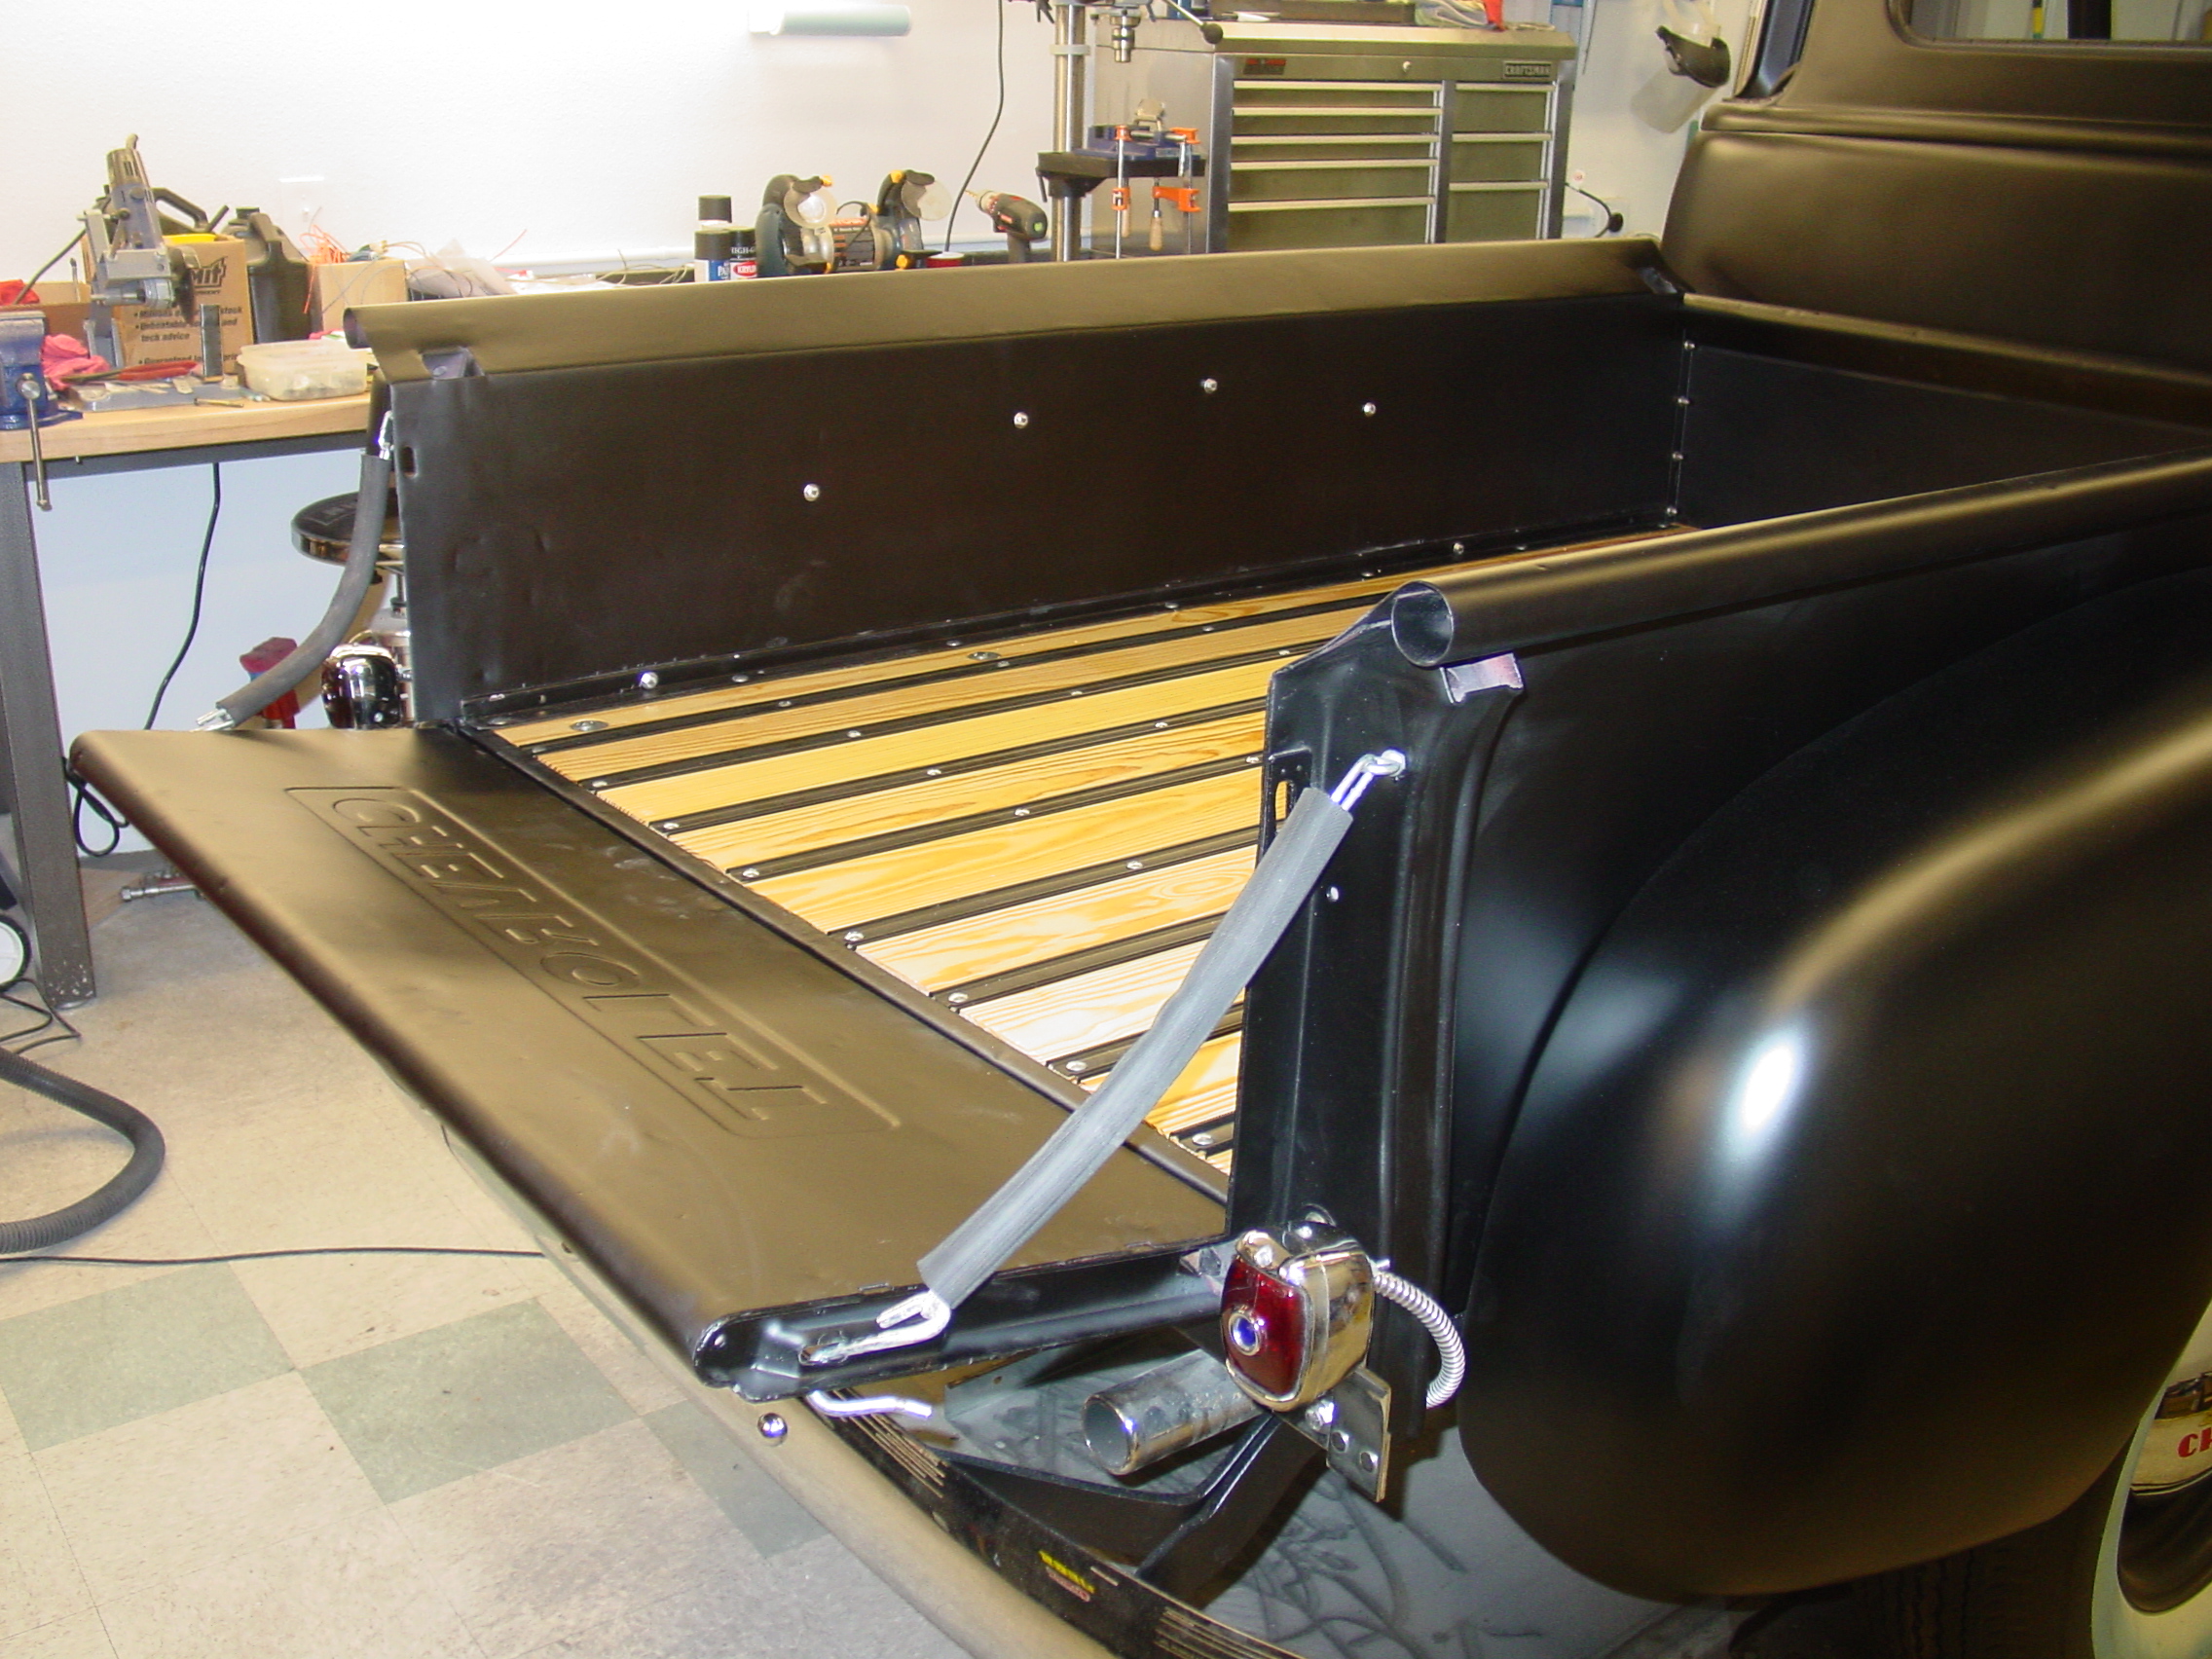
The Bed Wood with all tie strips
in place. But still waiting for the Gas tank sender, before I can put in the
last two rows of bolts. The right rear fenders is now hung, and ready to install the running board, and lower fender skirt. |
|||||||||||||||||
 |
|
|
|||||||||||||||
|
The Bed Wood with all tie strips
in place. But still waiting for the Gas tank sender, before I can put in the
last two rows of bolts. The right rear fenders is now hung, and ready to install the running board, and lower fender skirt. |
|||||||||||||||||
 |
 |
 |
|||||||||||||||
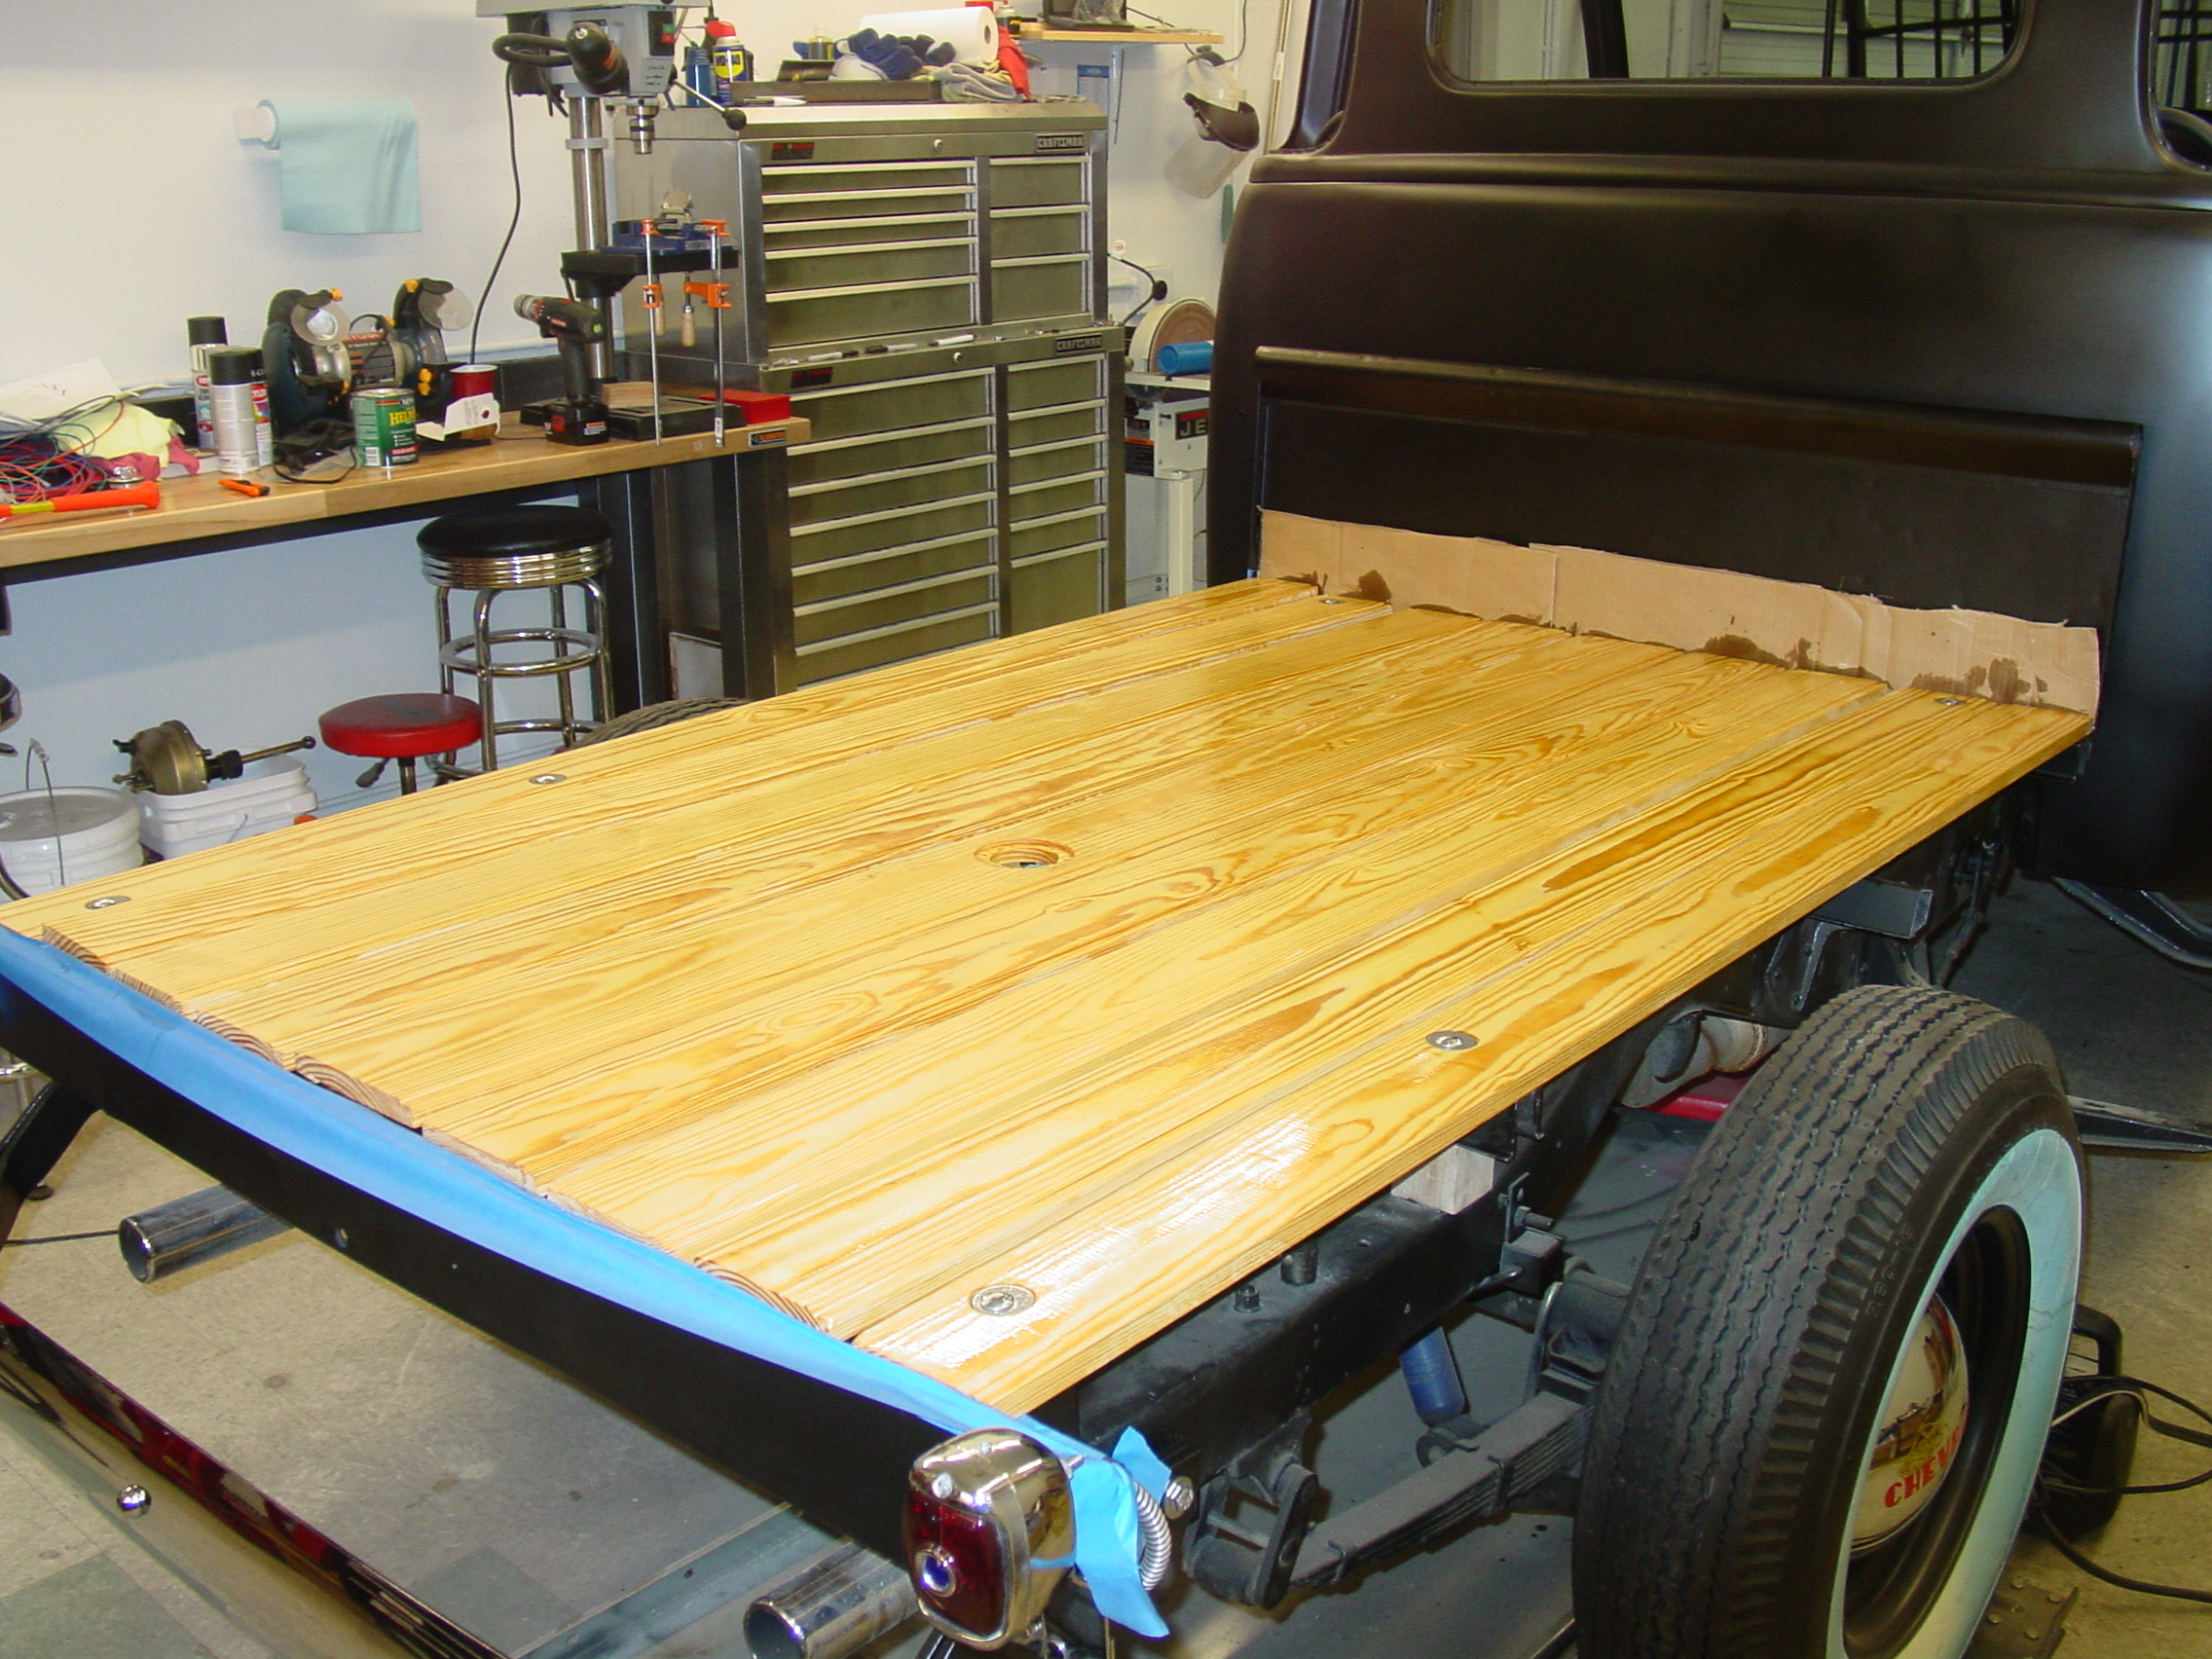
|
The Bed Wood has been sanded and
varnished, and is now in place. Note: That one section is not yet attached > as the fuel sender still needs to be changed to work with the OEM Gas gauge. The rear fenders are ready to be installed next! |
|||||||||||||||||
 |
 |
 |
|||||||||||||||
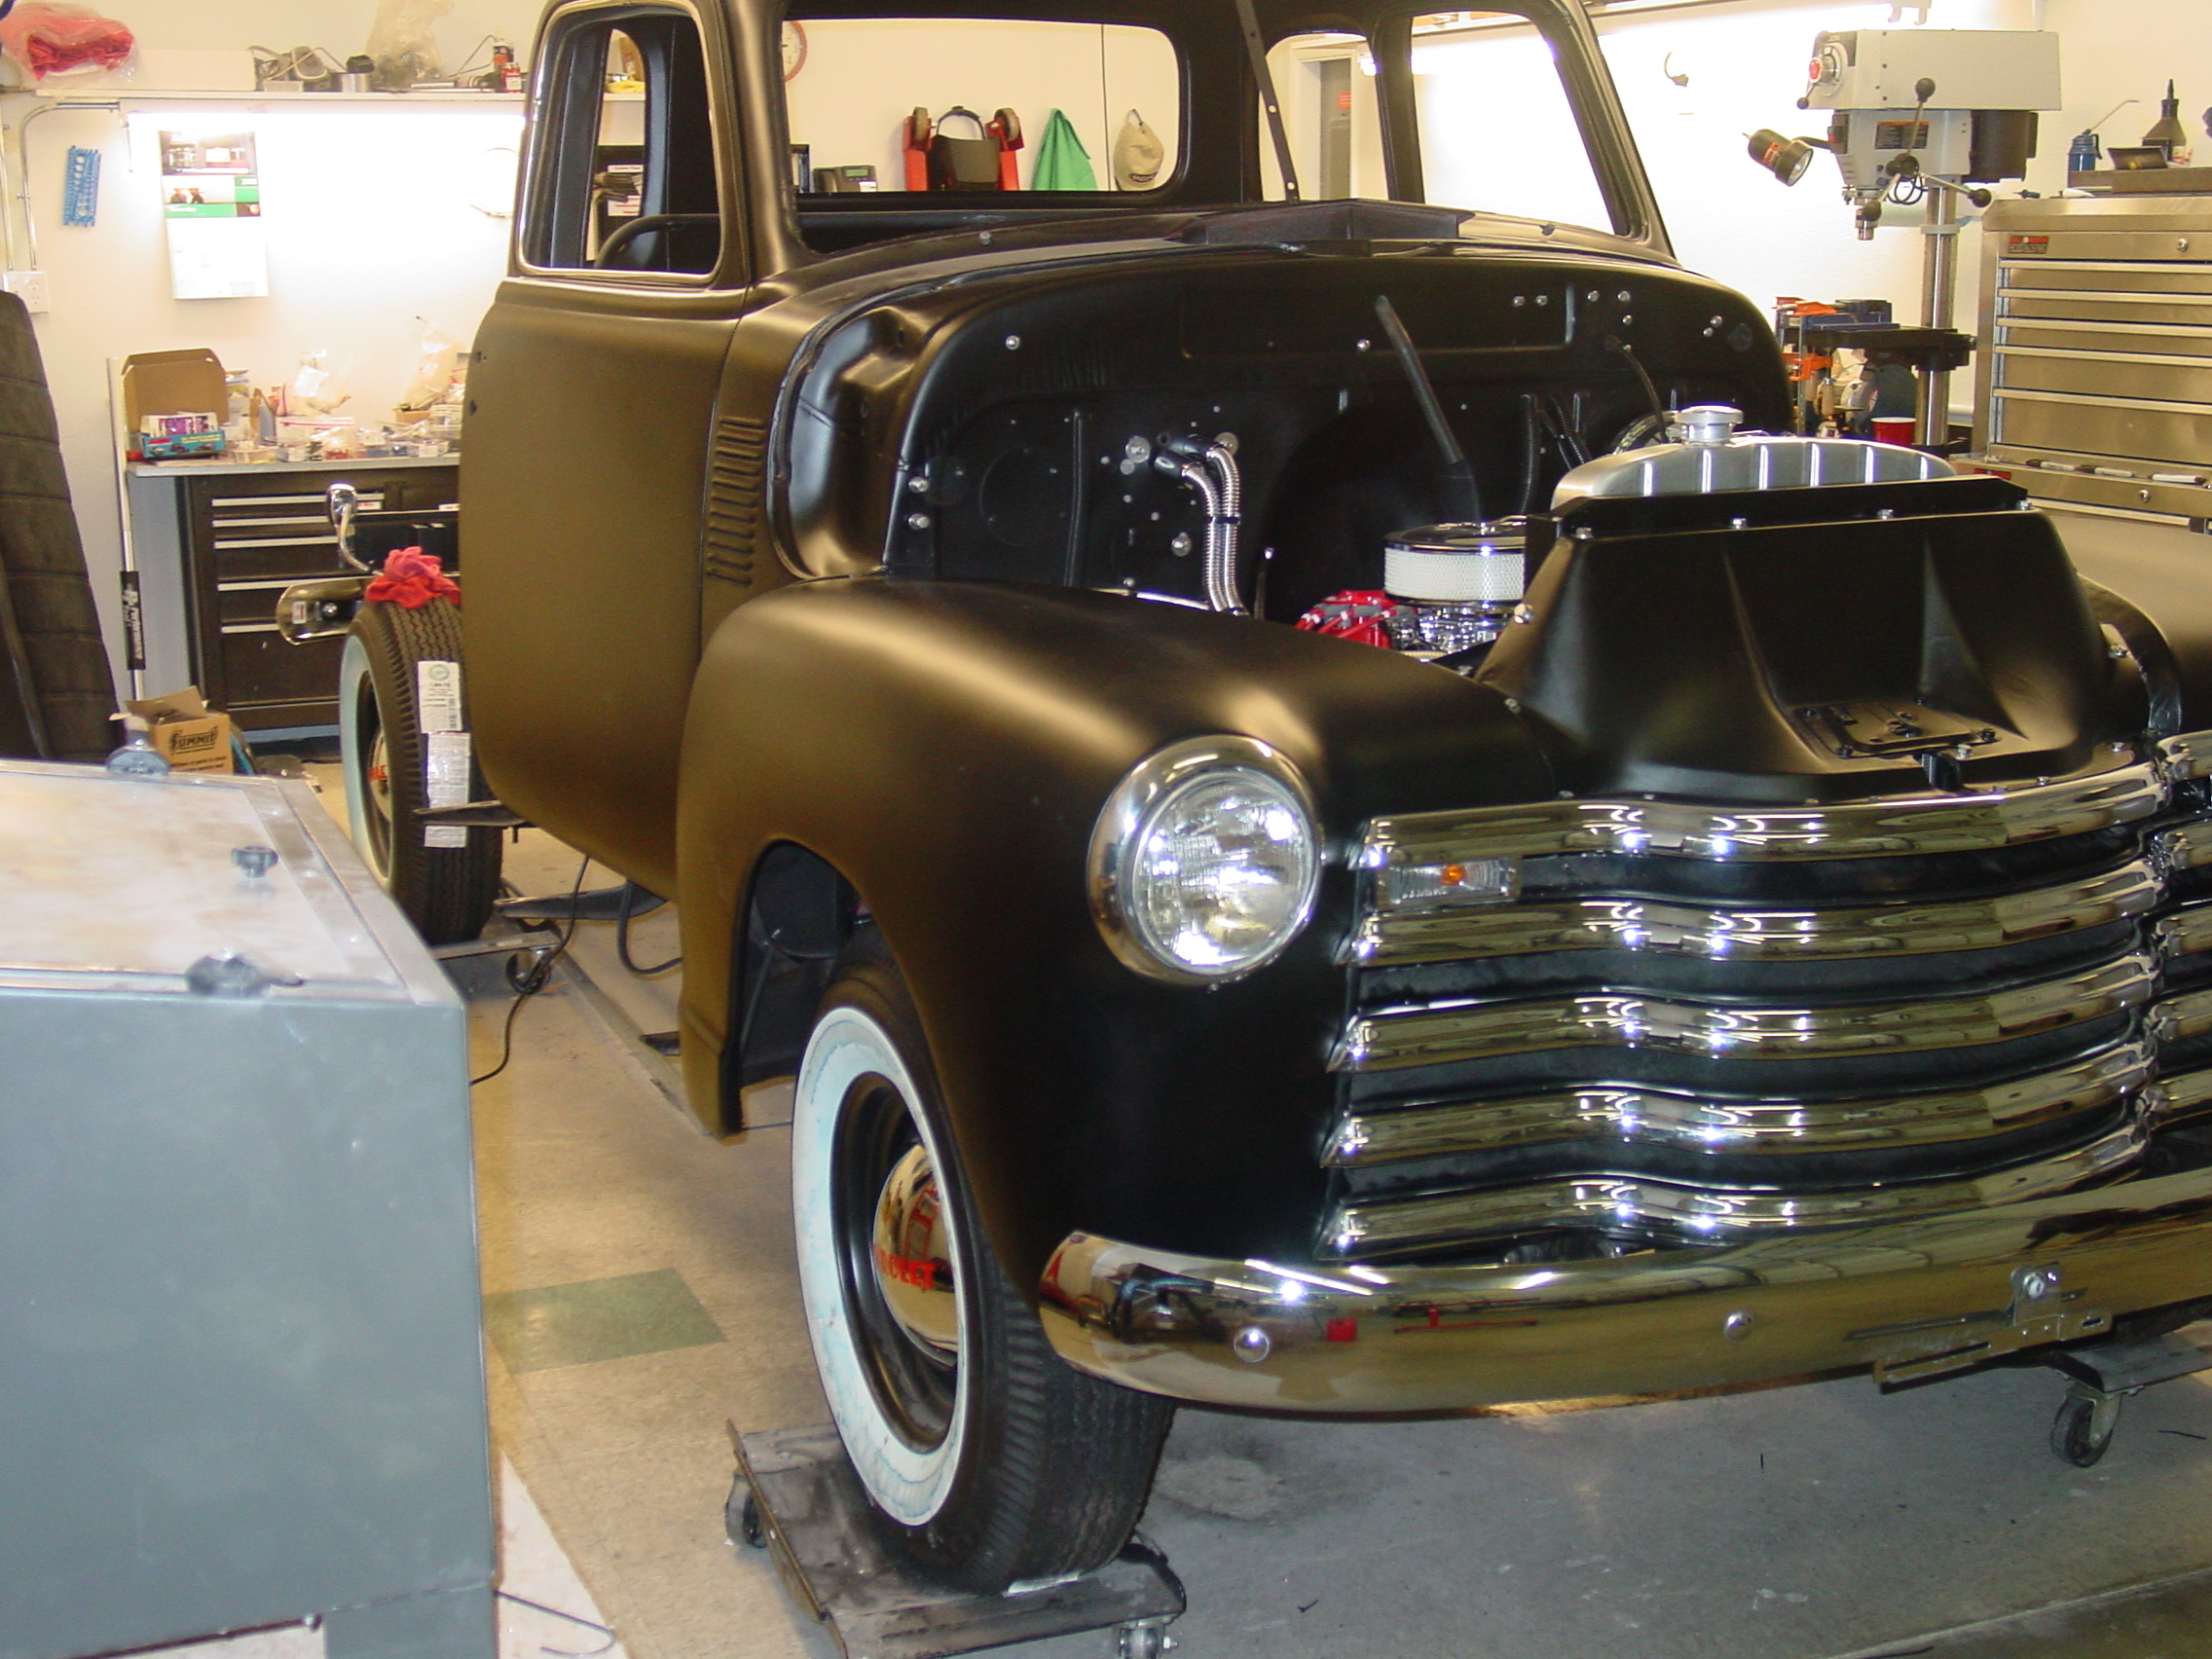
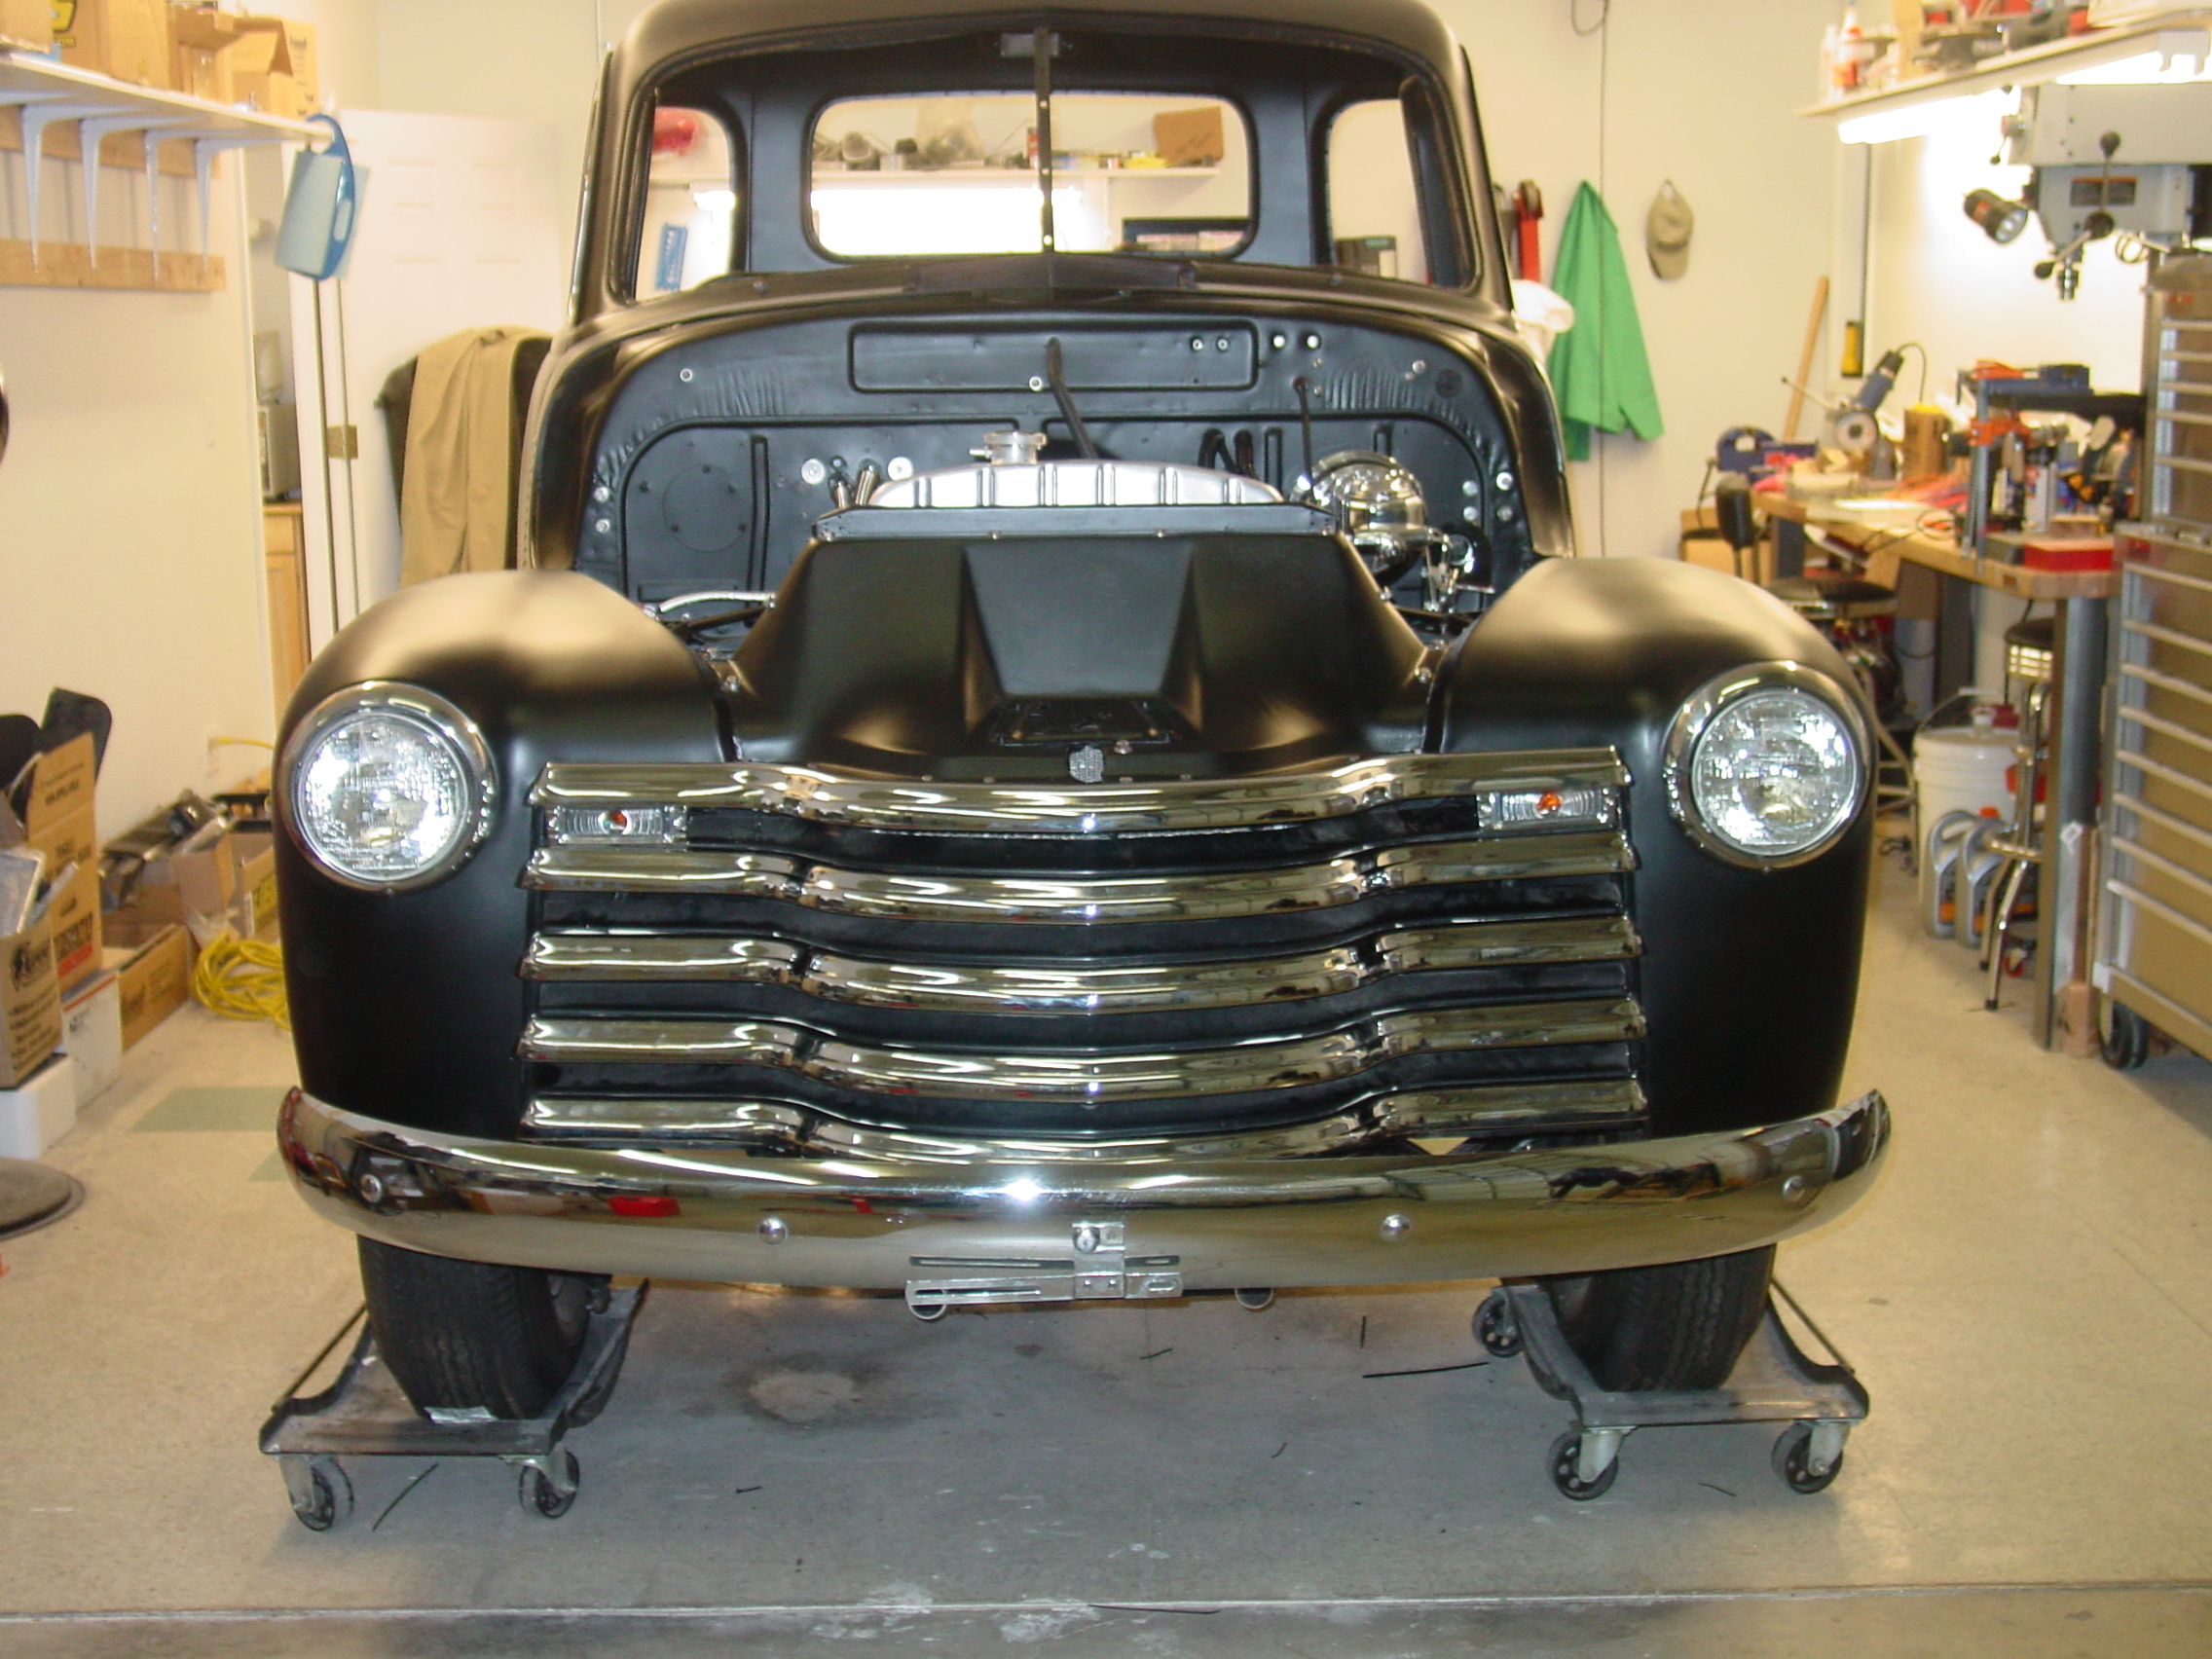
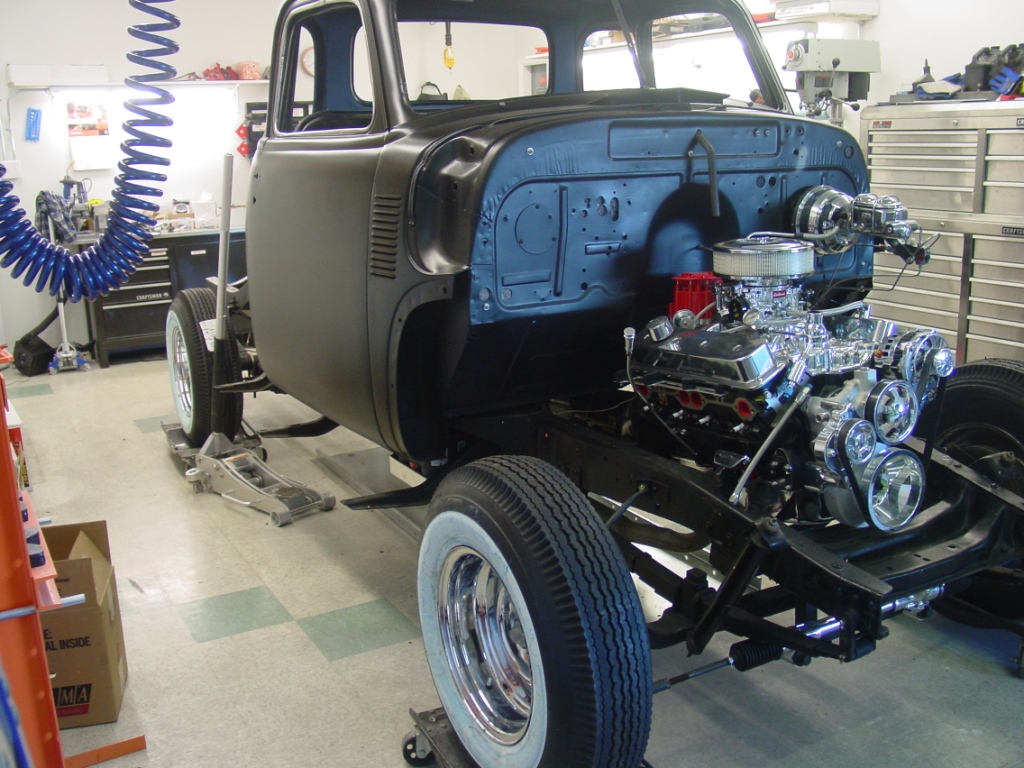
| The front end is all completed, the hood will be the last to go on as we still some more tuning on the new Motor & Carb. | |||||||||||||||||
 |
 |
 |
|||||||||||||||
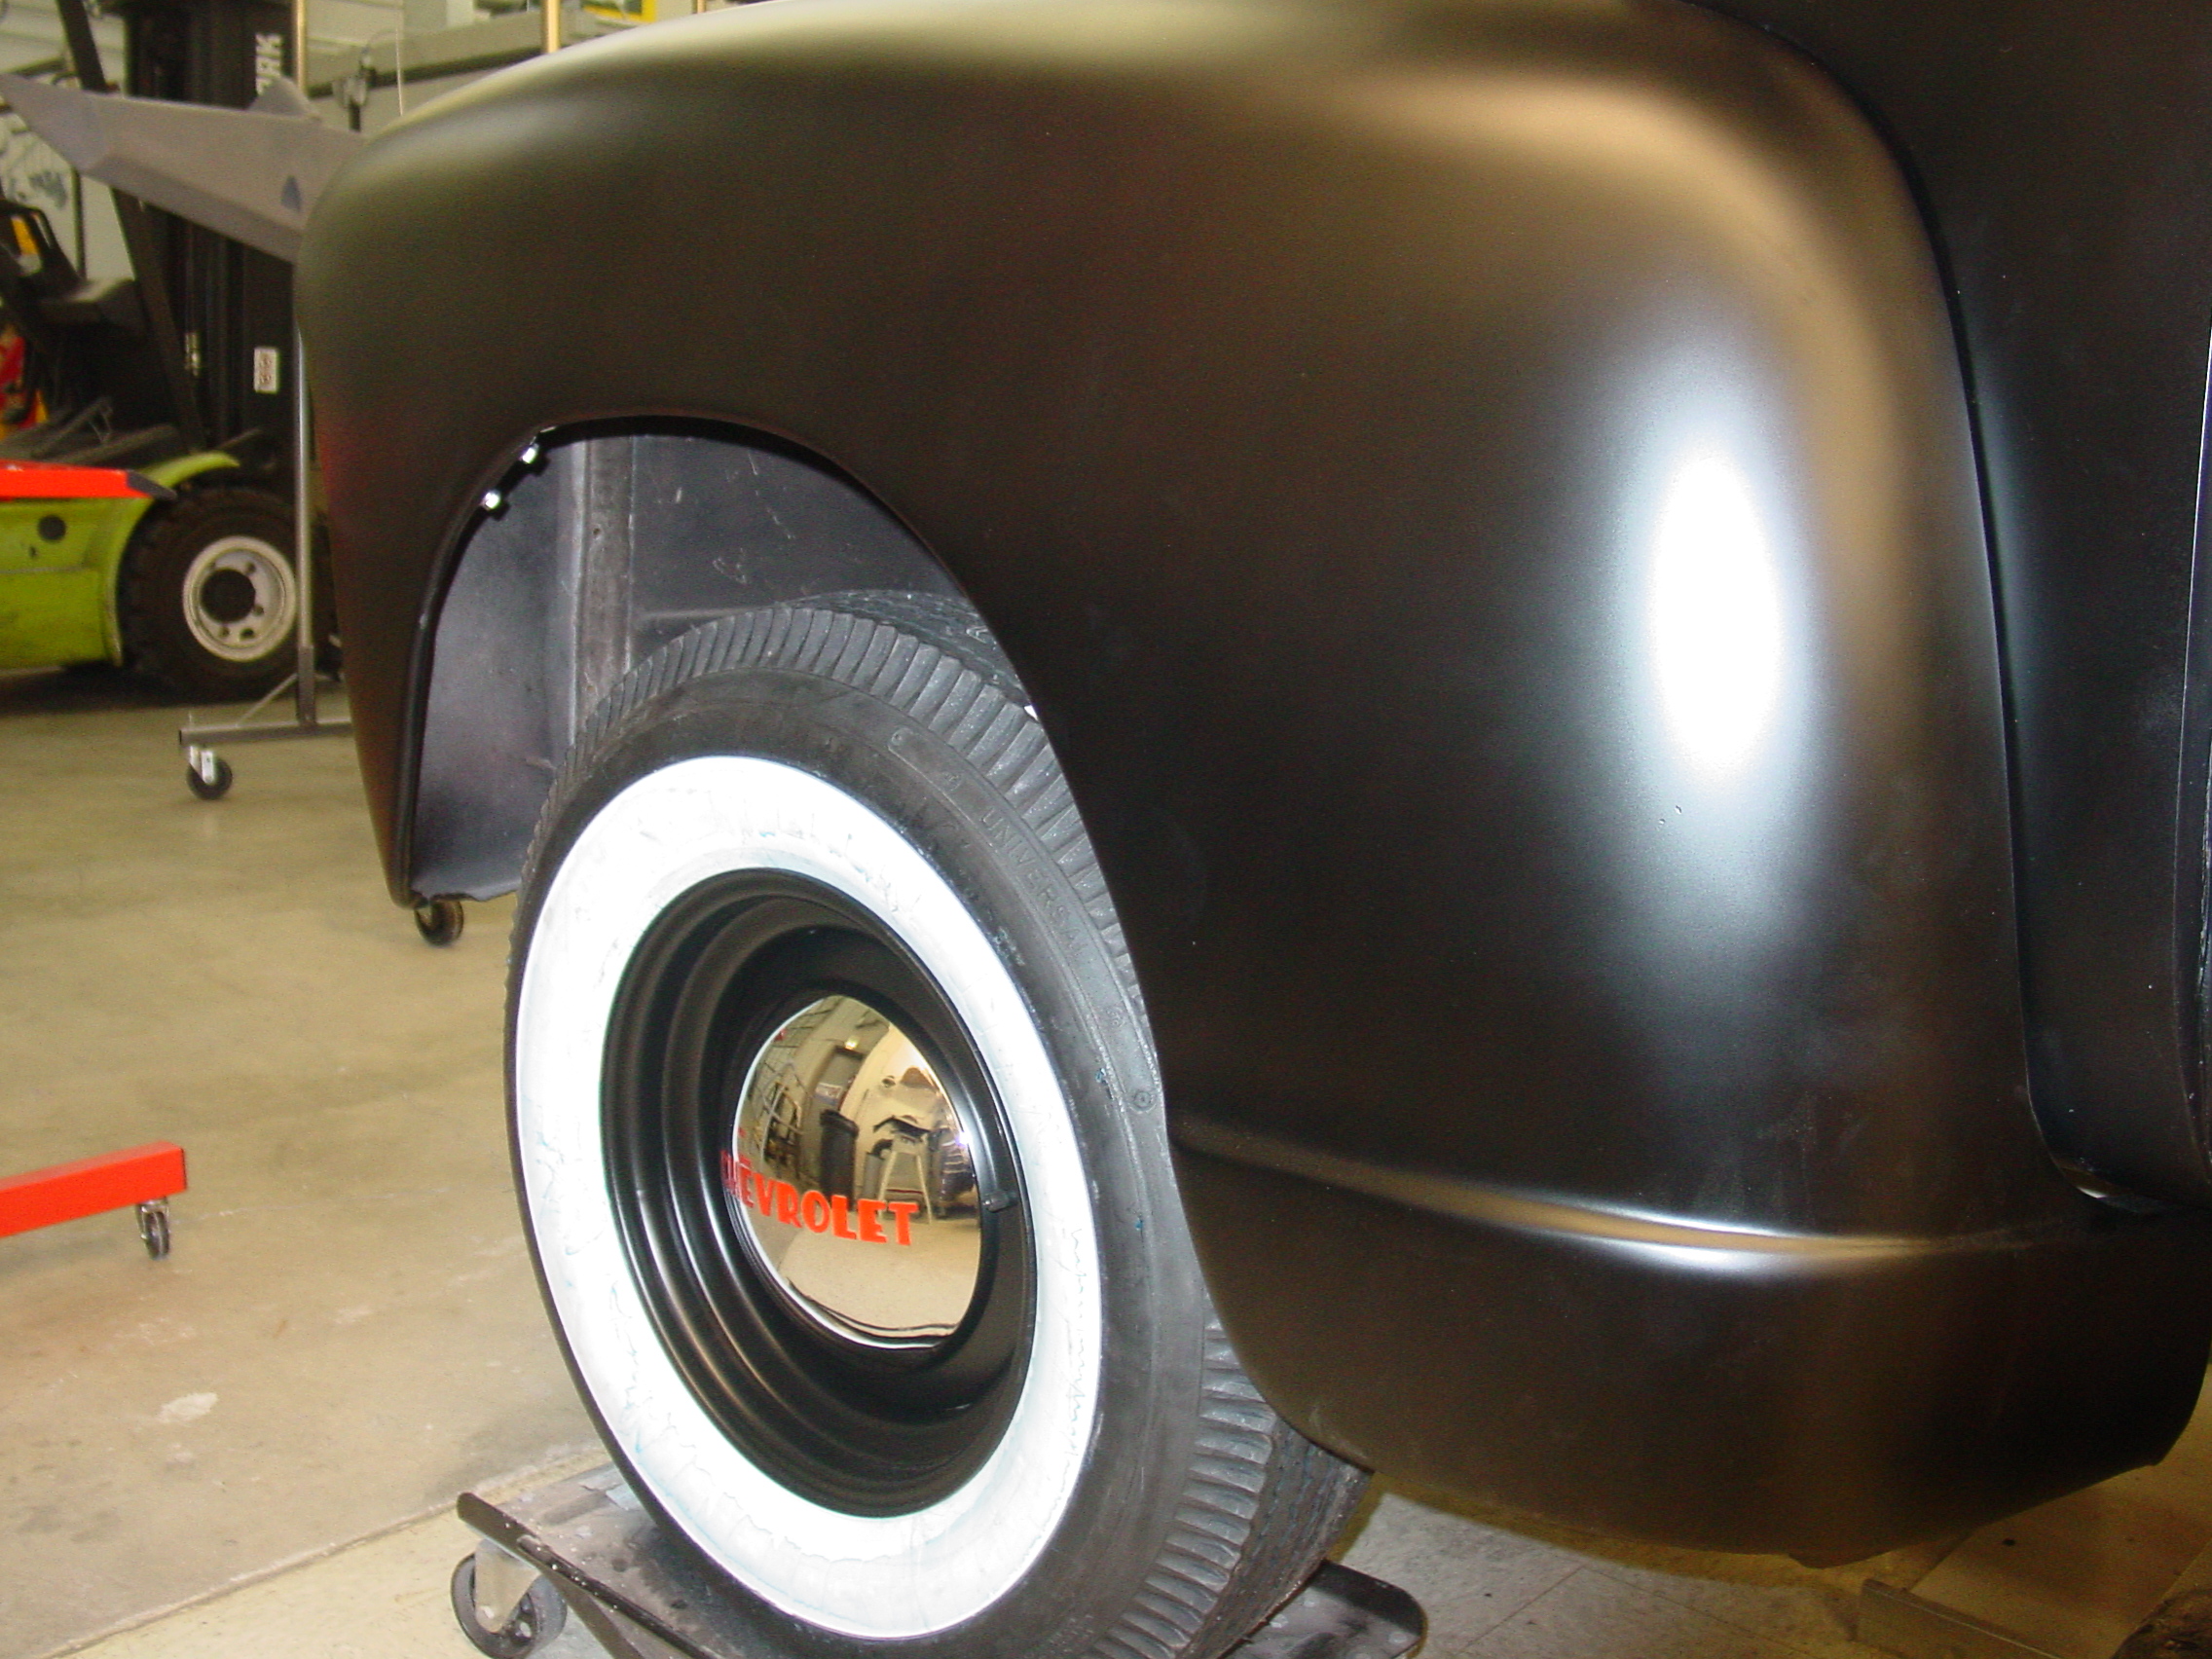
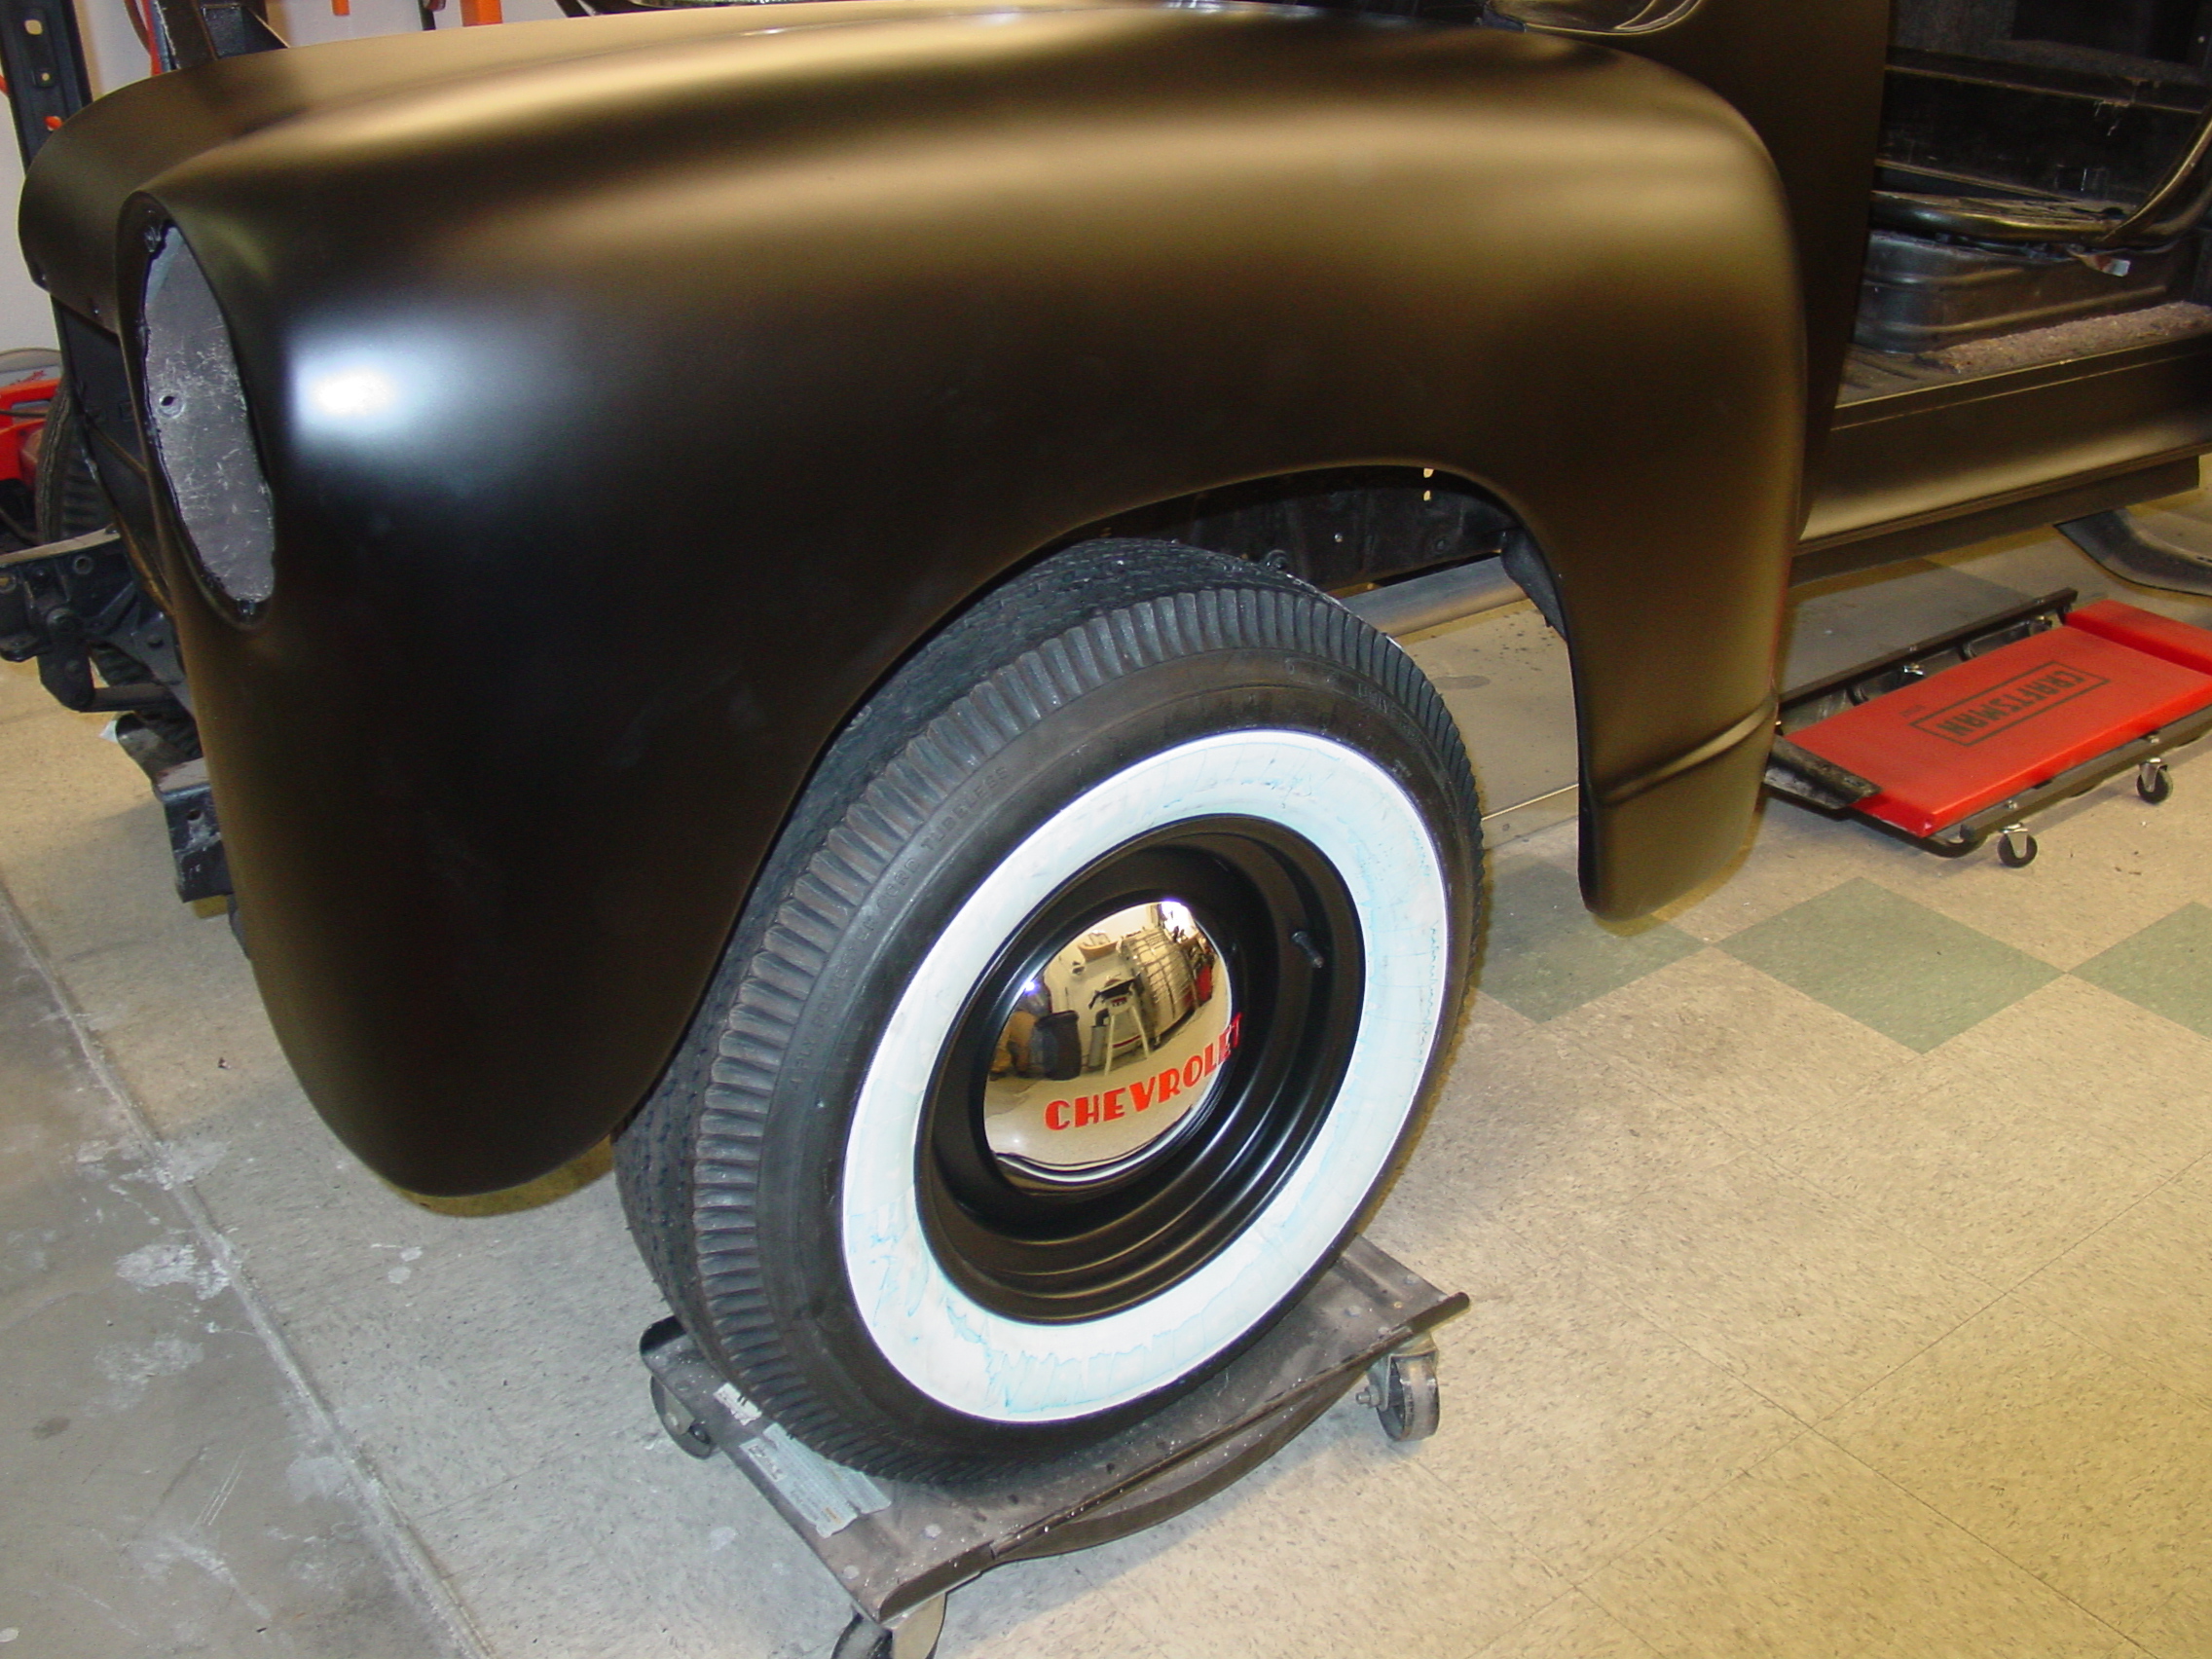
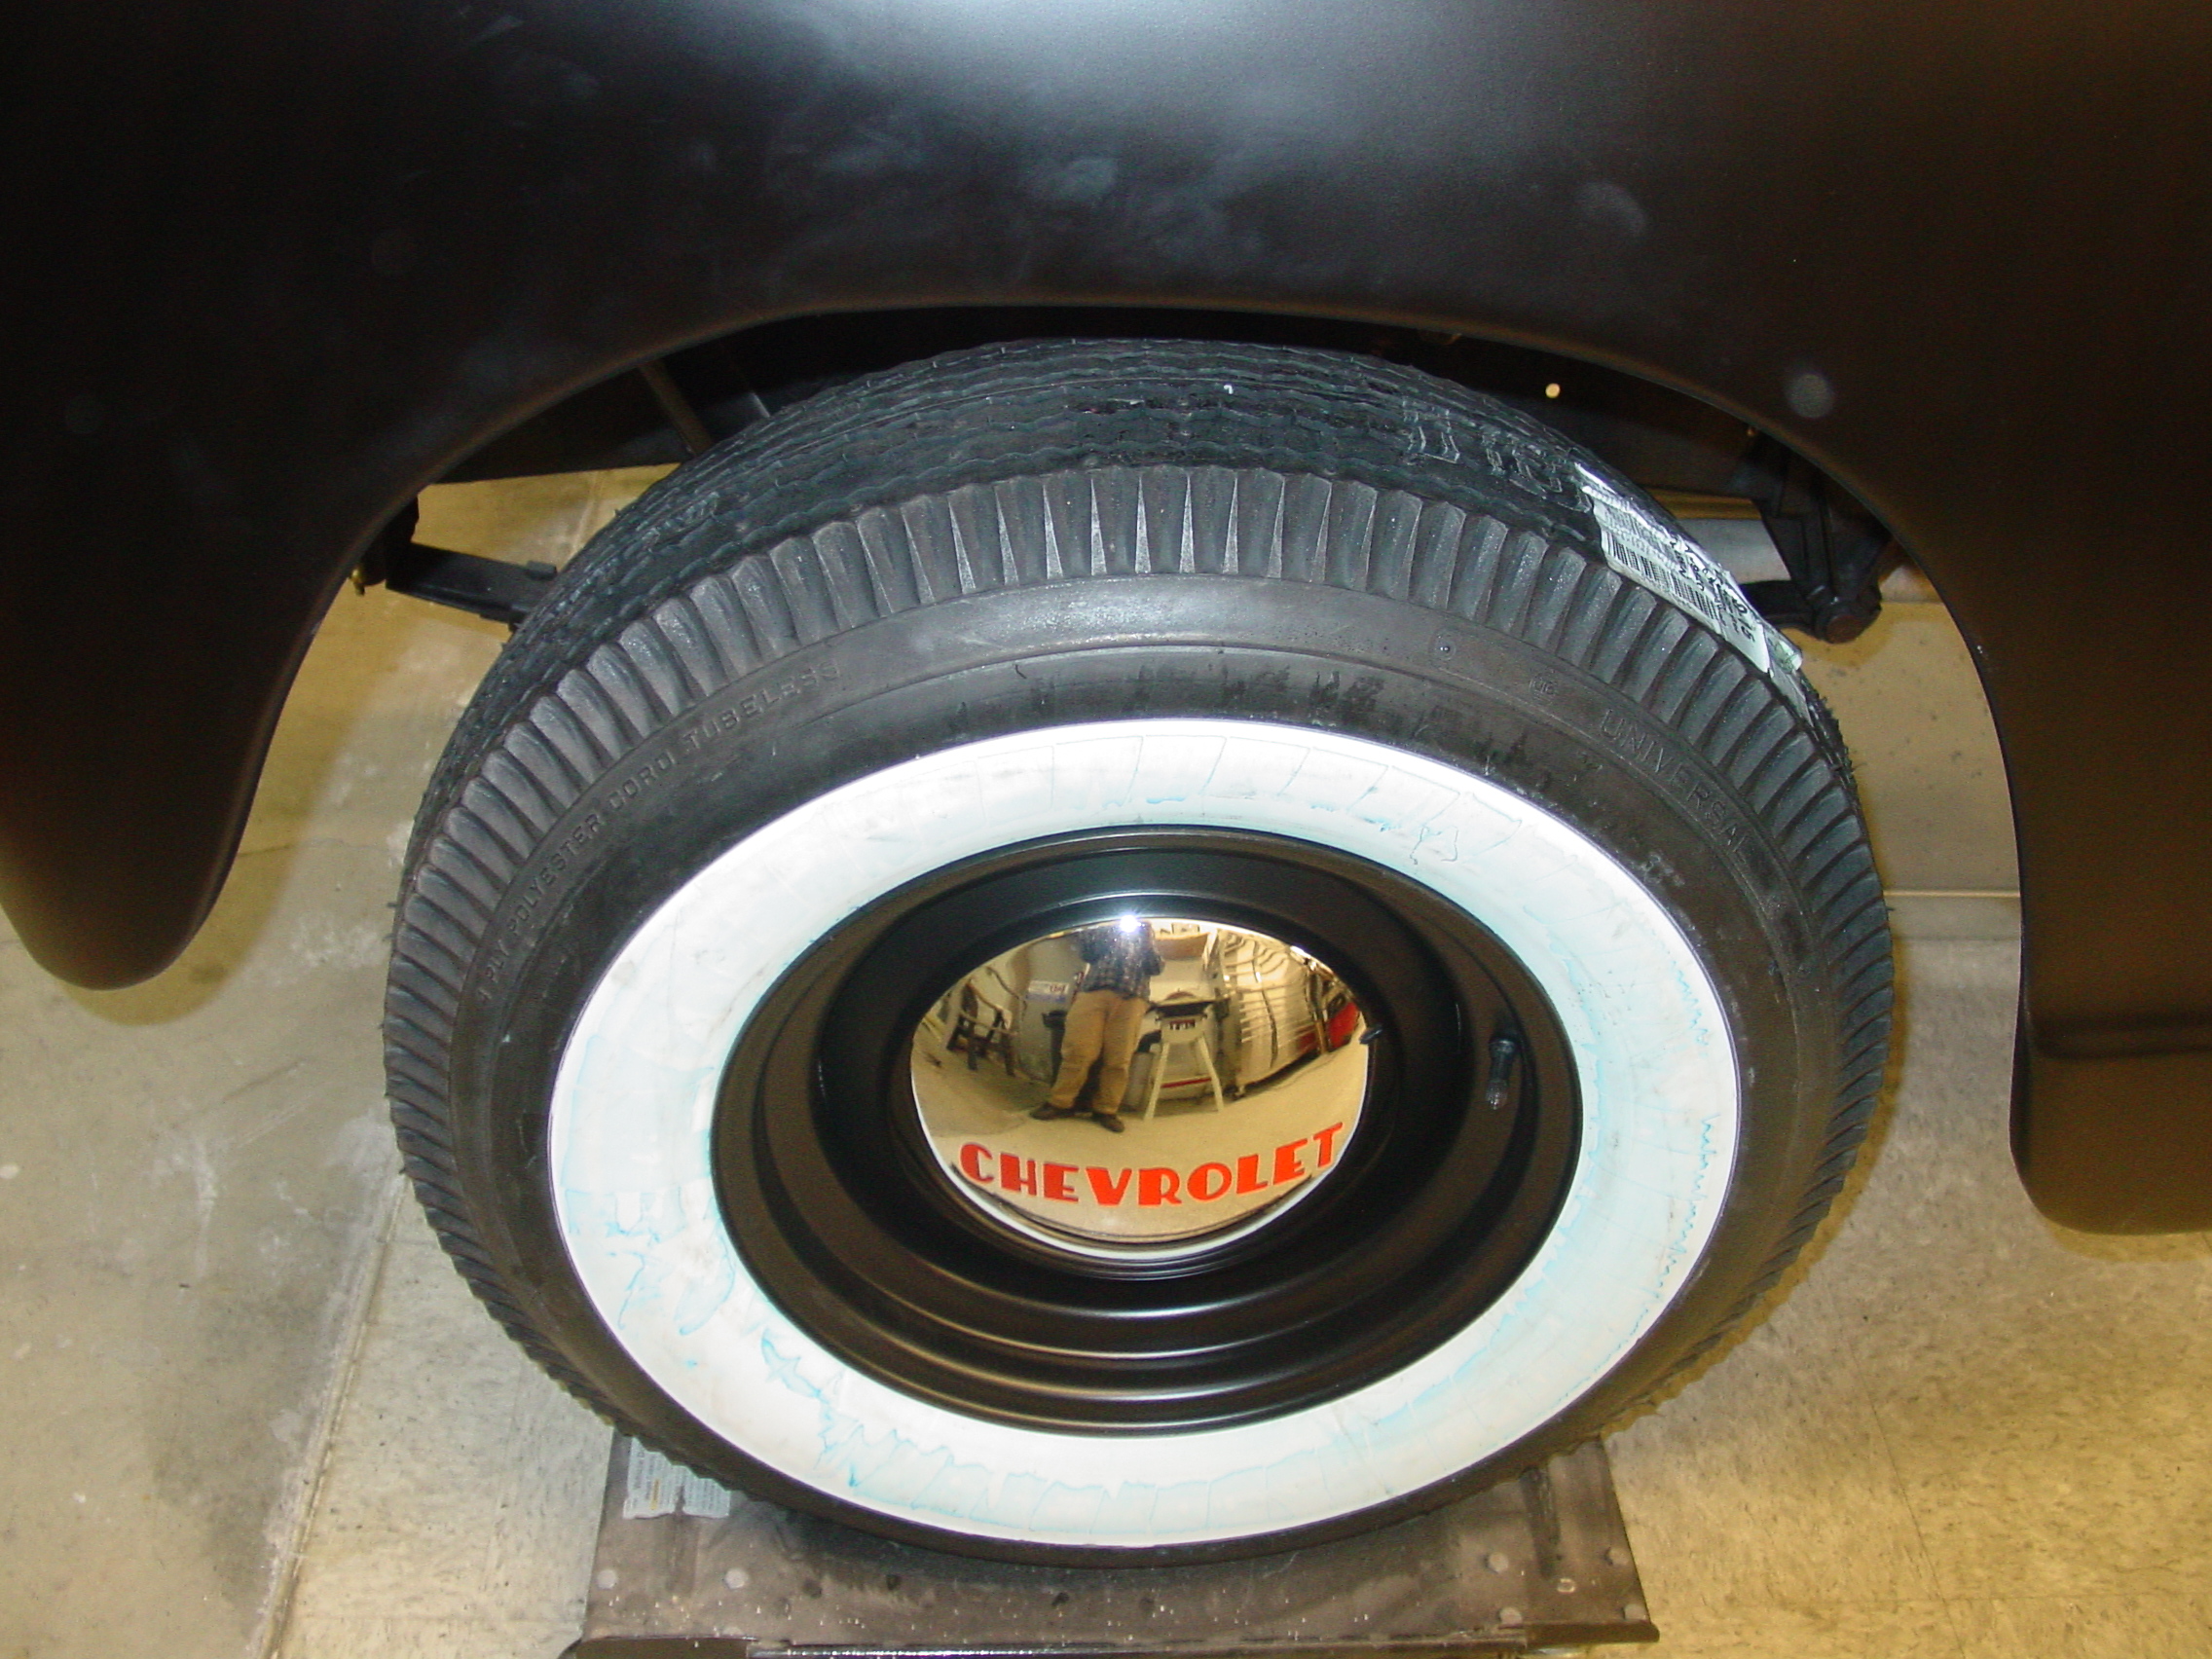
| The Wheels & Tires, now have that classic '49 look. I've taken OEM style Steel Wheels, Sand Blasted & powder coated them to match the Truck. Also note the updated OEM "Chevrolet" trade mark baby Moon hub caps. | |||||||||||||||||
 |
 |
 |
|||||||||||||||
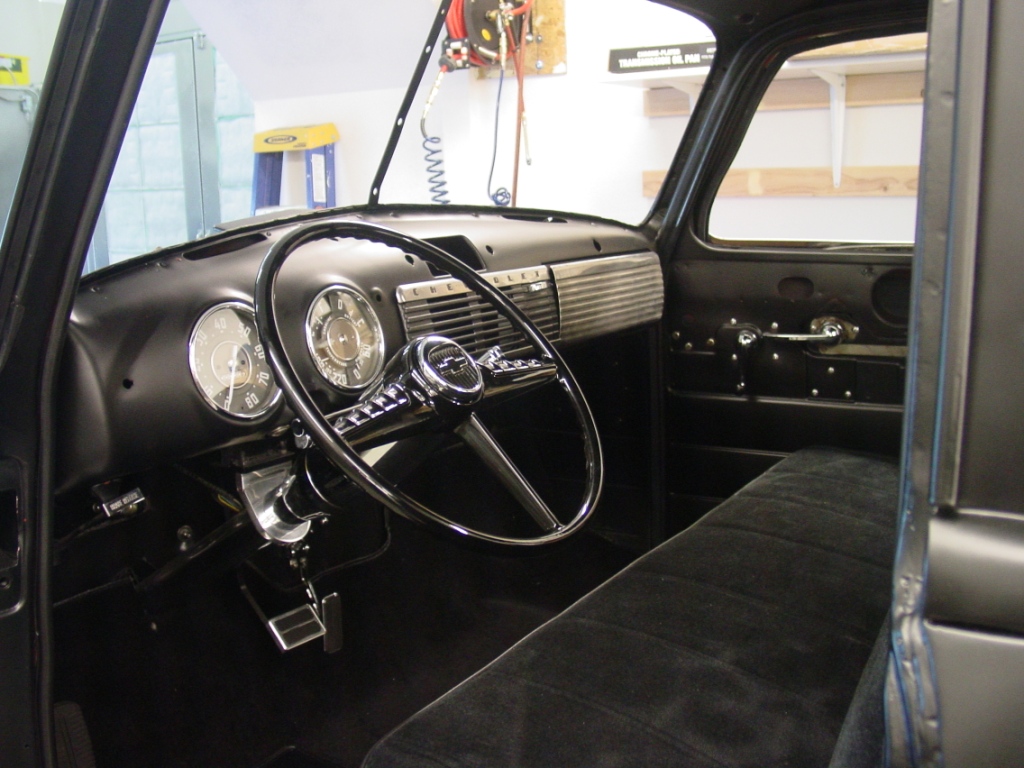
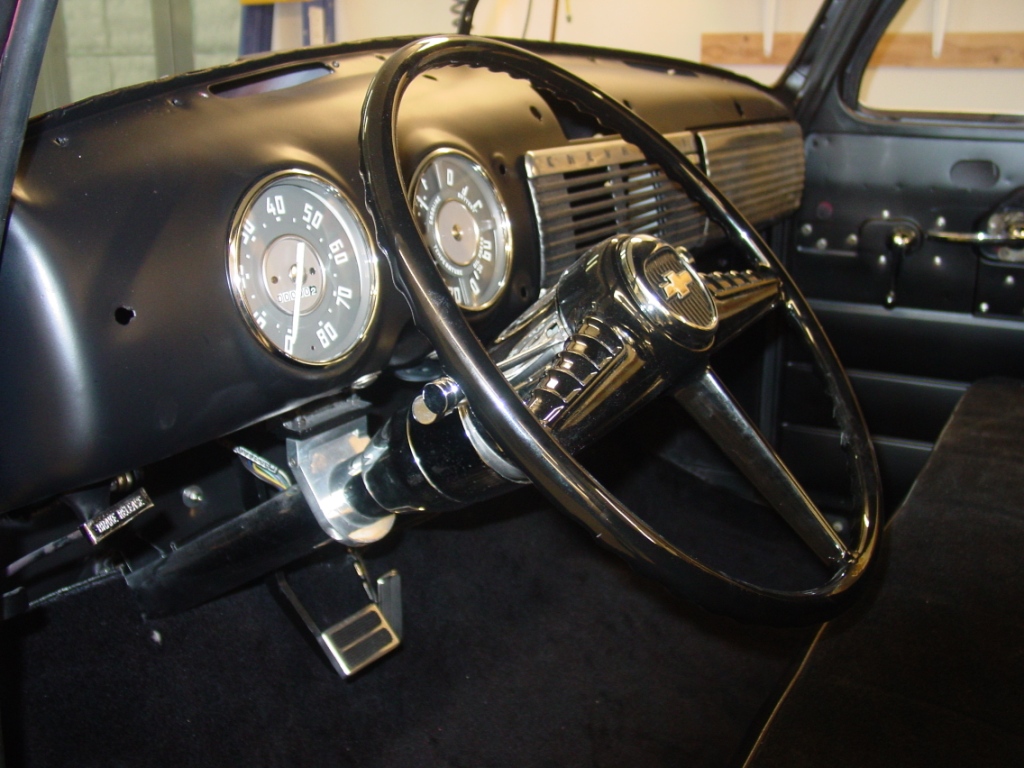
| Finally I've had a little time to be able to post some progress pictures. Seen here is the cab with the instruments now installed, Also the Classic Steering wheel & horn button. The new carpet is in, and the brake and gas peddles can be seen as well. | |||||||||||||||||
 |
 |
 |
|||||||||||||||
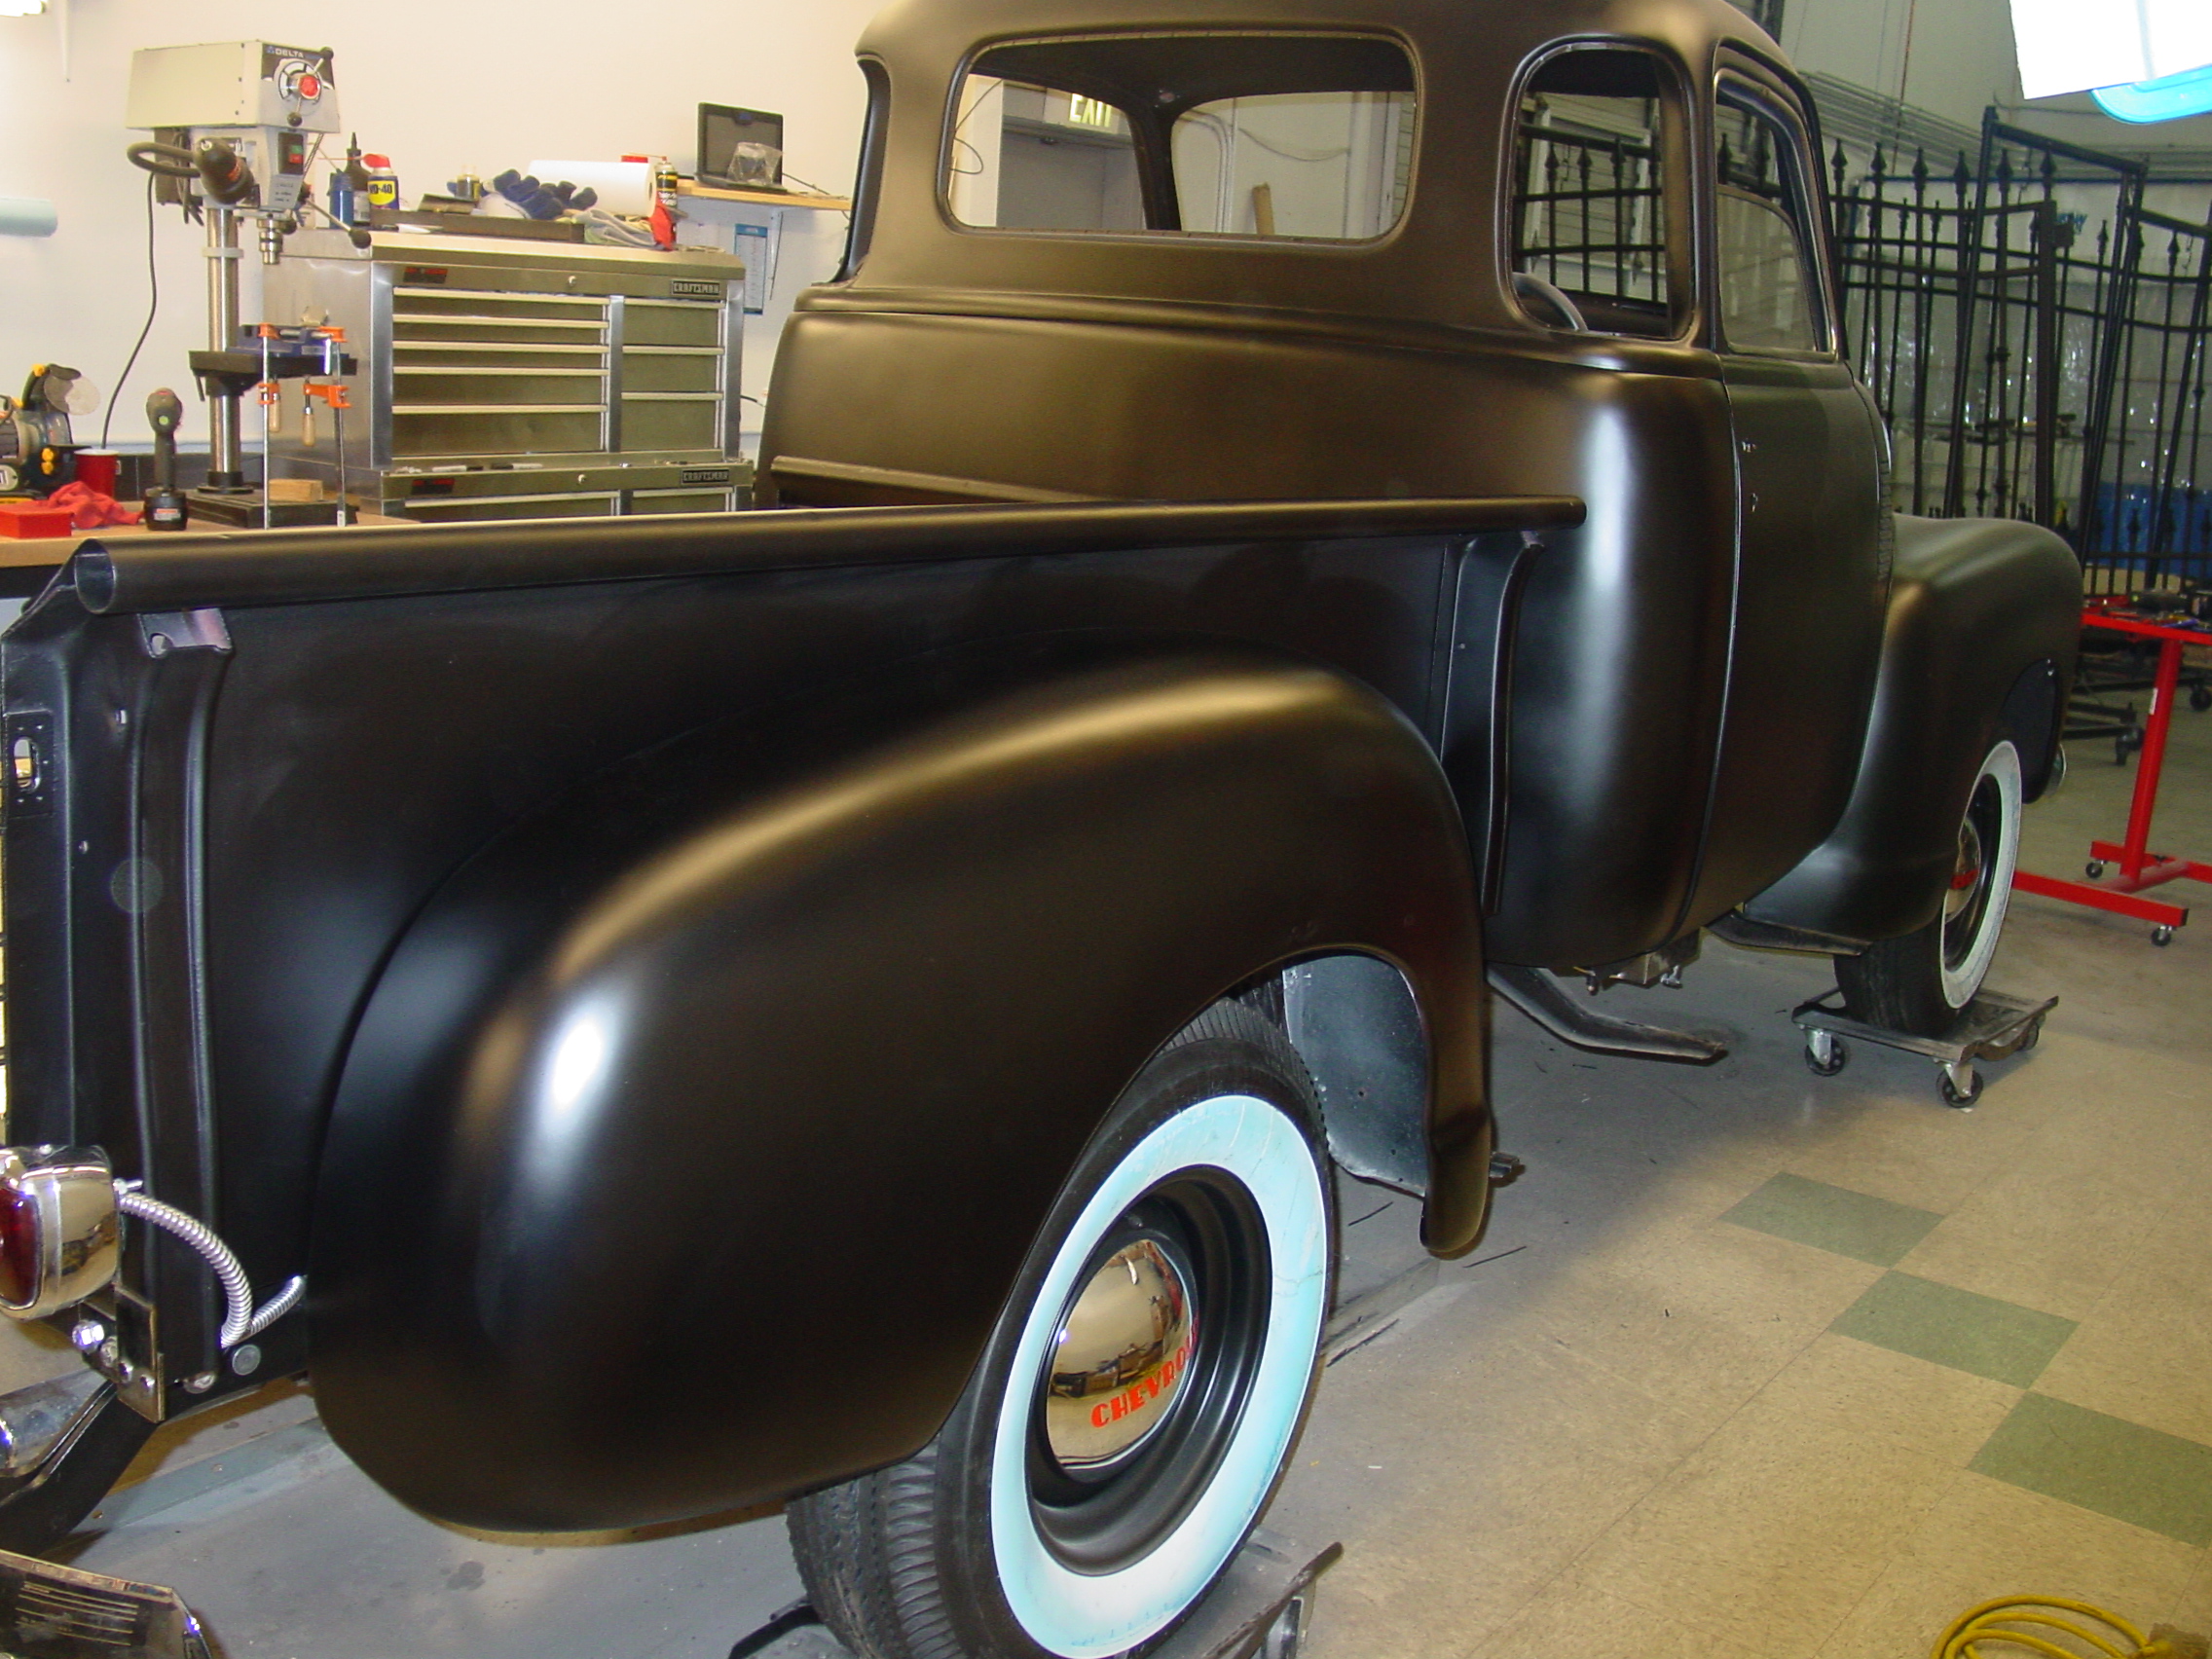
|
The Cab is back on and all
painting in satin Black is complete. We are still waiting for the new hinges
for the drivers door to arrive. Also note the classic 3" white side wall
tires now installed and ready to go. (The blue coloring on the white wall is
just a protecting film, it washes off) The bed special order (natural wood)
parts should arrive next week, so I'll be able to get started on bed soon.
In the right hand picture you can just see the new chrome rack & pinion unit, all ready to roll! Also note you can see parts of my new shop layout shown in the background of these new pictures. (6 Sept 08) |
|||||||||||||||||
 |
 |
 |
|||||||||||||||
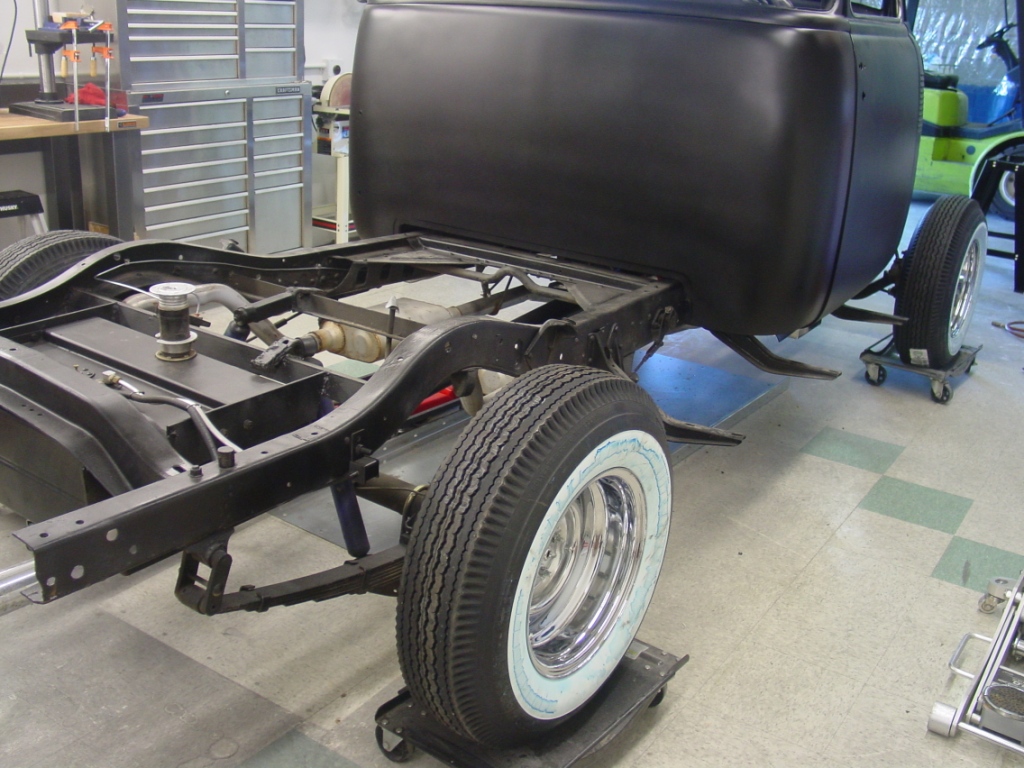
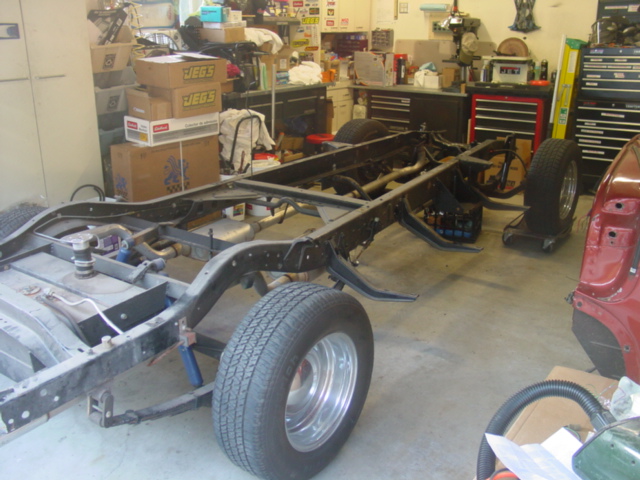
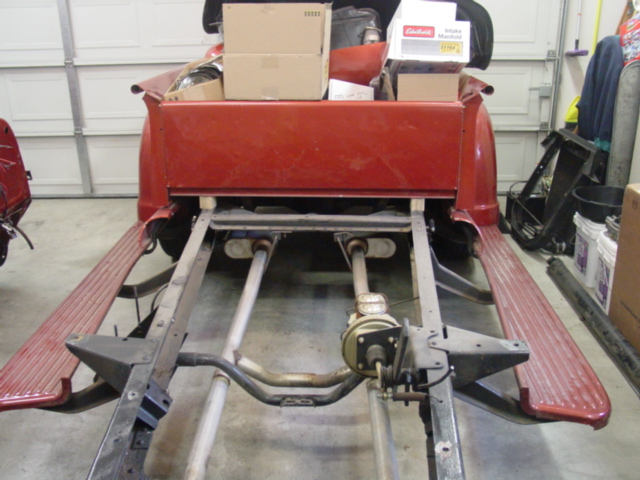
|
The finally have the Bed removed.
Still need to pull the tank, and a few other items, before the
frame completely striped down. Then it will be ready for me to start on all the repair, and reinforcement work that she needs. Also the new TH350 trans showed up last week. Here is a shot of it in still in the shipping crate. (Right hand pic) |
|||||||||||||||||
 |
 |
 |
|||||||||||||||
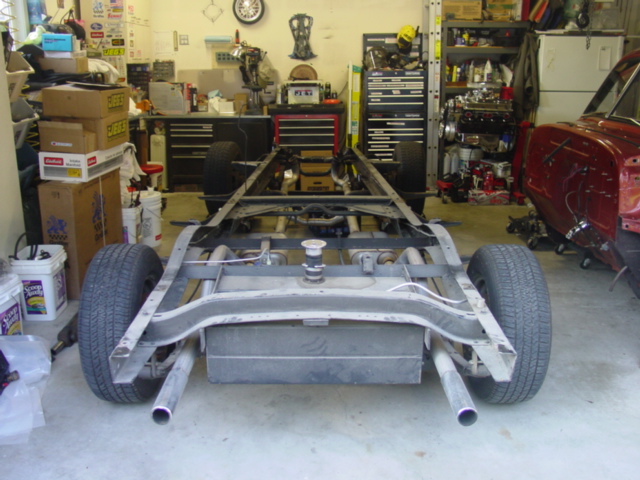
|
The Cab
has now removed to batter access the frame. The next step it to remove the
truck bed. Now where to put it once its off. |
|||||||||||||||||
 |
 |
 |
|||||||||||||||
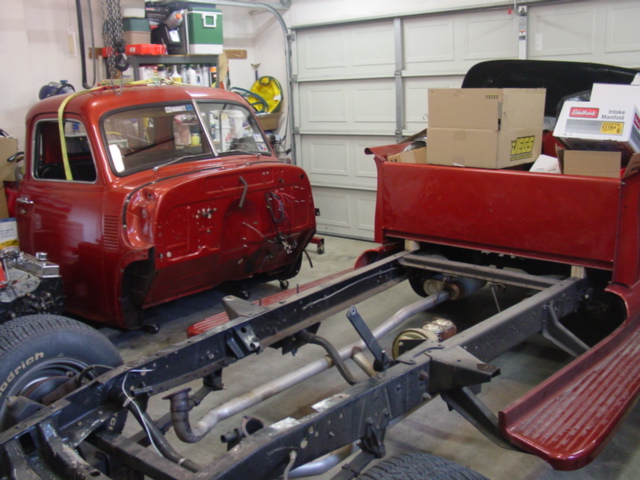
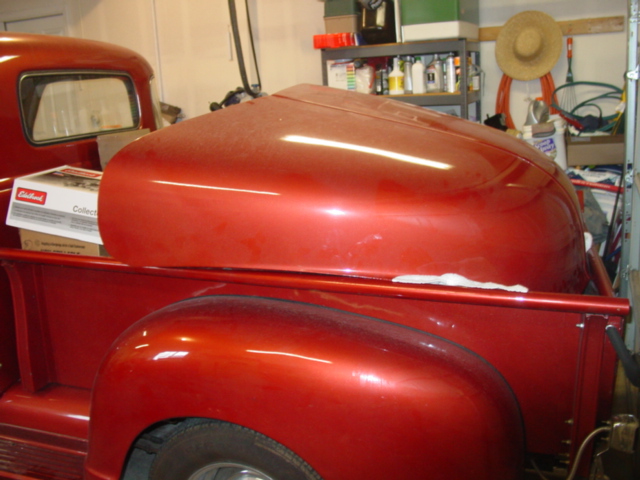
| Here is a few updated shots of the truck. The old engine is now removed, and we are really to start the clean up process, to prepare for the frame beef up work, and all the other mods needed to handle the new powerful motor. The center picture shows the removed hood & lots of there parts as well, loaded in the back of the truck bed. Right picture, is a shot looking past the new motor waiting to run, then you can see the old worn out power plant in the back ground. Note all the old wiring..... it has got to go! What a nightmare! | |||||||||||||||||
 |
 |
 |
|||||||||||||||
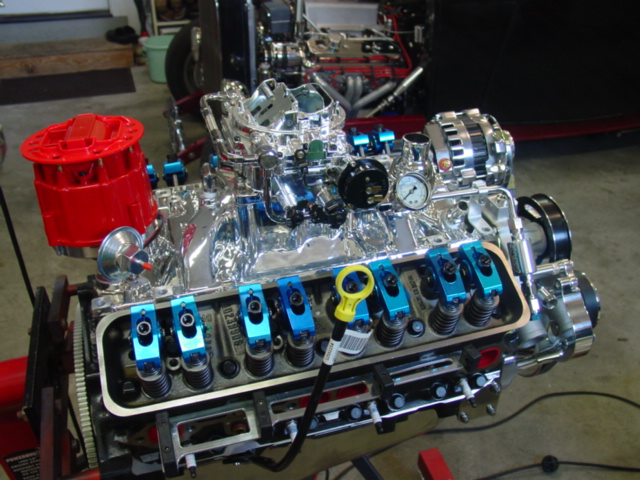
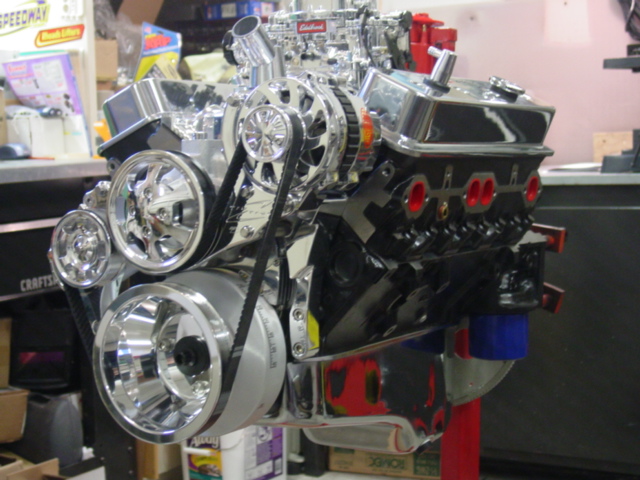
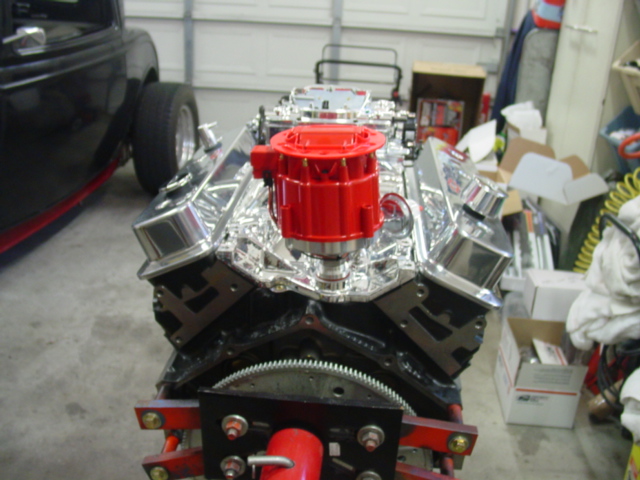
|
Here is a few shots of the
Billet Aluminum 1.6 Roller Rockers, all installed and adjusted. Also in the
center picture the fuel pressure gauge, and the Stainless Fuel line with
AN-6 fittings, and the Billet filter installed here for a test fit. Also the Yellow Engine Oil dipstick is only temporary. |
|||||||||||||||||
 |
 |
 |
|||||||||||||||
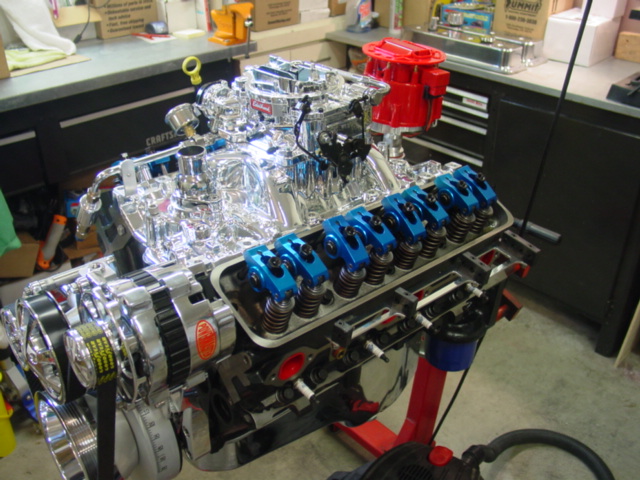
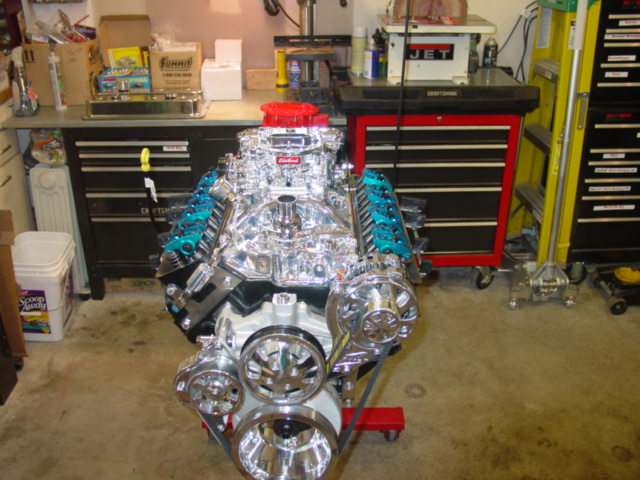
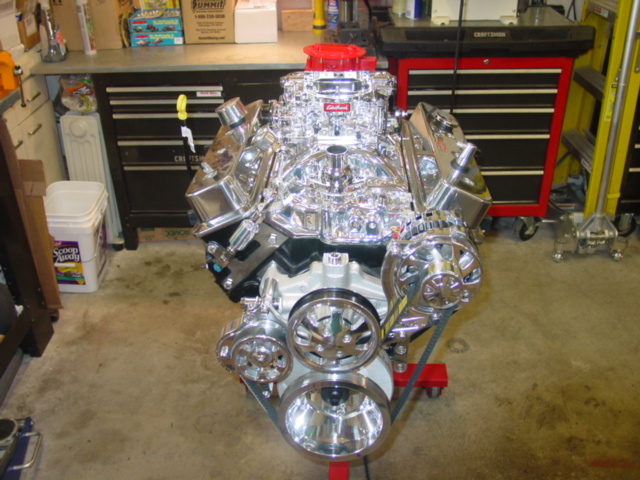
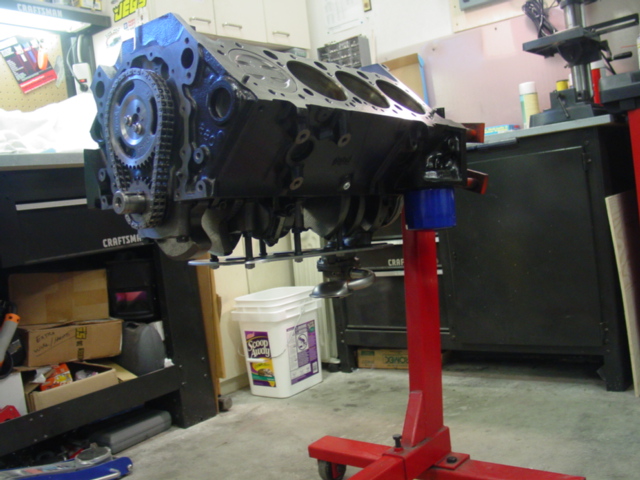
| Here we have a few shots of the 5.7L engine, now with both cylinder heads installed. Also you can have a preview of how the engine will look once it's installed in the truck. I've made a pre-install test fit, of the serpentine drive system, intake manifold, HEI Distributor, and the four barrel Carb. |
 |
 |
 |
||||||||||||||
| Also note the Flexplate is now in place, and ready to mate up with the TH350 transmission.... one day soon! April 5th 2008 | |||||||||||||||||
|
|
 |
|
|||||||||||||||
| A few shots of the truck we started out with. Please standby for more info after the project gets up and running! |
 |
 |
 |
||||||||||||||
|
Parts, Parts & More Parts!
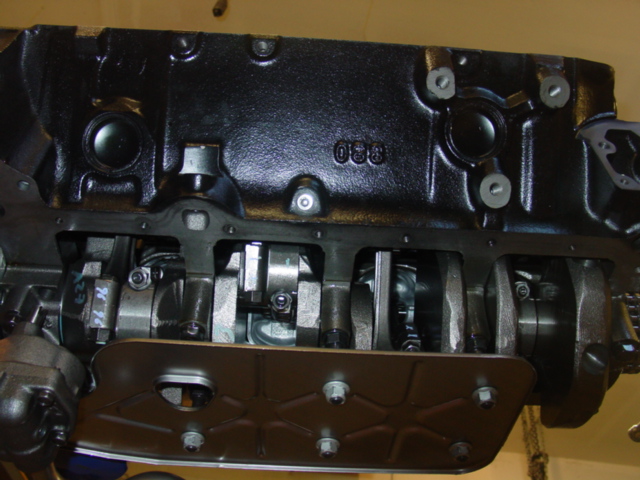
Here's just the start of the parts to be installed, one day soon! Here are three shots of the Chevy Short Block 5.7L Engine with Cam and Timing chain just installed. Right side a lower side shot with the Windage tray & oil pump in place. |
|||||||||||||||||
 |
 |
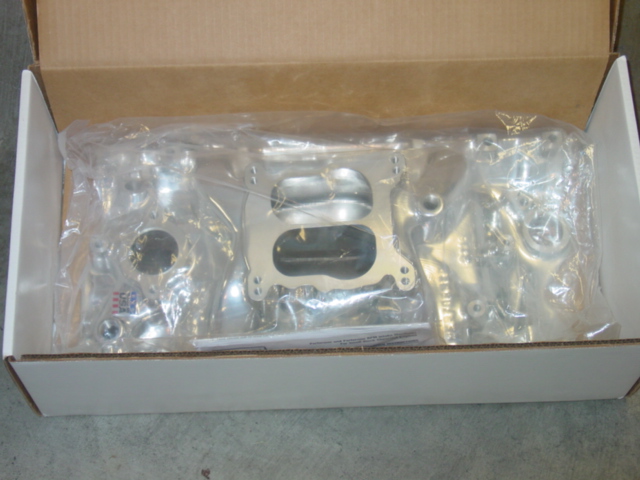 |
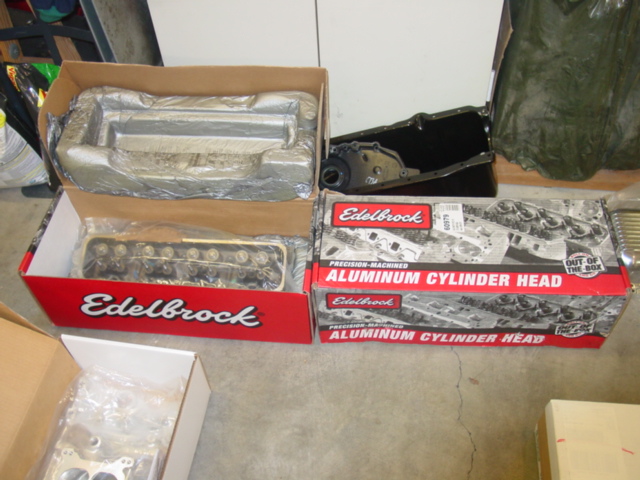
| Here we can see Chevy Vortec heads, and Edelbrock Performer manifold. | ||
 |
 |
 |
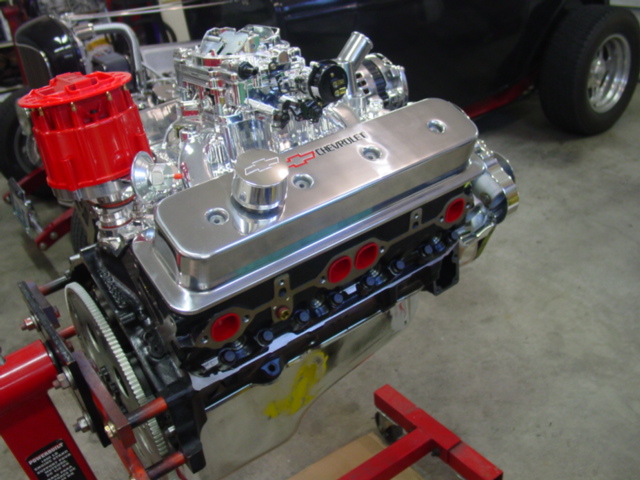
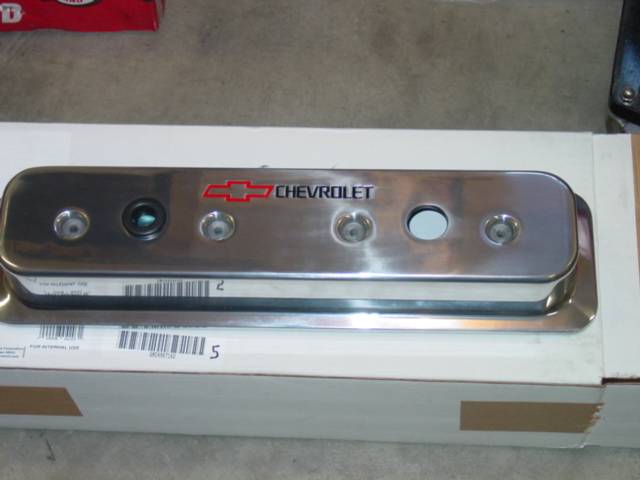
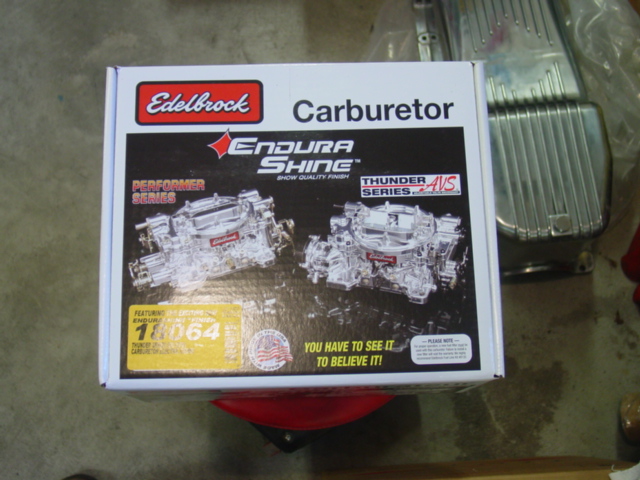
| The Valve Covers & The Edelbrock 650 CFM Square Bore Carburetor. Next to the Carb is the polished Aluminum Oil Pan. | ||
 |
|
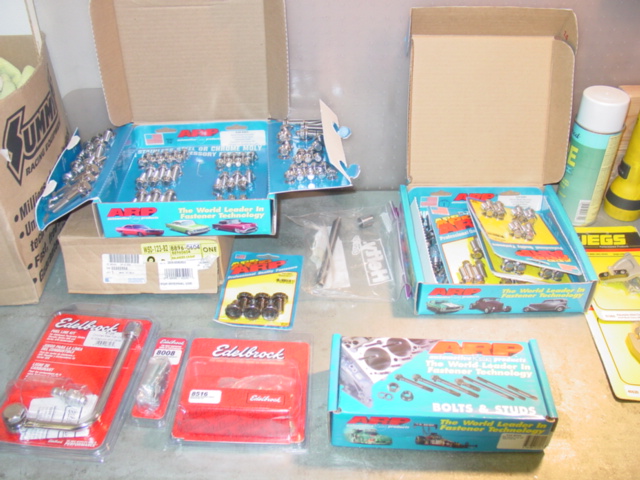 |
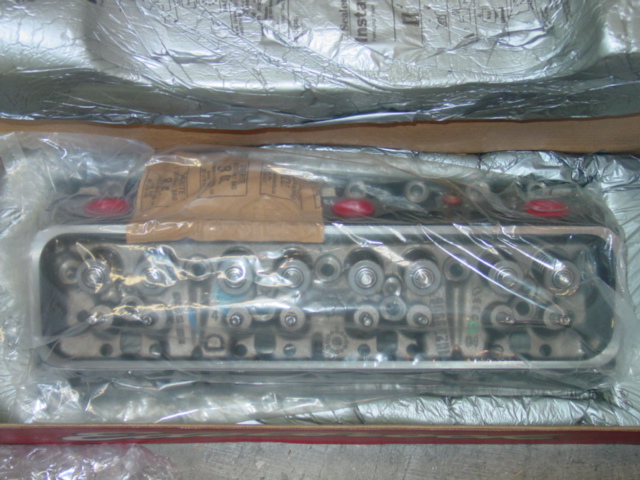
| Left side, the Billet Specialties' Serpentine accessory drive system. Center is a shot of the 1.6 ratio roller rockers, and here on the right we have just some of the bolt kits needed to put this bad boy together.... In style of course! | ||
![]()
Page Design by Dave
Hurd
J & D Aero Inc.
Small Kitty productions � 2008
Webmaster email contact:
JDAero*e-staronline.com
* = @ (please use @ instead of the * in above email address)