 NS+
**
NS+
**J & D Aero Inc.
 NS+
**
NS+
**|
|
|
|
|||||||||||||||||||||||||||||||||||||||||||||||||||||||||||||||||||||||||||||||||||||||||||||||||||||||||||||||||||||||||||||||||||||||||||||||||||||||||||||||||||||||||||||||||||||||||||||||||||||||||||||||||||||||||||||||||||||||||||||||||||||||||||||||||||||||||
|
|
|
|
|||||||||||||||||||||||||||||||||||||||||||||||||||||||||||||||||||||||||||||||||||||||||||||||||||||||||||||||||||||||||||||||||||||||||||||||||||||||||||||||||||||||||||||||||||||||||||||||||||||||||||||||||||||||||||||||||||||||||||||||||||||||||||||||||||||||||
|
|
|
|
||||||||||||||||||||||||||||||||||||||||||||||||||||||||||||||||||||||||||||||||||||||||||||||||||||||||||||||||||||||||||||||||||||||||||||||||||||||||||||||||||||||||||||||||||||||||||||||||||||||||||||||||||||||||||||||||||||||||||||||||||||||||||||||||||||||
|
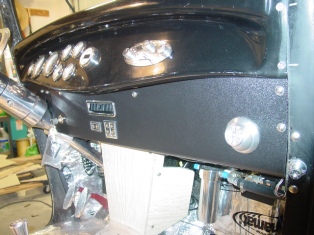
Nwe A/F gauge is in place, and another new addition
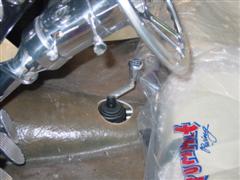
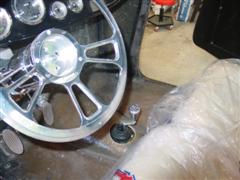
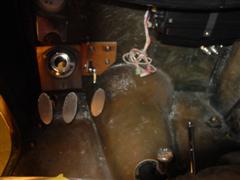
to the lower dash the Trans Temp & Pressure gauges. The Auto Trans shift lever with boot, Gear shift indicator, Trans A/B program and T/C Lockup switches are installed. As show in the Left picture, the lower forward LH & RH trim panels are not installed in this shot. |
||||||||||||||||||||||||||||||||||||||||||||||||||||||||||||||||||||||||||||||||||||||||||||||||||||||||||||||||||||||||||||||||||||||||||||||||||||||||||||||||||||||||||||||||||||||||||||||||||||||||||||||||||||||||||||||||||||||||||||||||||||||||||||||||||||
 |
 |
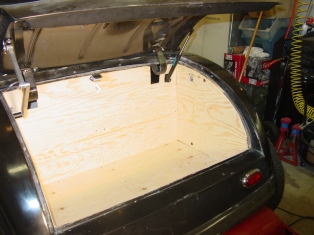 |
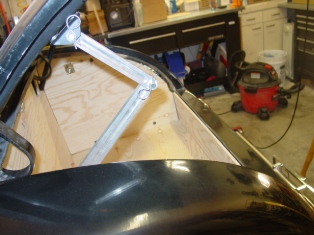
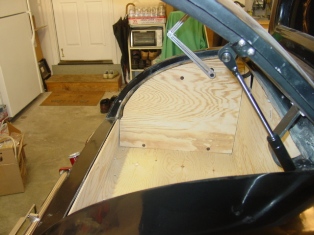
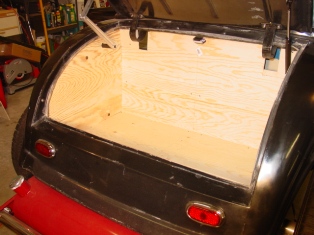
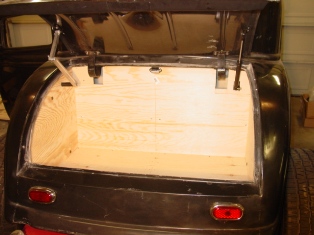
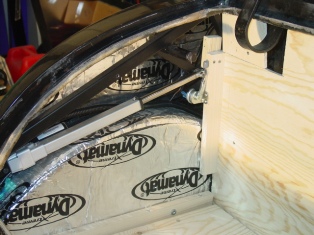
| The trunk area is now fully enclosed, and the remote controlled trunk open/close actuator is operational. And a trunk lid counter balance pneumatic & spring unit has been added. (Nov 2006) | ||
 |
 |
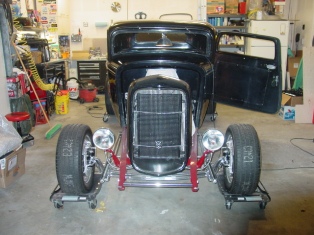 |
| The auto on/off trunk light is now in and working. The front grill is installed, and the V8 medallion is attached to the front grill. | ||
 |
 |
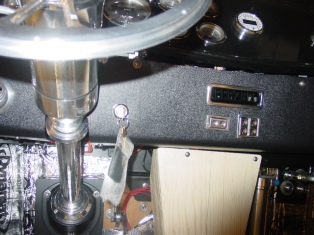 |
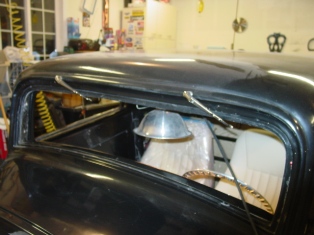
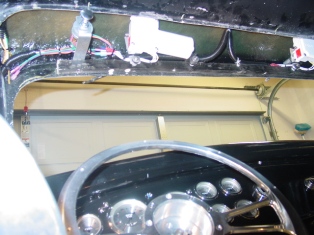
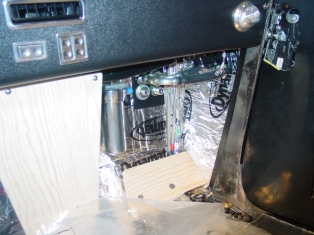
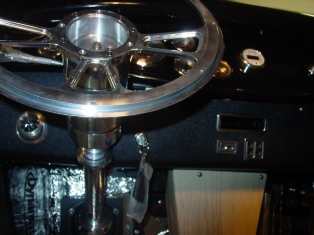
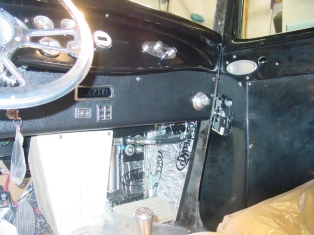
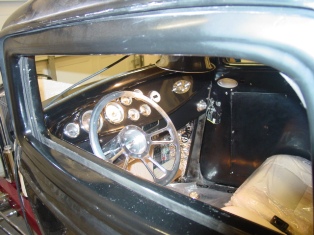
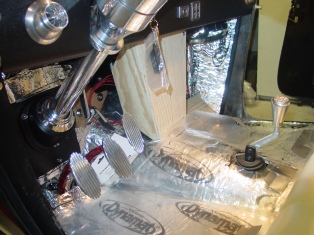
| The dual wipers motors and arms are in, and ready for the windshield. The lower dash is mounted, and the A/C vents Left, Right & Center are in place. The Ignition key/switch has finally found it's home location. The lower center console is in and the passenger side floor plate is mounted. |
 |
 |
 |
 |
 |
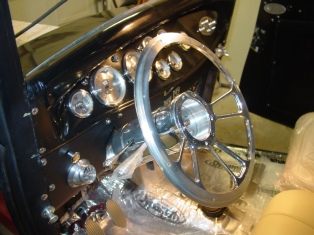 |
| The Gauges are now all wired up and working, ready for the big day when the Ram Jet is fired up. | ||
 |
 |
 |
|
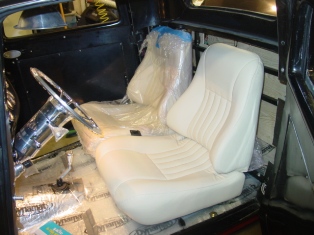
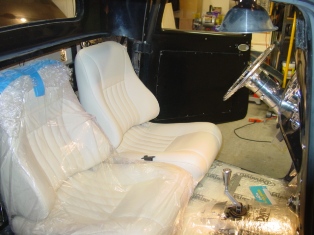
The
seat are now installed, but the seat recline levers still need to be mounted.
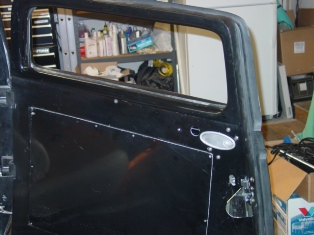
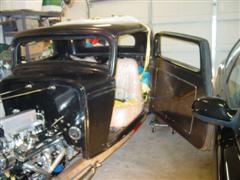
The inside door handles are in and fully operational. The remote release
actuators, are also in, and the door can be open via one push of the remote
key fob, any the ignition is not on. The A/C drier & lines can still be seen below the lower dash, but once the lower skirt is added to the passenger side lower dash they will be almost out of sight. |
||
 |
 |
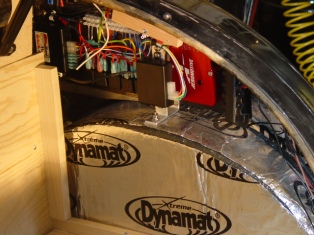 |
| This is a look at the trunk actuator after installation, and the rear Electric fuse/remote control panels. Both with the access/trim panels removed. The black box in the foreground is the trunk actuator controller. (Oct/Nov 2006) |
 |
 |
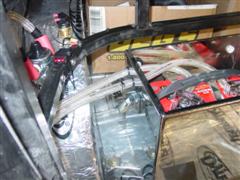 |
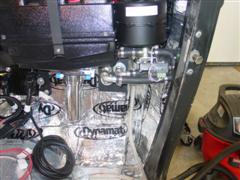
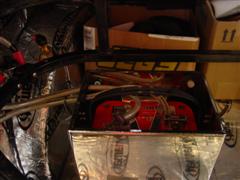
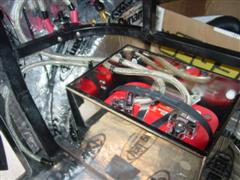
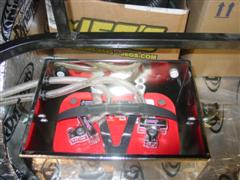
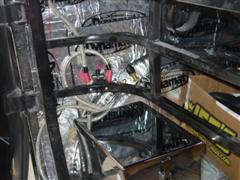
| The Battery Main power Cable is now run all the way down to the Starter. Another shot of the battery box installed, it's behind the passenger seat (but the seat is removed in this shot) The battery main cables & the Battery remote master switch (June 2006) | ||
 |
 |
 |
| The battery box with the Optima Gel Cell, and all the main cables are all ready to go! | ||
 |
 |
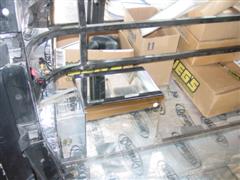 |
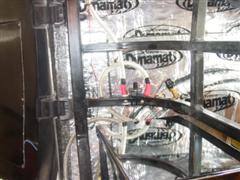
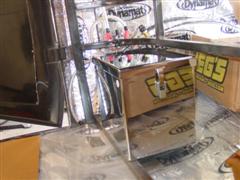
| The Remote Battery master switch, & the battery box shown with the cover in place. | ||
 |
 |
 |
|
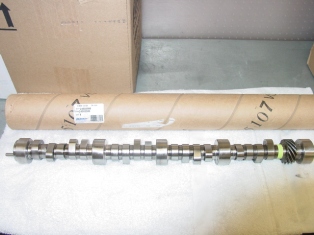
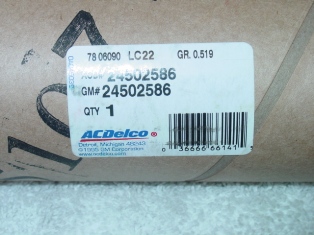
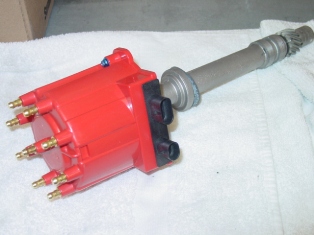
Cam in the House!
The LT4 Hot Roller Stick has
arrived! (See below for more cam swap details) Ok.... so the HEI (small cap) distributor cap now comes is Red. So we just had to have one of them! (May 2006) |
||
 |
 |
 |
|
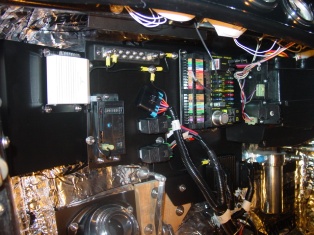
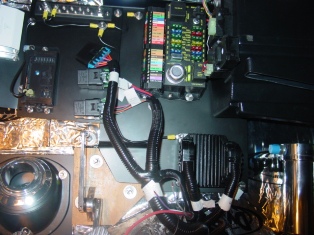
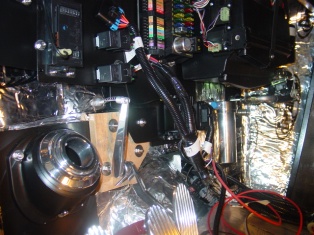
The
Firewall (inside) Electrical panels are all now back in place. ** Next I'm
on the rest of the Electrical Wiring. Also in the middle is the Ram Jet's ECU, a MEFI-4a. Which since this picture was taken, has been swapped out for a programmable MEFI-4b. (Which appears the same outside. But has much more potential HP wise, with it's added software tuning capabilities!) |
||
 |
 |
 |
|
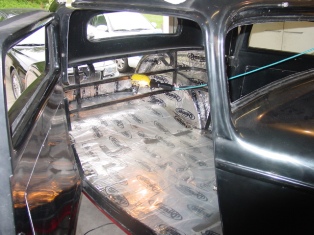
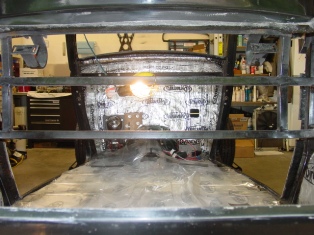
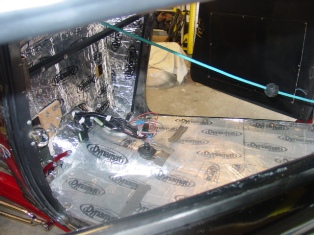
The Dynamat insulation is now
installed throughout the main interior. Also still have to work in the
schedule for the body paint soon! The Battery box is already in place but not shown yet. |
||
 |
 |
 |
|
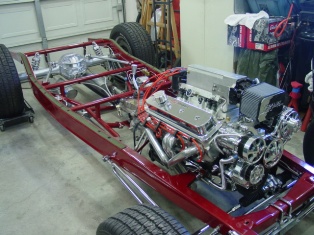
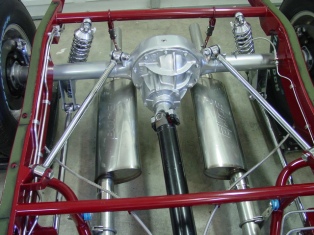
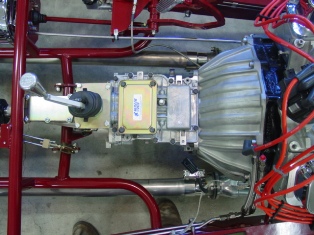
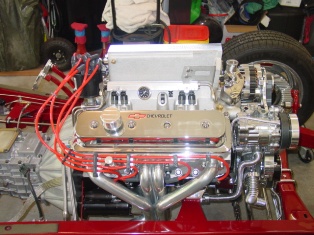
The full Drive Train & Exhaust
system all in, and the ignition wires are test routed. Also the here is
the 9" Ford Rear
now fully complete and serviced. Hidden inside the third member is a 3.5:1 Ratio,
with PowerTrax possi ready to run! The power plant is almost completed, except.... > |
||
 |
 |
 |
|
>the motor still needs to have the
valve pushrods installed & adjusted, and then the intake manifold and bolted down. But for now with all the pushrods out all the valves are kept closed. Also shown is the Fuel pressure gage, now with a black face. Also a new MEFI 4b ECU, with InGenius software is on the way from UMI Racing in Arizona. (Now from MSD. as of: Aug 07) This ECU upgrade will allow me to fine tune the motor.... to get that optimum performance that you just got to have! |
||
 |
 |
 |
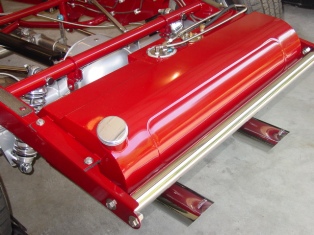
| Yeah the fuel tank is back form the powder shop. Now fully installed & the Fuel system is all completed including the final pressure testing to 85 psi, with no leaks on the first try! Amazing!! (BTW: The Fuel tank is the same color as the frame, it's just the sun's reflection in this picture, just makes it look like it's painted in a different shade of red) | ||
 |
 |
 |
|
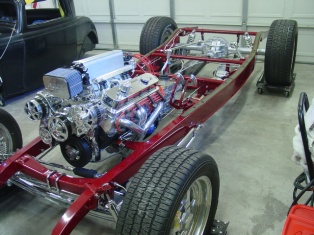
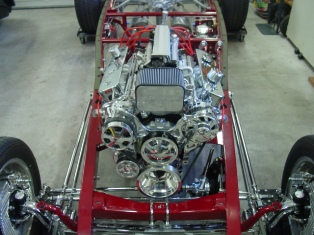
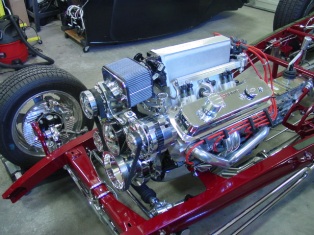
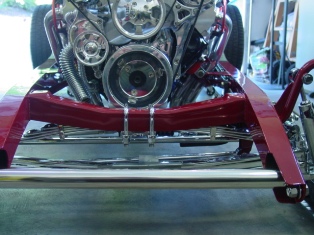
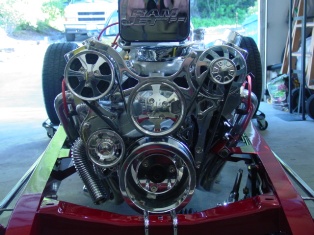
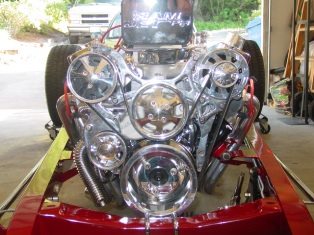
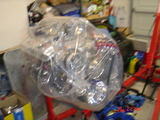
The Motor is now back in place!
Shown with the Tru Trac Serpentine drive system back on. The Ram Jet 350 is
no longer stock! The cast Vortec Heads were replaced by Edlebrock E-Tec 170 Aluminum Fast Burn heads. (April 06) > Cam in the House! (See above) The Cam was swapped out from a rather mild Roller cam: 196/206 @ 0.050" tappet lift. To a "LT4 Hot Cam" Roller with: 218/228 @ 0.050" tappet lift. The lobe centerline is 112� vs. the 109� for the first cam, so the engine's idle vacuum will still be very good. (May 06) |
||
 |
 |
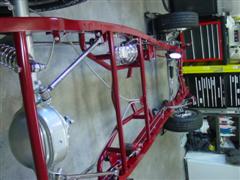 |
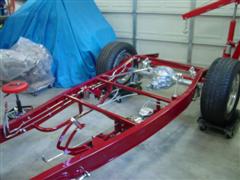
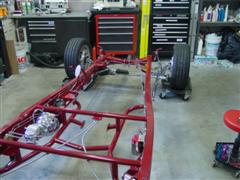
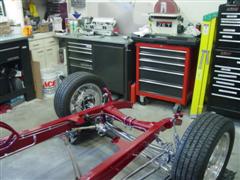
| All items on the frame are put back one at a time. | ||
 |
 |
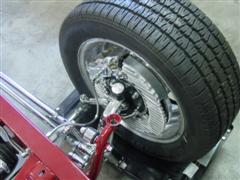 |
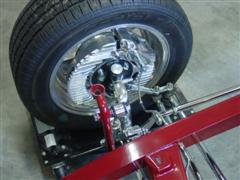
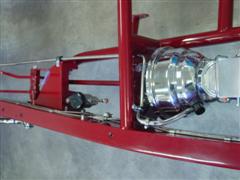
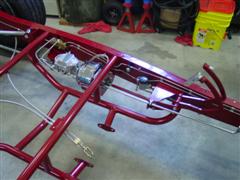
| Still installing the this and that! But the Brakes are now fully completed, including the pressure test! | ||
 |
 |
 |
|
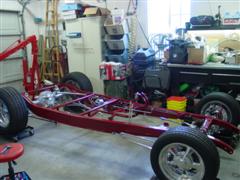
The Frame has returned from the
powder coater's! And I have re-installed the stuff: Front & Rear Ends, Brakes, fuel system etc. |
||
 |
 |
 |
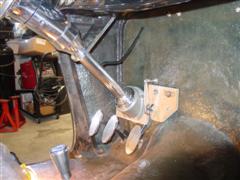
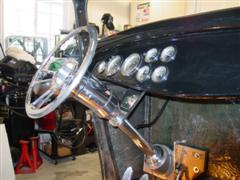
| After the Steering column, and all pedals are all installed! But the column will be back out soon, and will be a long while before it will be installed in place again. | ||
 |
 |
 |
|
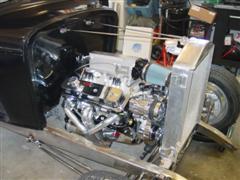
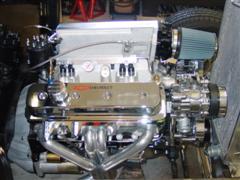
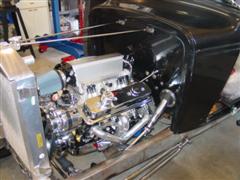
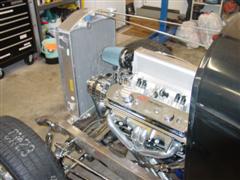
This is a good shot of the
Engine's Direct Read Fuel Pressure Gage. I've drilled and taped the RH fuel
rail, for a clean custom look. The Radiator is installed for another test fitting. |
||
 |
 |
 |
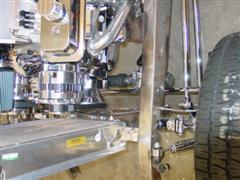
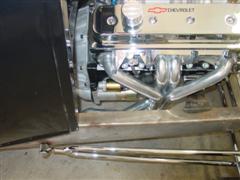
| Left is the Mono rack and pinion steering unit. Header's installed for one of many test fittings. Again the billet 5 speed stick. | ||
 |
 |
 |
| The 5 speed lever shifter in for a test fit as well. | ||
 |
 |
 |
| Exhaust System test fitting for clearances from the frame & under the fuel tank. | ||
 |
 |
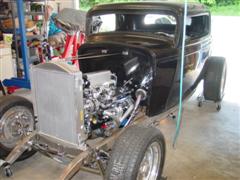 |
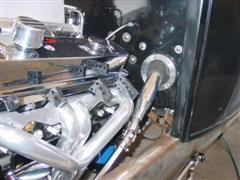
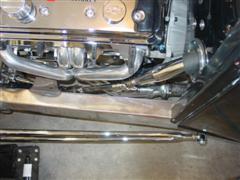
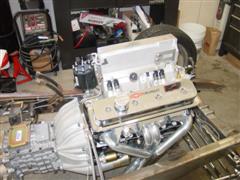
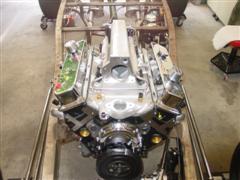
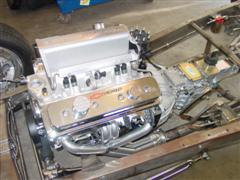
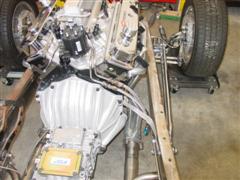
| The steering linkage is all completed, and a final check with the header's in to double check, to confirm clearances. | ||
 |
 |
 |
| Header's first test fitting check | ||
 |
 |
 |
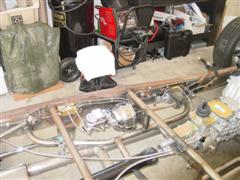
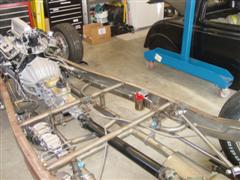
| Fuel system is installed and pre-leak tested with air. | ||
 |
 |
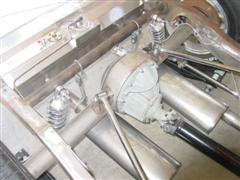 |
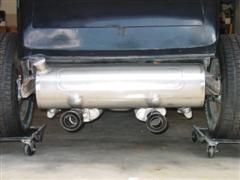
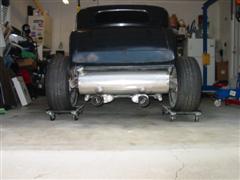
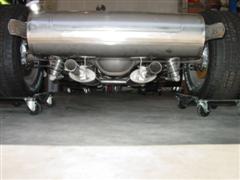
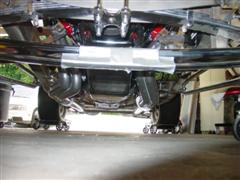
| The completed Exhaust fitting & pre-clearance testing top & back view. | ||
 |
 |
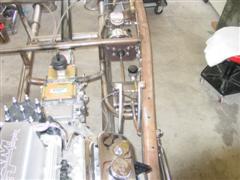 |
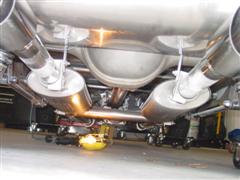
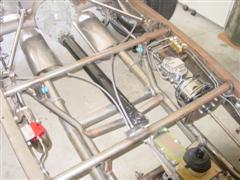
| The completed Exhaust fitting & pre-clearance testing, below view. | ||
 |
 |
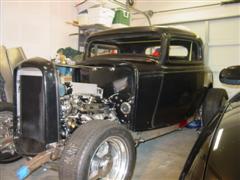 |
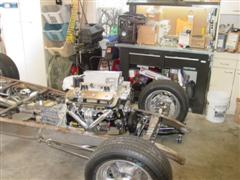
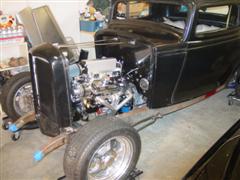
| Body is back on to install the radiator support rods: | ||
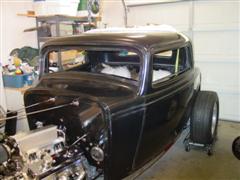 |
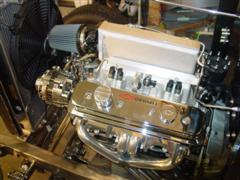 |
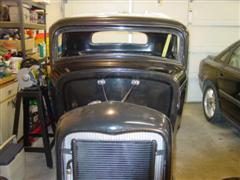 |
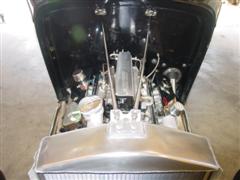
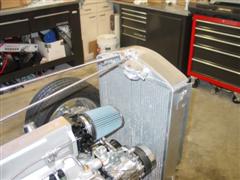
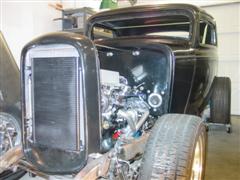
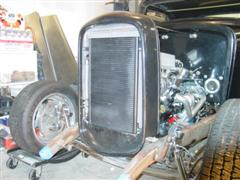
| The Radiator & it's support rod's are all completed. | ||
 |
 |
 |
|
Welcome aboard! |
||
 |
 |
 |
|
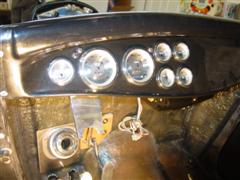
The too Cool American Classic
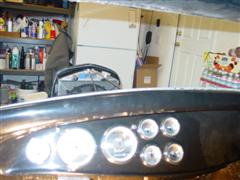
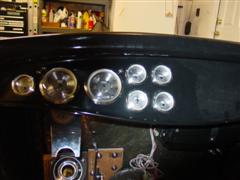
Gages are ready to roll! From Left to Right & Top down: Fuel Gage, Engine RPM, Speedometer, Water Temp, Volts, Vacuum/Boost, & Oil Pres. |
||
 |
 |
 |
| The Heater & A/C unit is installed under the dash | ||
 |
 |
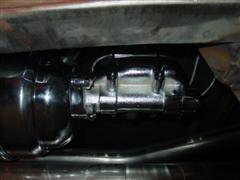 |
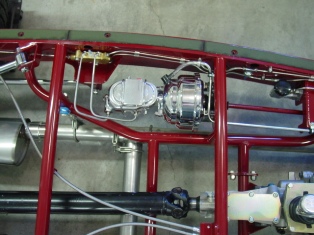
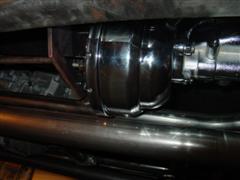
| The Brake booster is in! | ||
 |
 |
 |
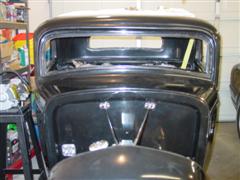
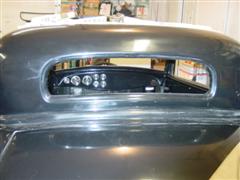
| A view through the back window | ||
 |
 |
 |
|
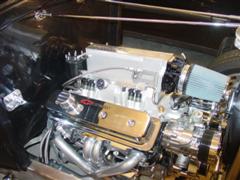
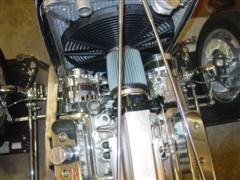
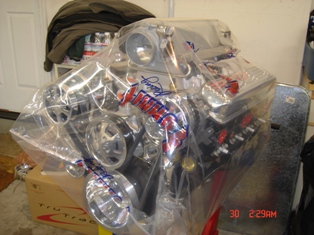
Here the Electric radiator
fan is in for clearance & fit. The original air cleaner is also installed.
Above the Original Ram Jet 350 from Sallee Chevrolet, down in Milton Freewater, Oregon. (Now Gilbert
Chevrolet) Also shown is the Billet Specialties Tru Trac Serpentine System, which is on for the first of many many test fittings. |
||
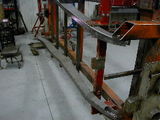
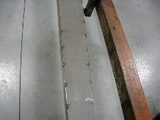
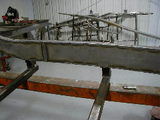
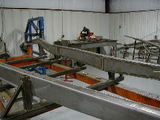
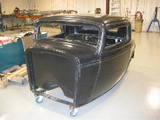
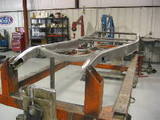
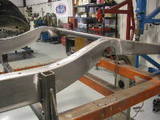
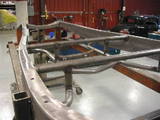
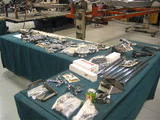
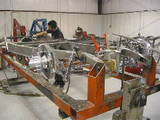
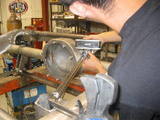
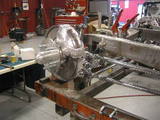
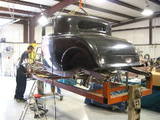
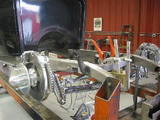
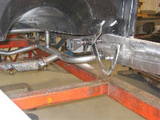
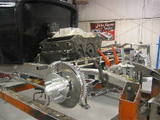
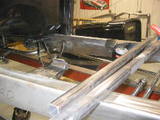
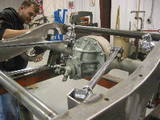
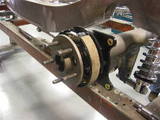
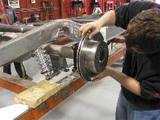
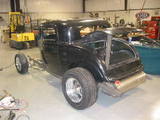
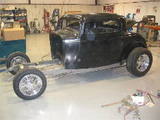
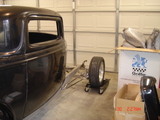
The
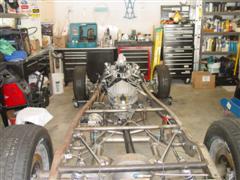
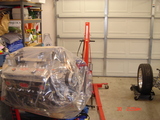
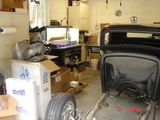
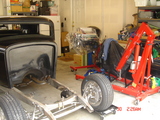
initial build of the custom 32 frame at Street Rod's by Michael, in his shop
back in Shelbyville, Tennessee.
(Sept / Oct 2004)
 |
 |
 |
 |
 |
 |
 |
 |
 |
 |
 |
 |
 |
 |
 |
 |
 |
 |
 |
 |
 |
 |
 |
 |
 |
 |
 |
 |
 |
 |
 |
 |
 |
 |
 |
 |
Page Design by Dave
Hurd
J & D Aero Inc.
Small Kitty productions 2018
J & D Powder Coating - contact:
44DQR